Starting the TUTORIAL i want to start with general infos.
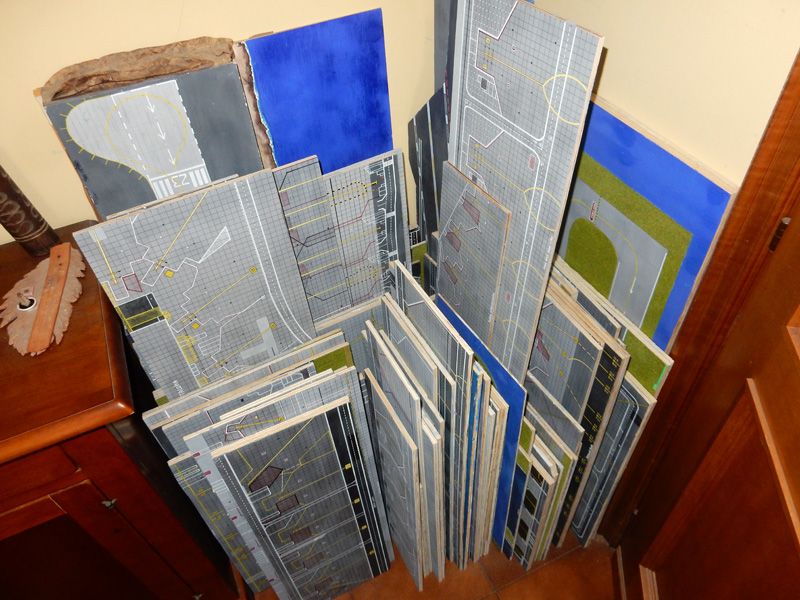
I usually use multilayer/plywood wood panels, 1 cm thick and with different sizes; the largest one is 120 x 120 cm (max size to ship by FedEx/UPS/DHL/TNT) but usually, for a nice section in 1:500 scale, 80 x 30 cm is a good solution.
Just to remember, 1 x 1 meter in 1:500 is 500 x 500 meters while in 1:400 is 400 x 400 meters.
Of course the wood panel must be prepared before to create the airport: white paint to avoid bending then water paint to create the tarmac/asphalt effect of the apron. Water paint is better than acrylic because any errors can be modified removing the paint (before fixiing it).
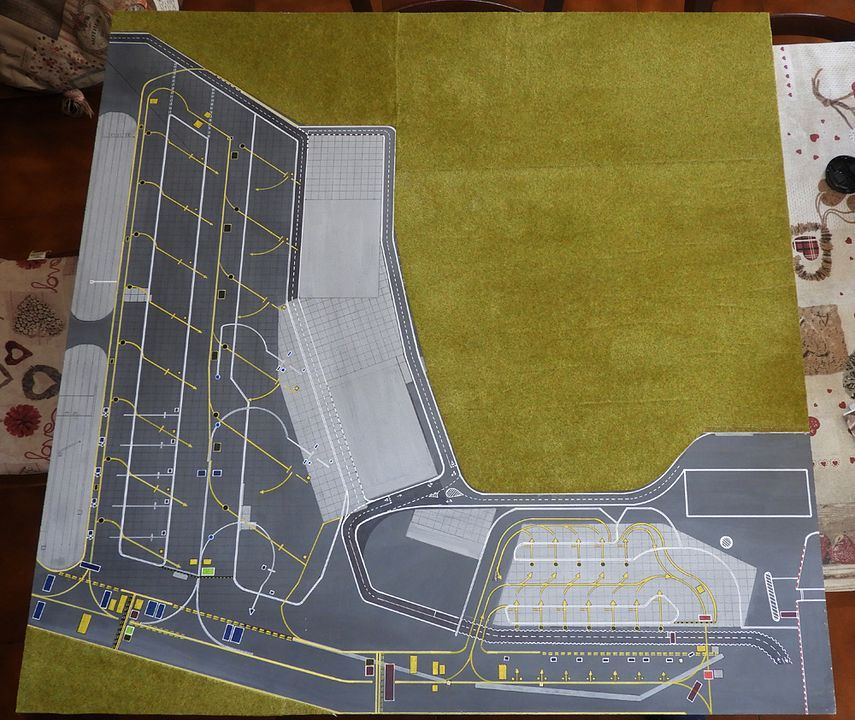
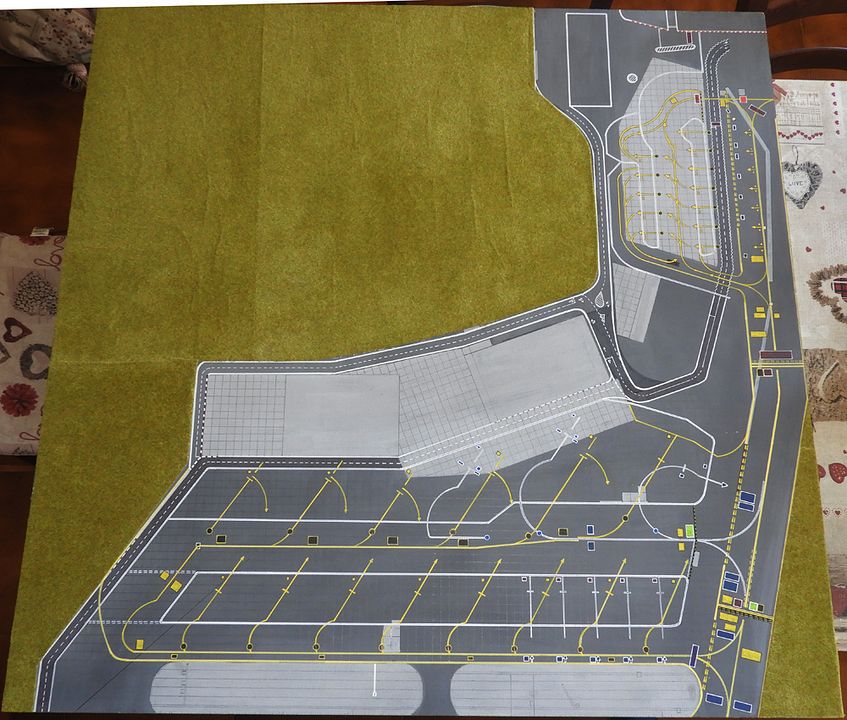
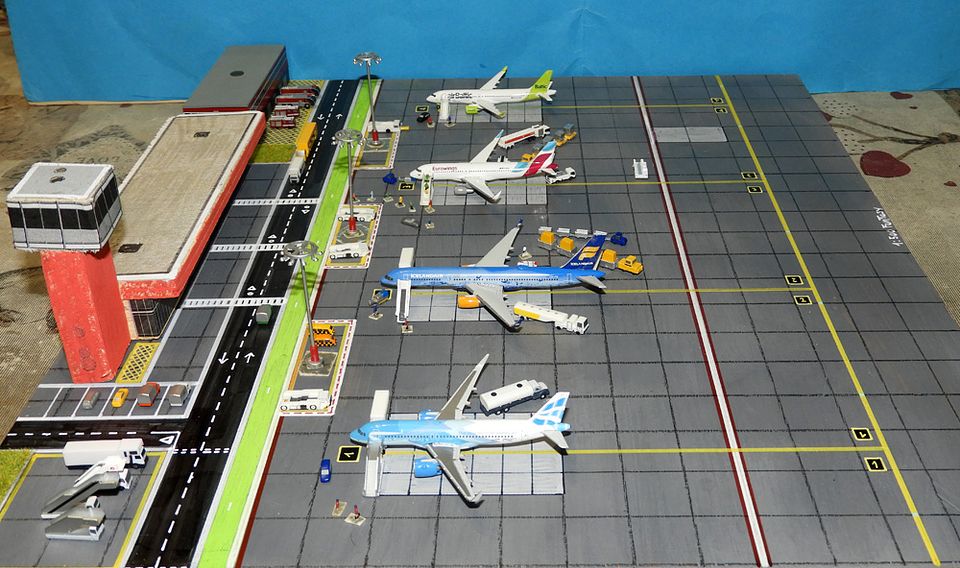
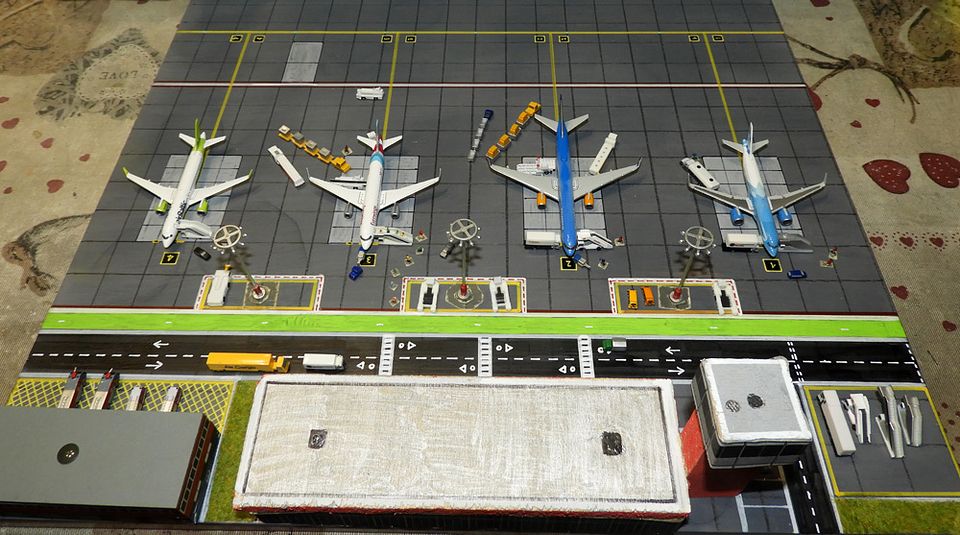
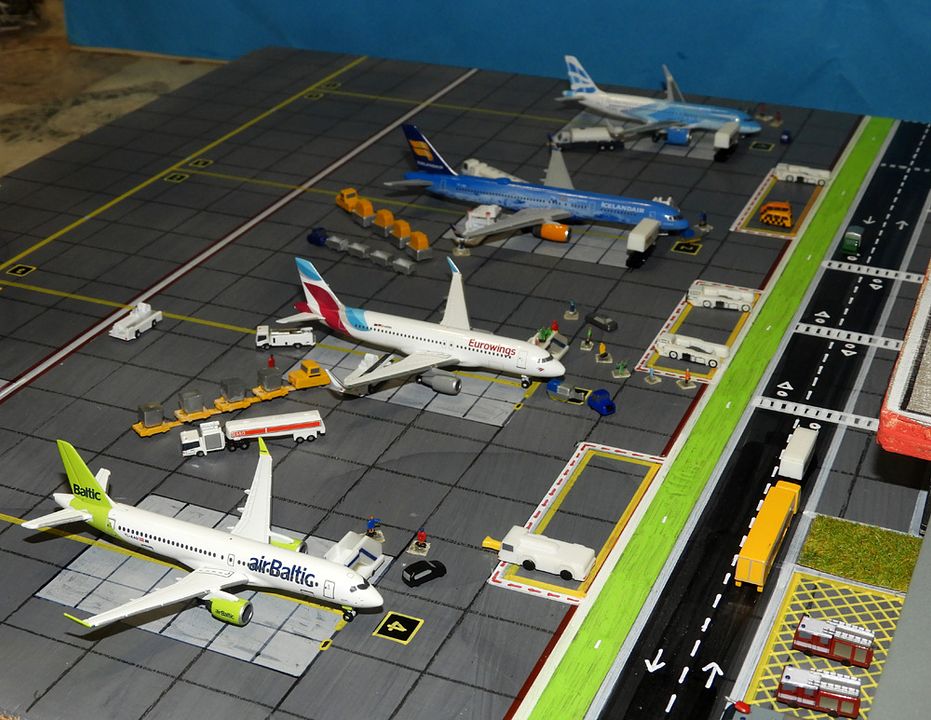
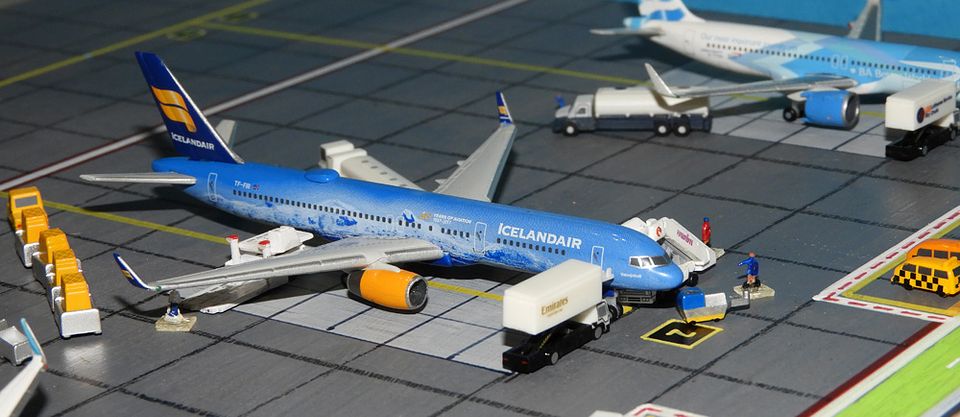
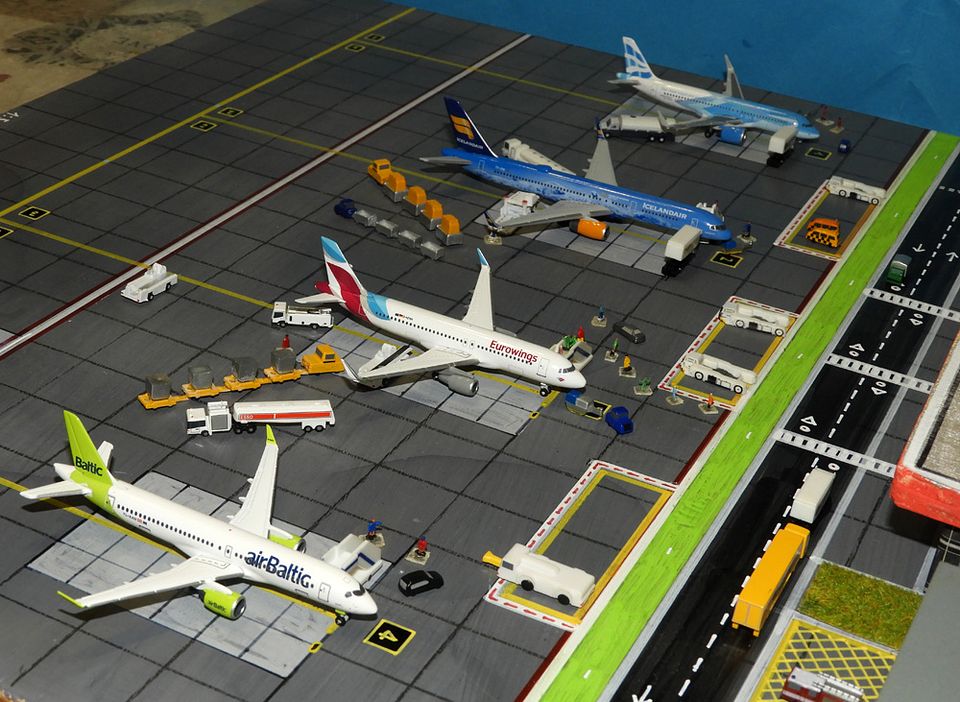
The tarmac of the apron and the asphalt of the runway, taxiway and service roads are grey: various shades of greys made mixing white and black with the right quantity of water and obtaining the right shade of grey according to the airport i want to create.
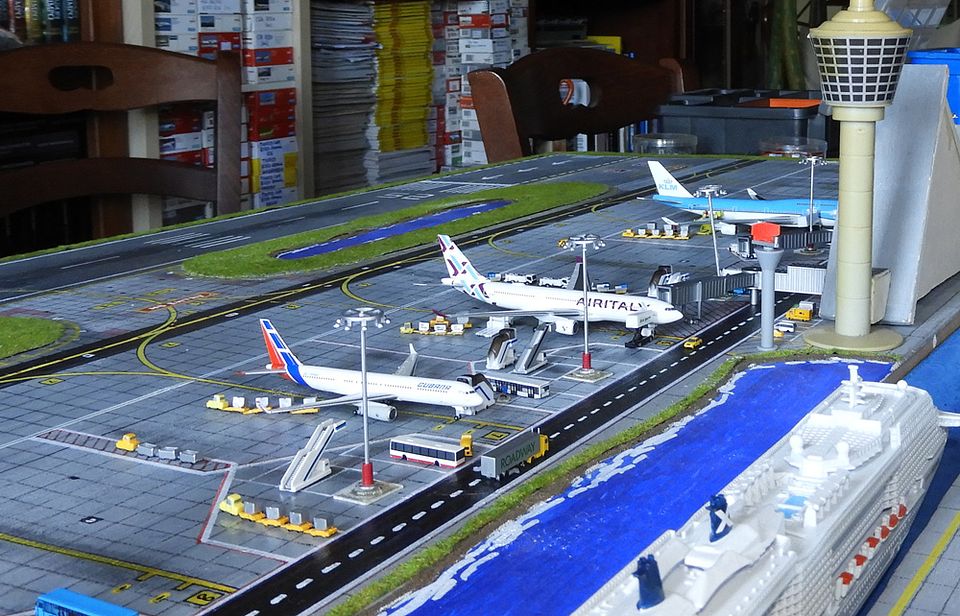
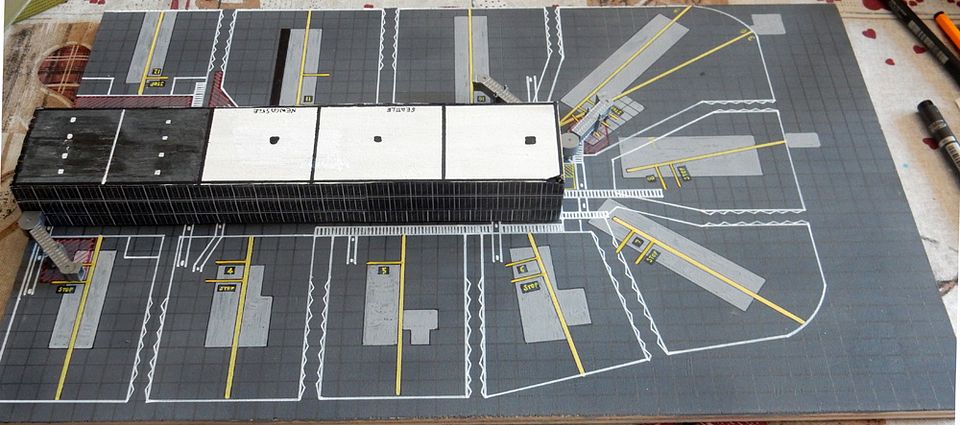
To create the various airports i use Google Maps, Bing Maps (for the airports obscured from the space because military...like those in Greece...) and pics taken directly from the airports websites.
So, paint with a good brush
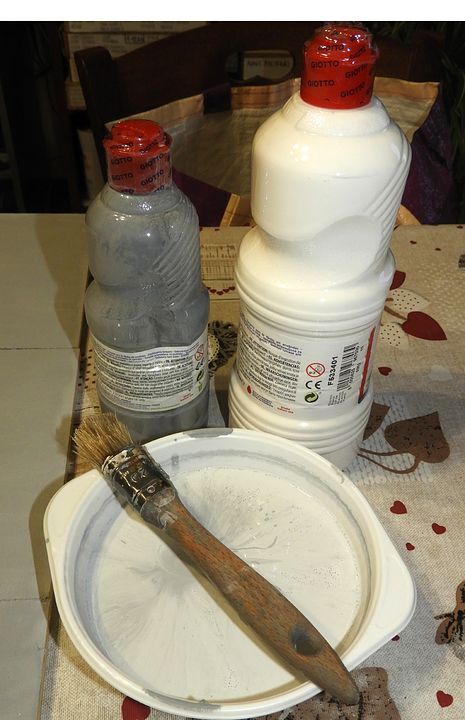
the wood panel
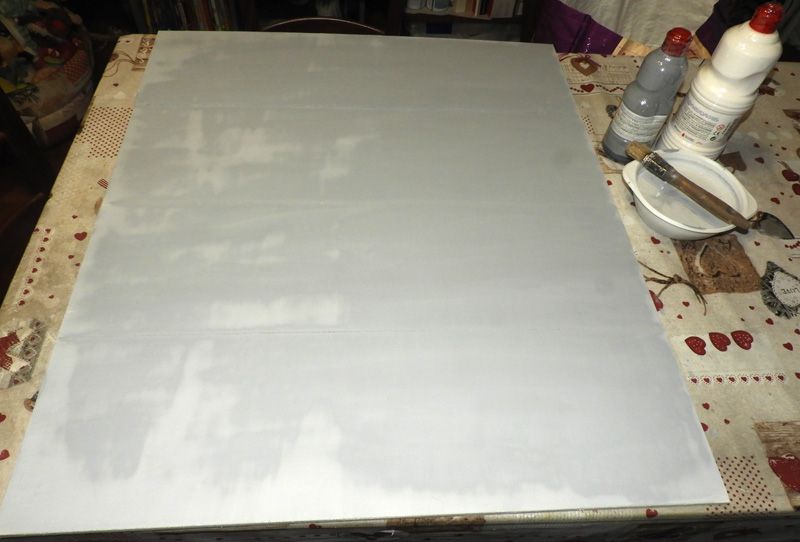
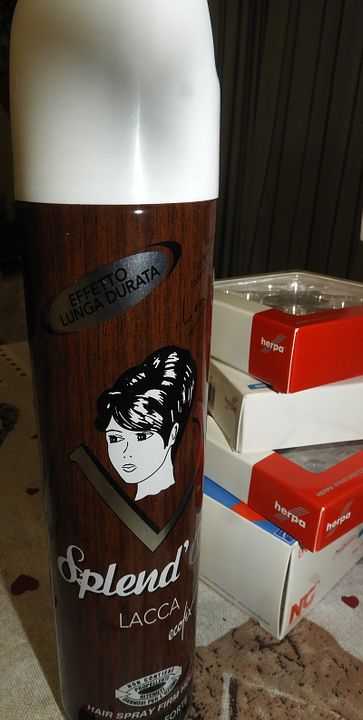
fixiing spray: once painted the paint must be fixed with a fixiing spray. Only after it has been fixed we can move on to the next step.
To save costs i use hair spray, cheaper than the usual fixiing spray and with the same, almost perfect, effect.
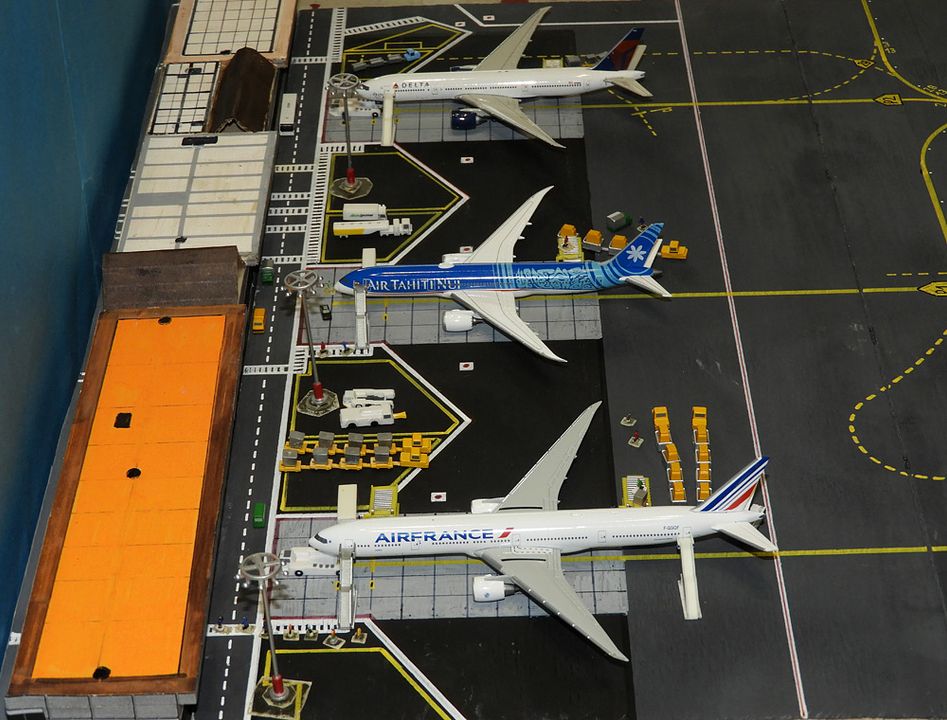
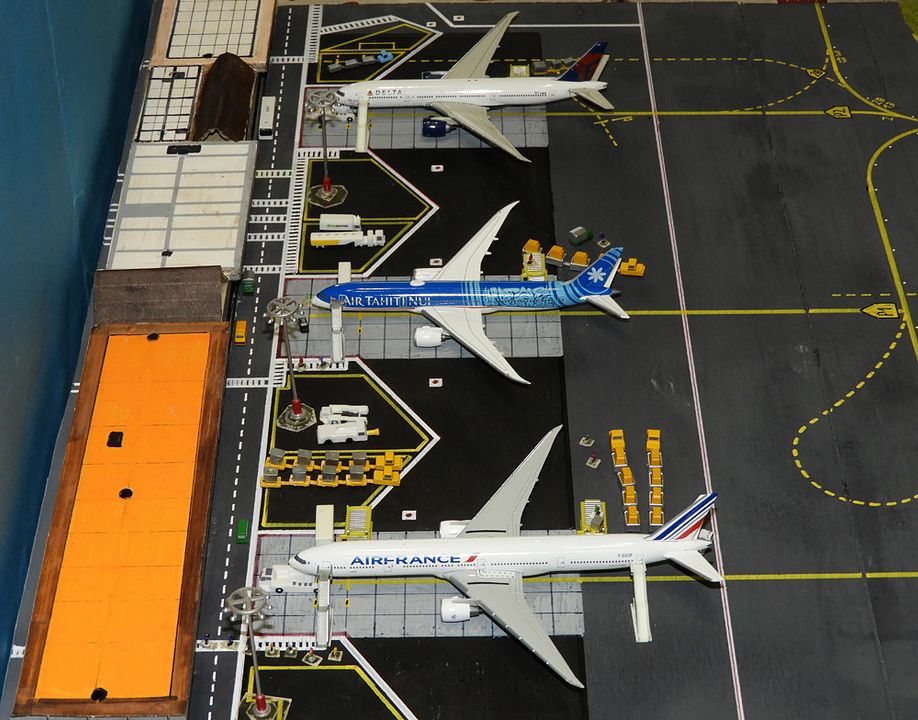
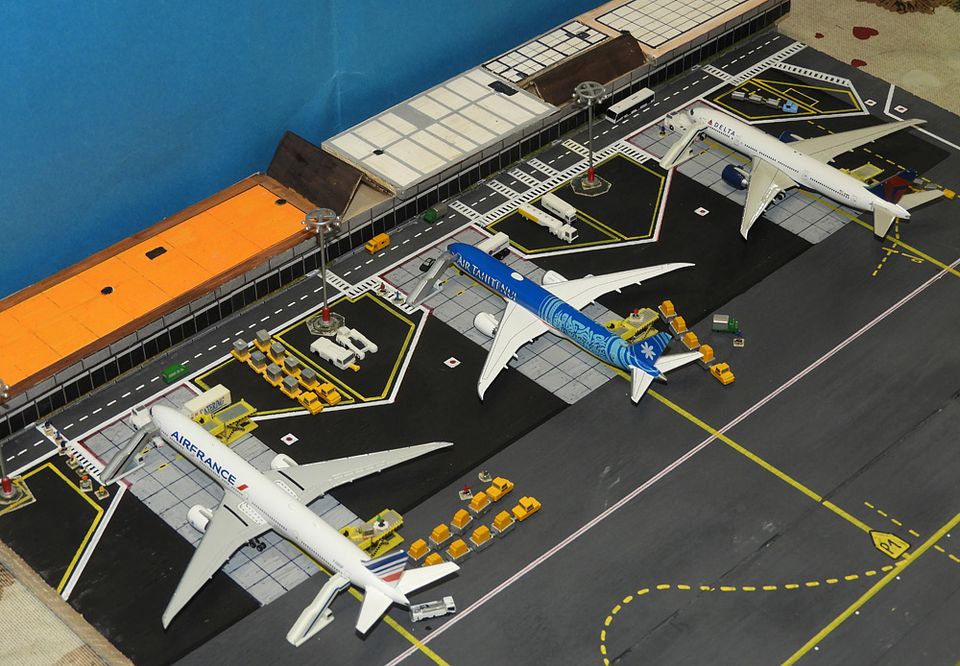
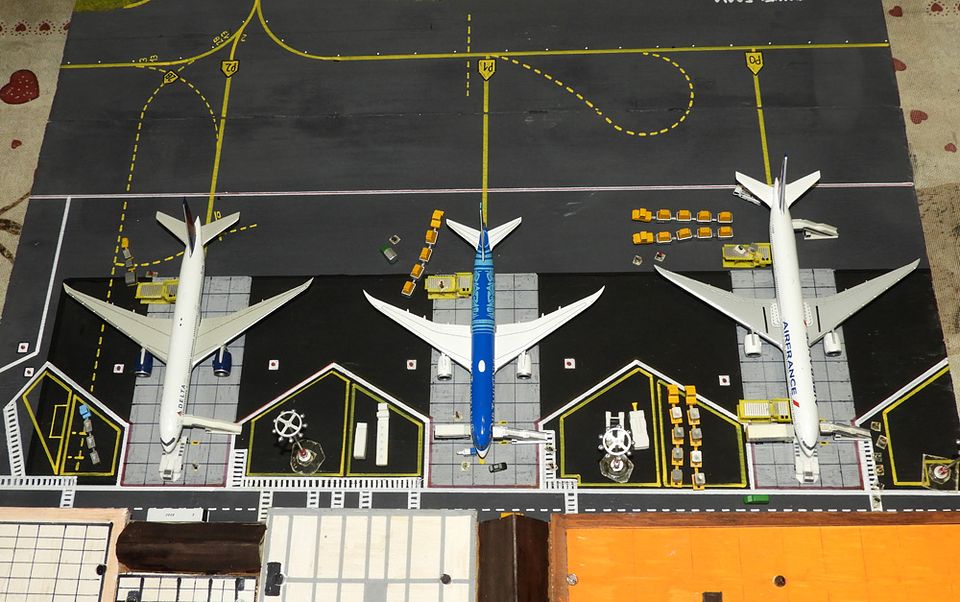
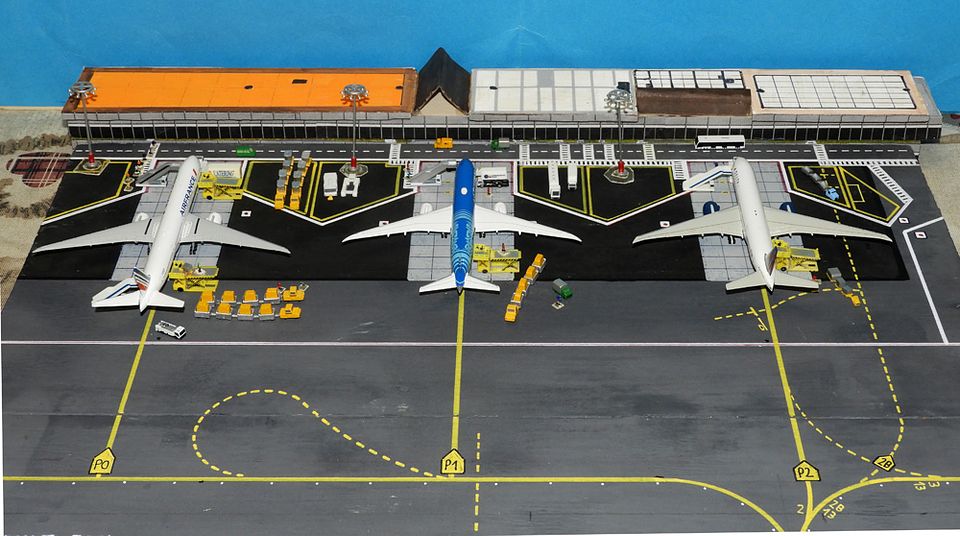
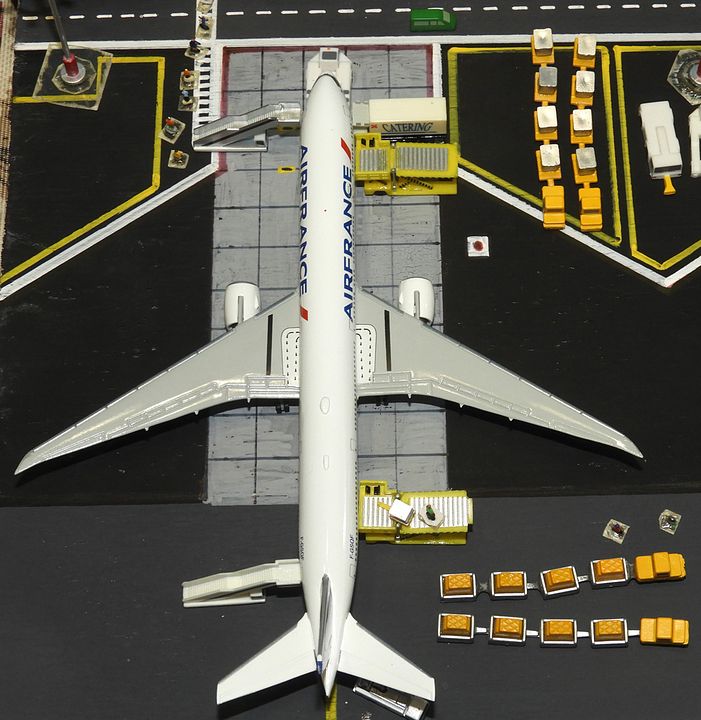
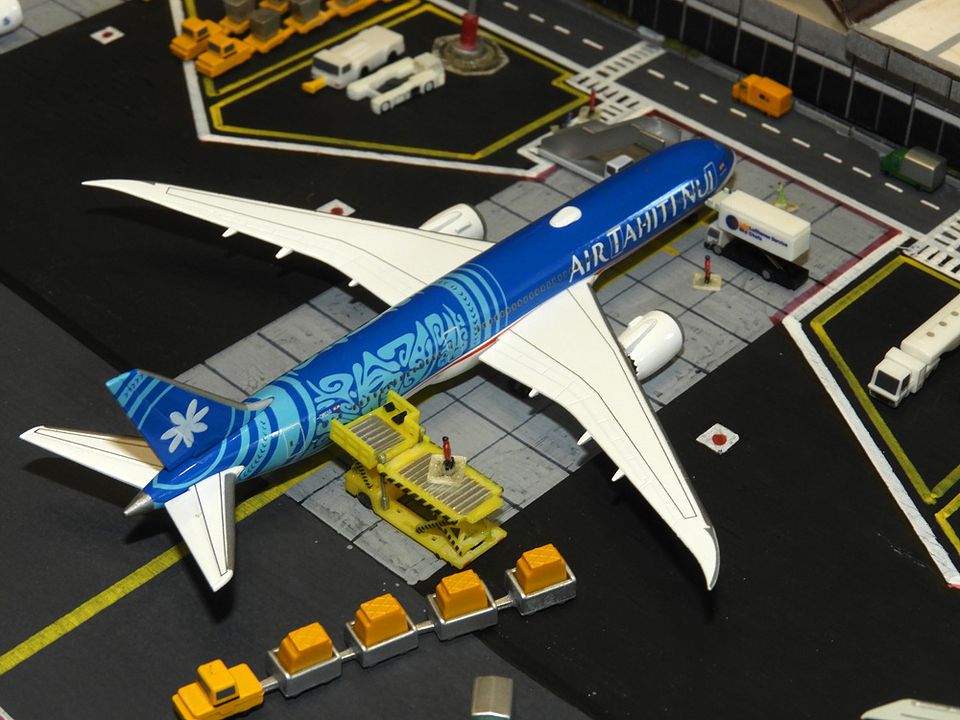
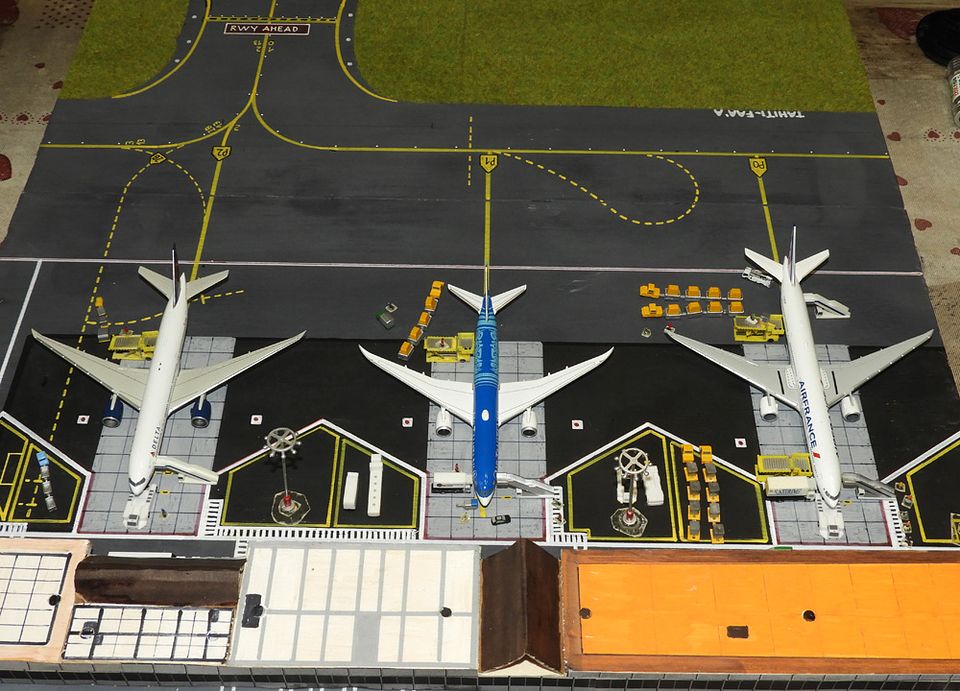
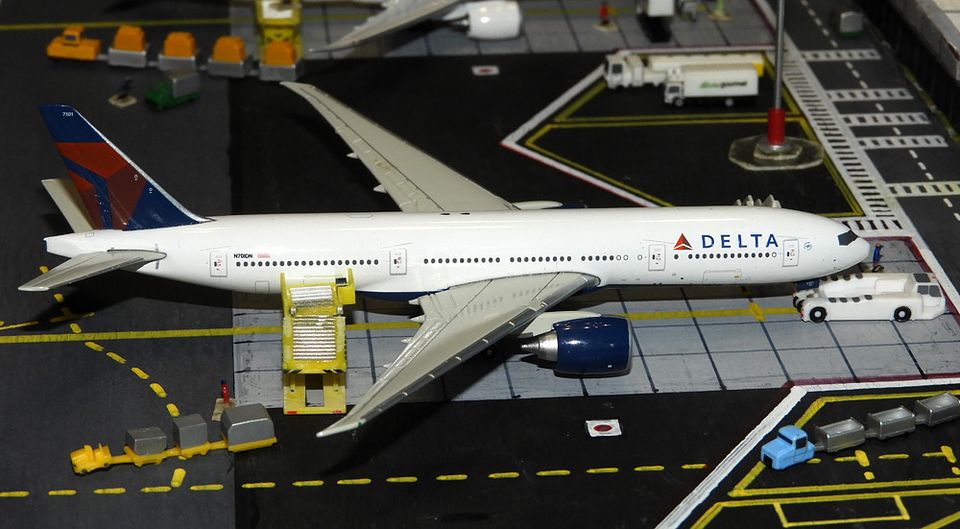
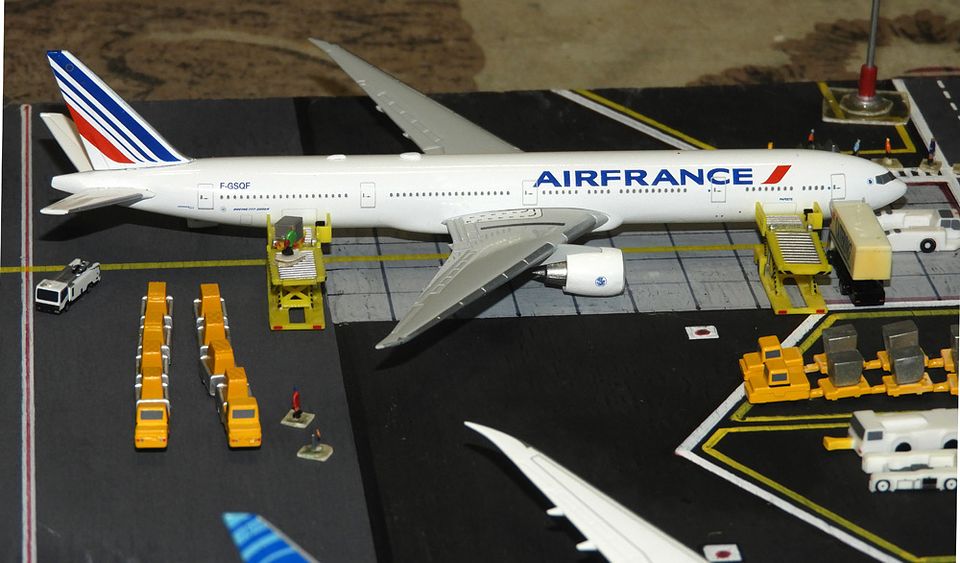
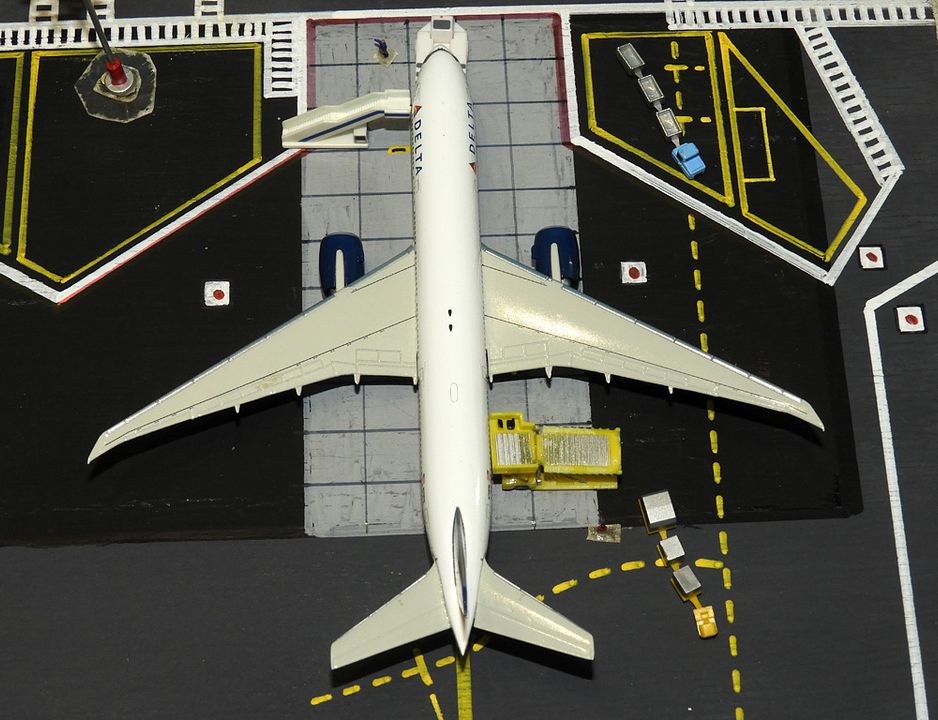
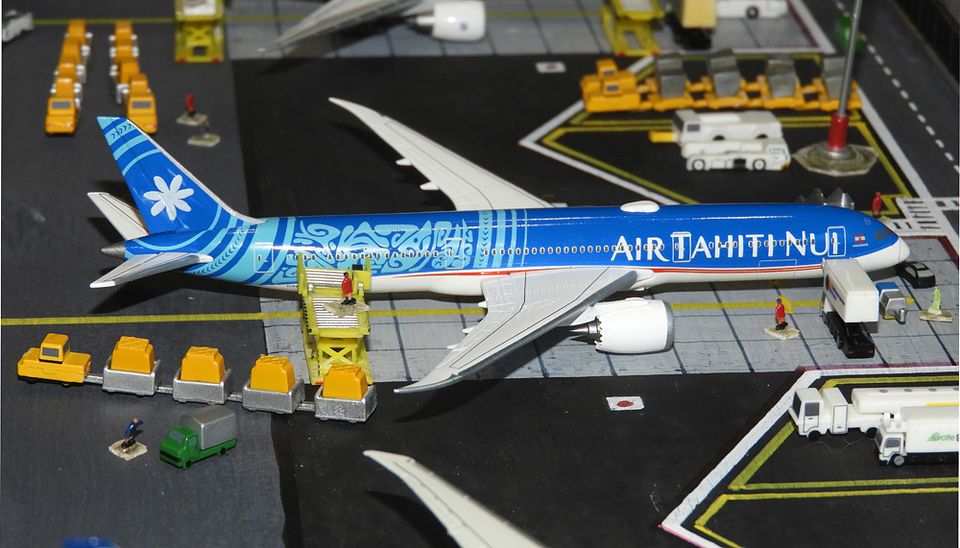
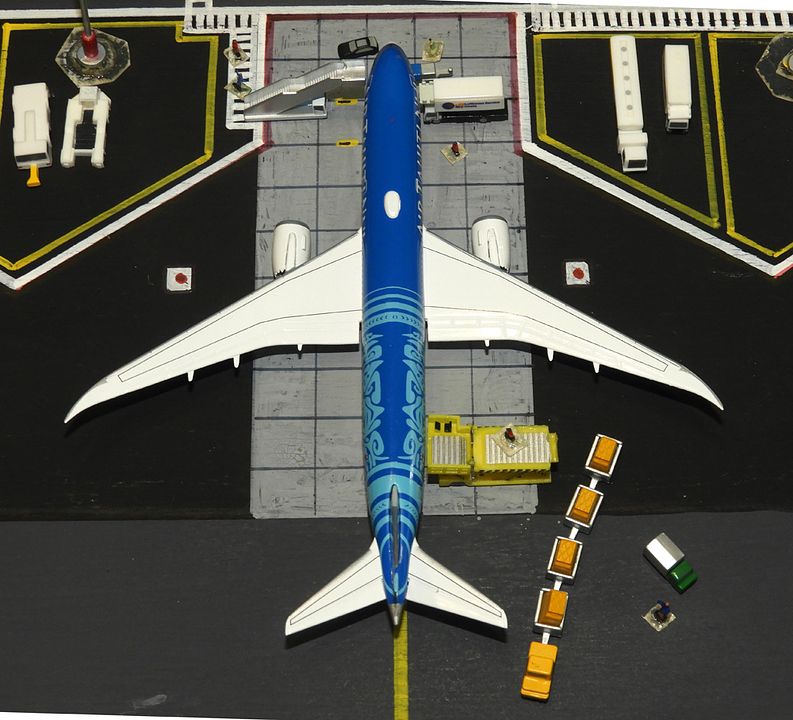
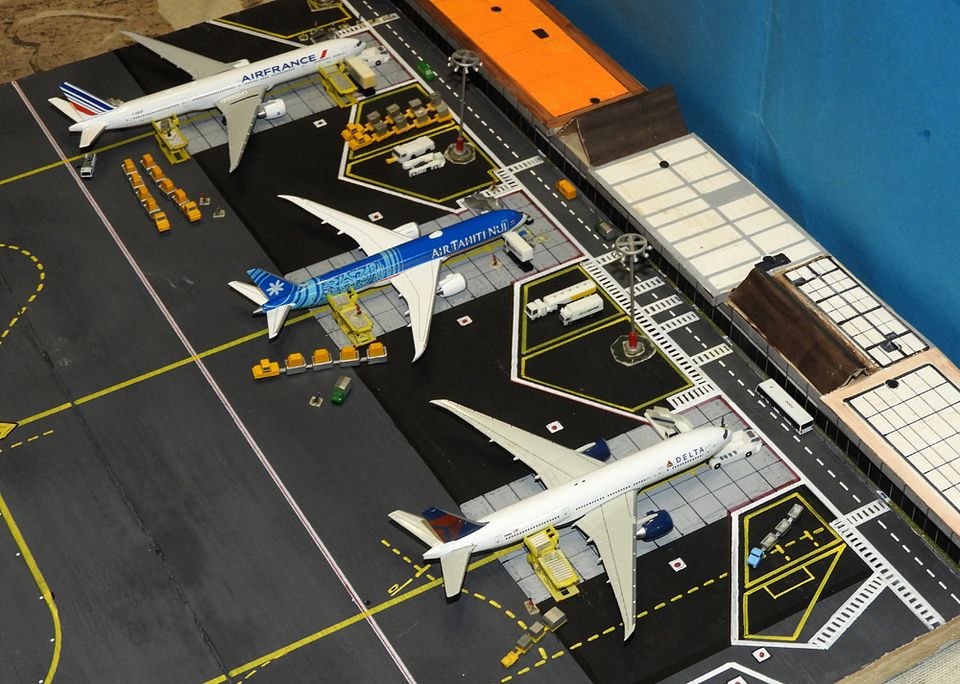
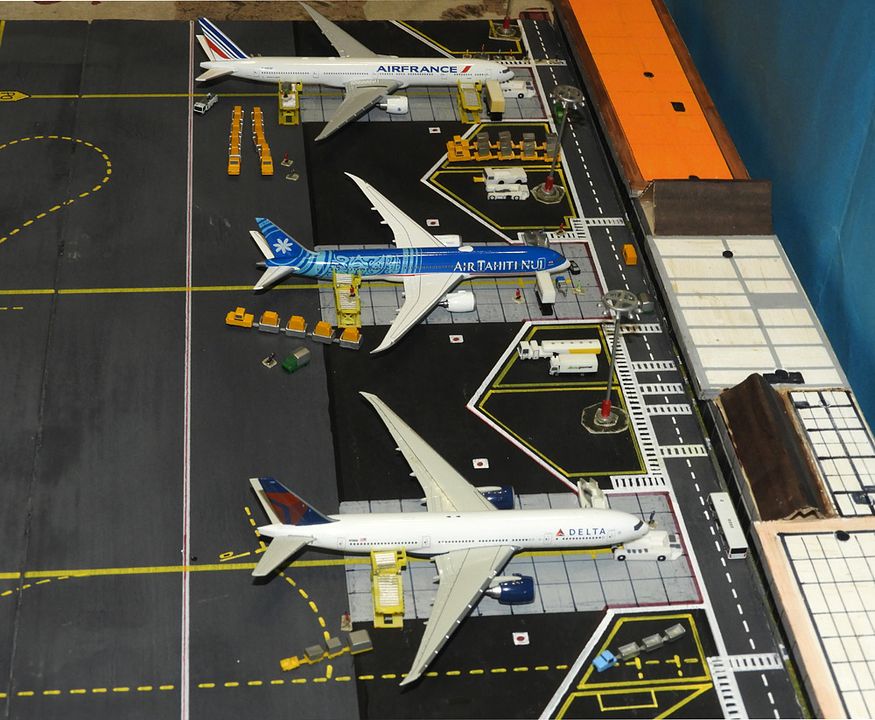
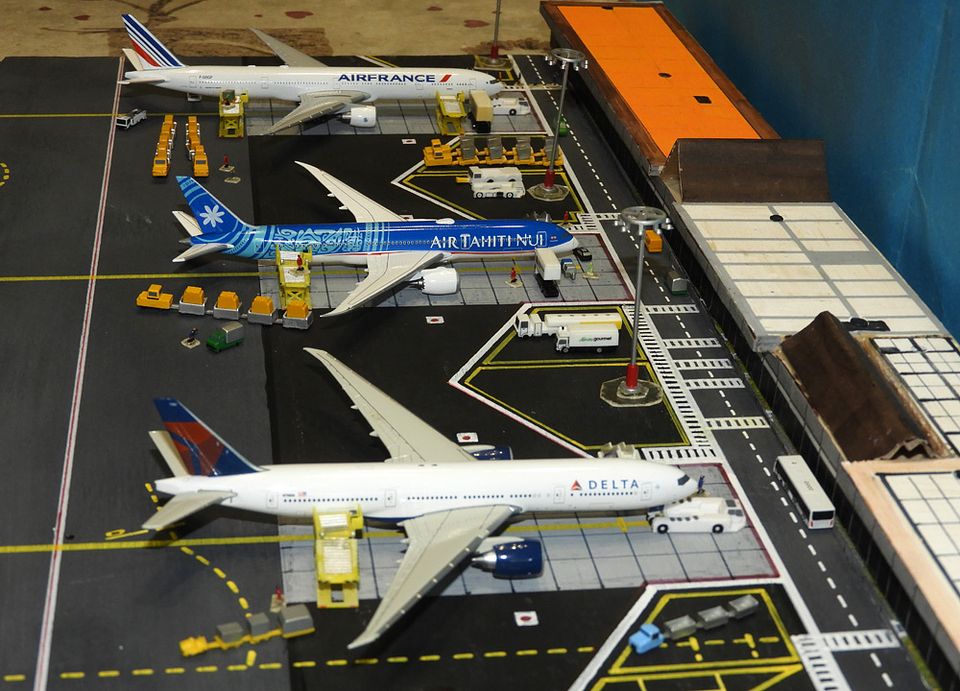
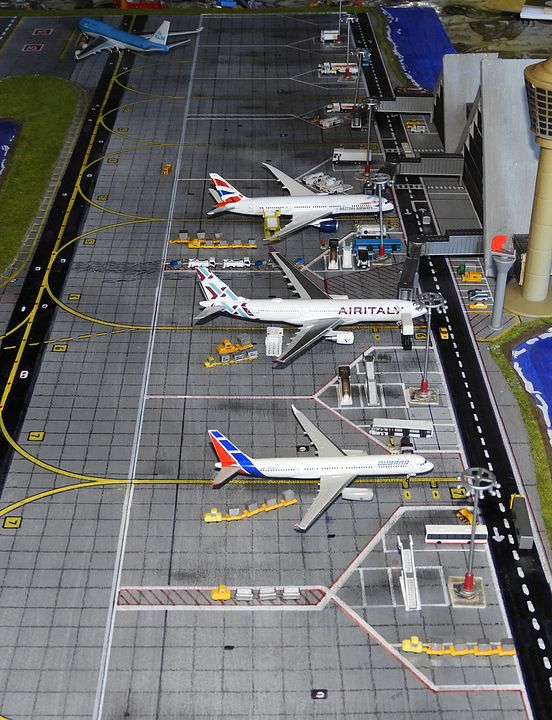
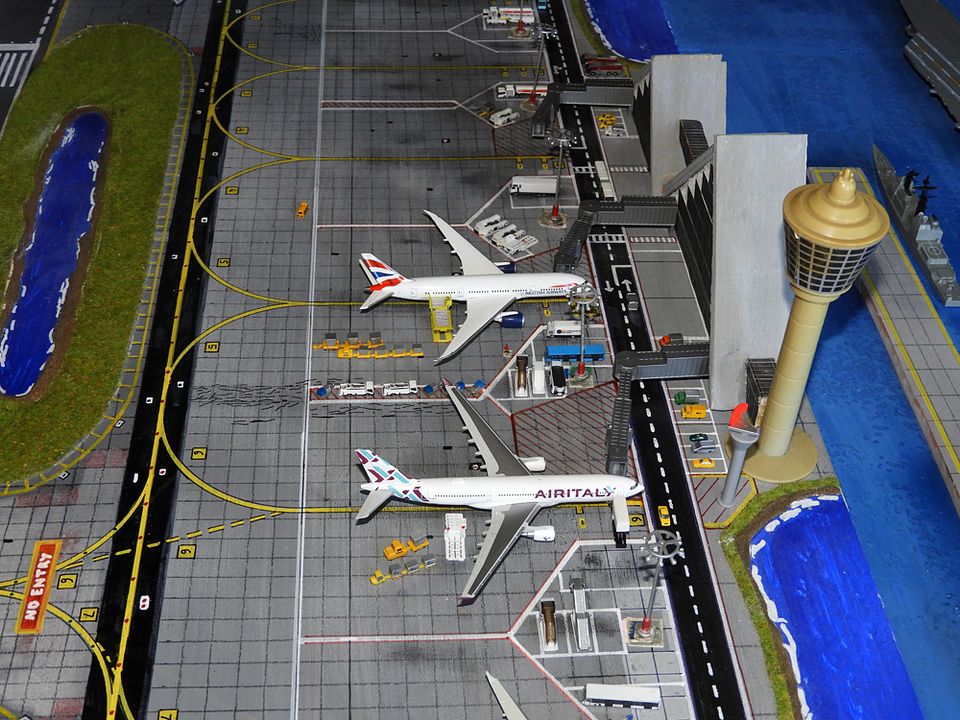
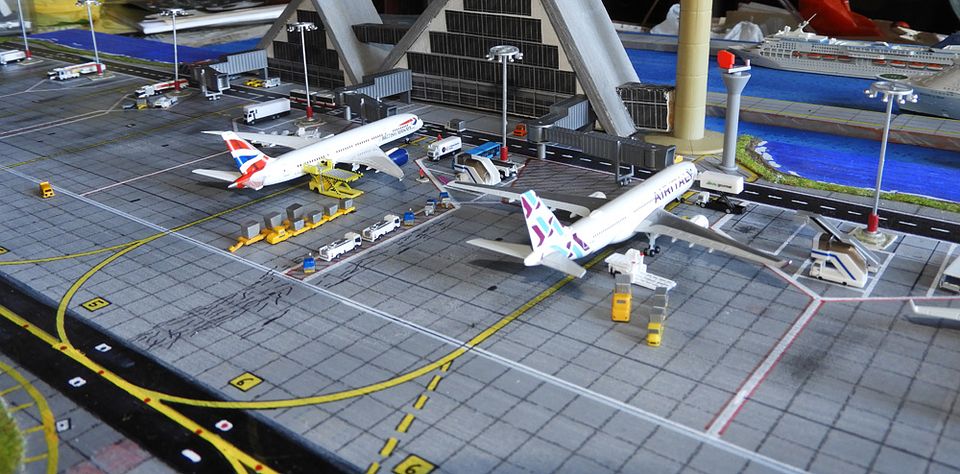
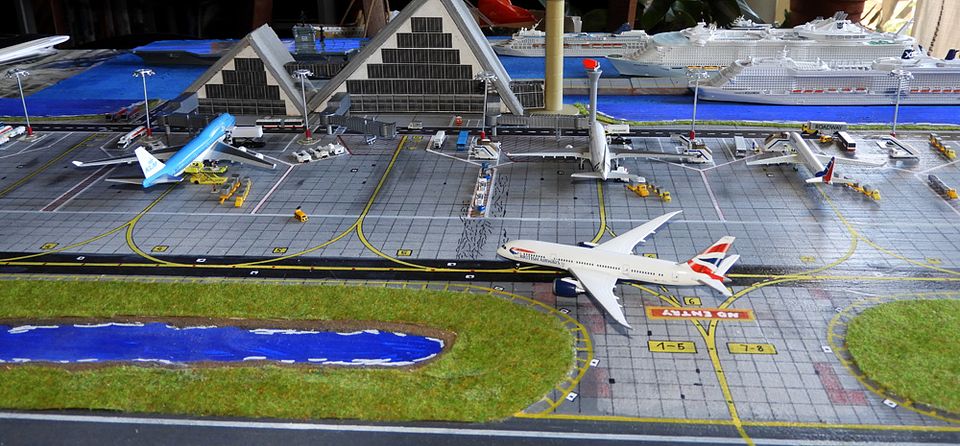
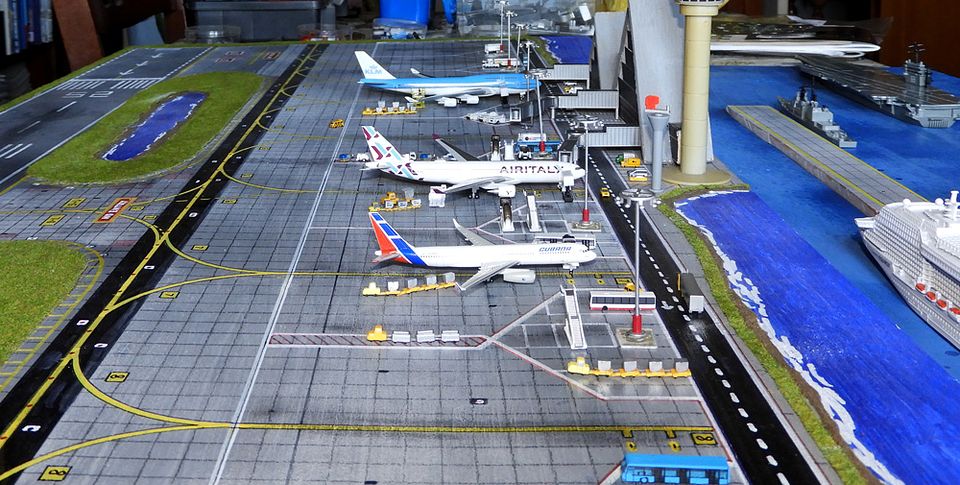
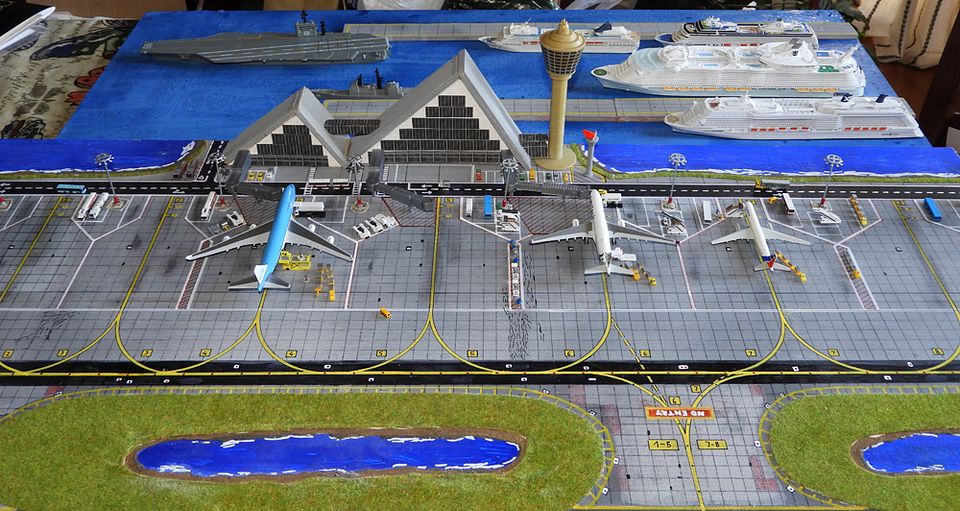
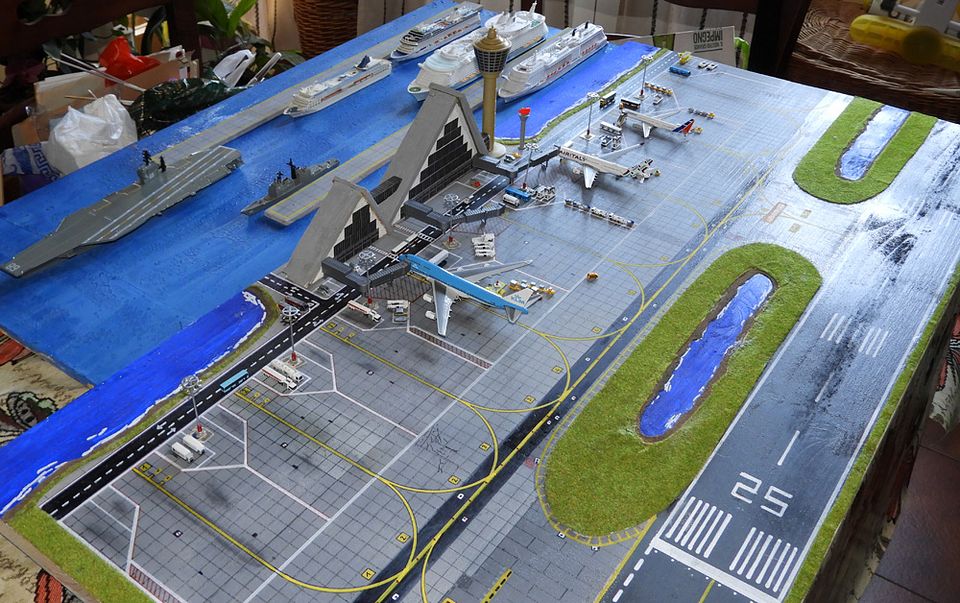
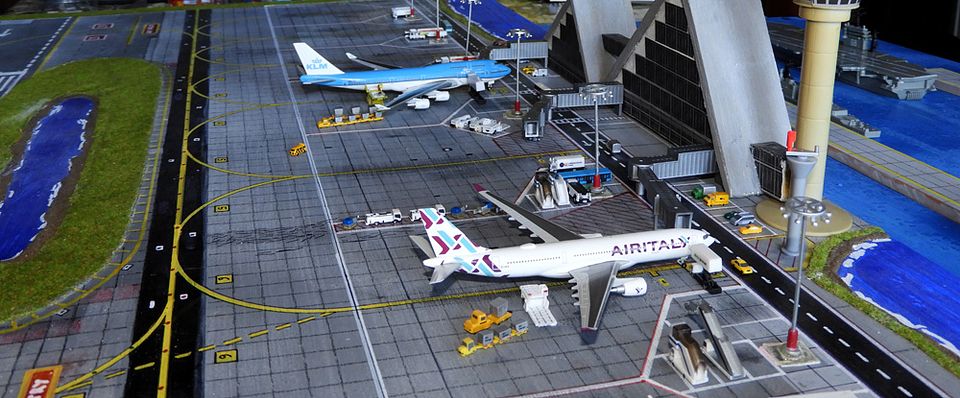
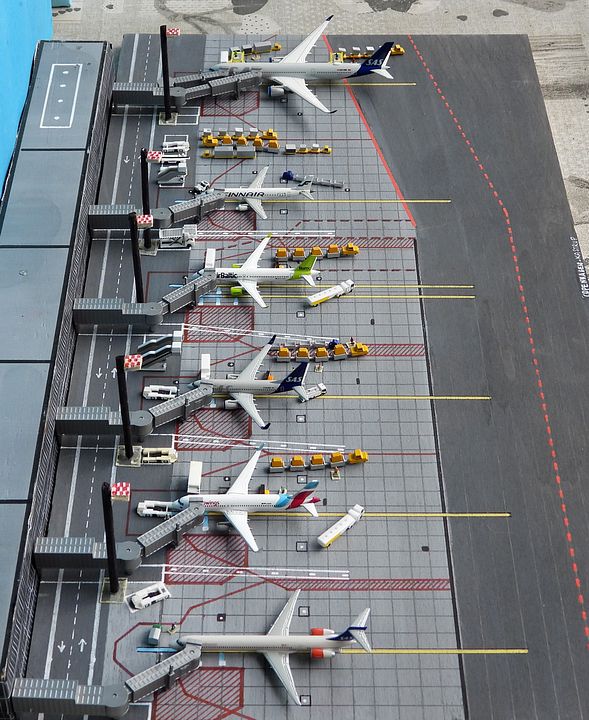
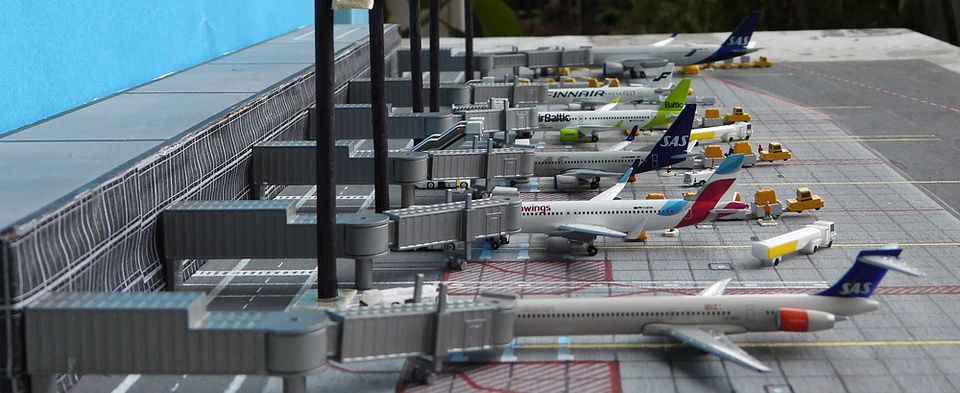
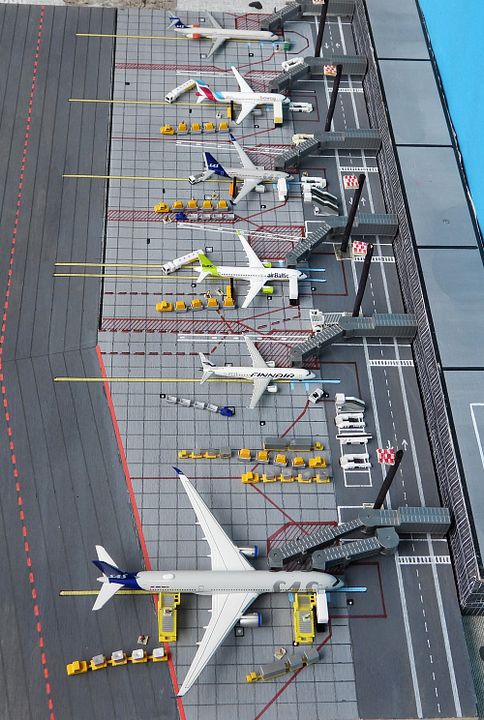
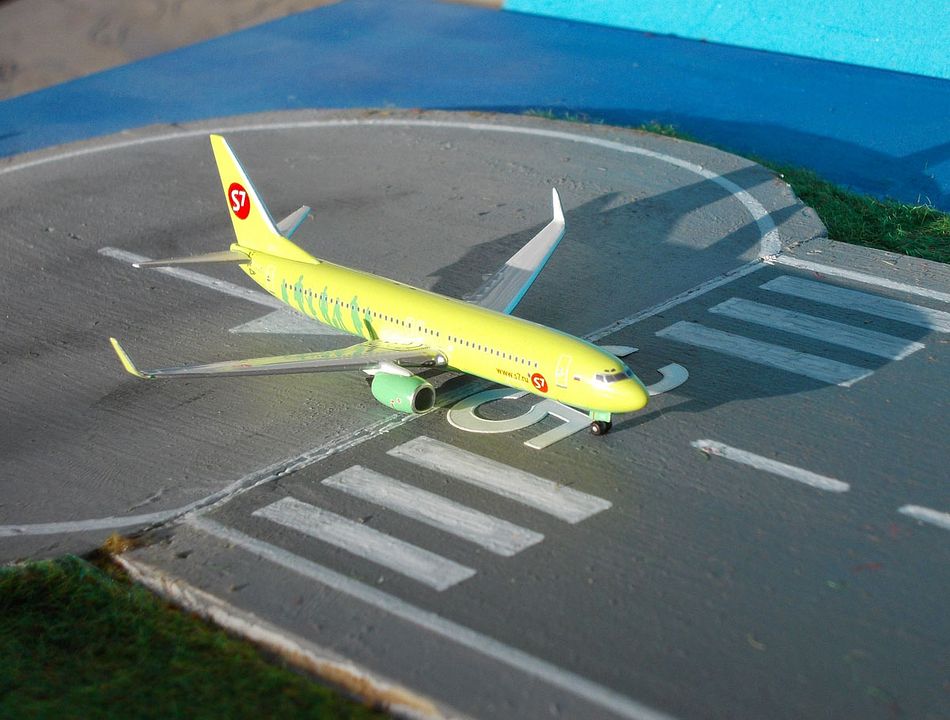
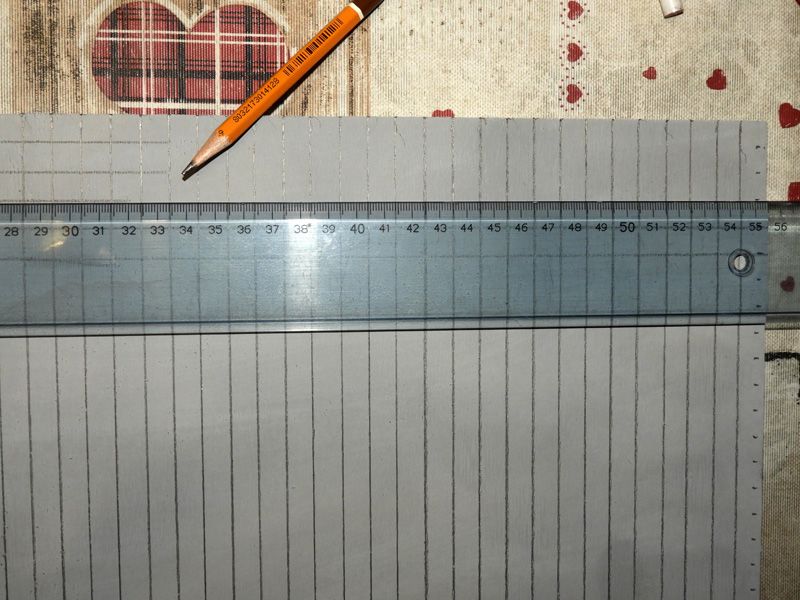
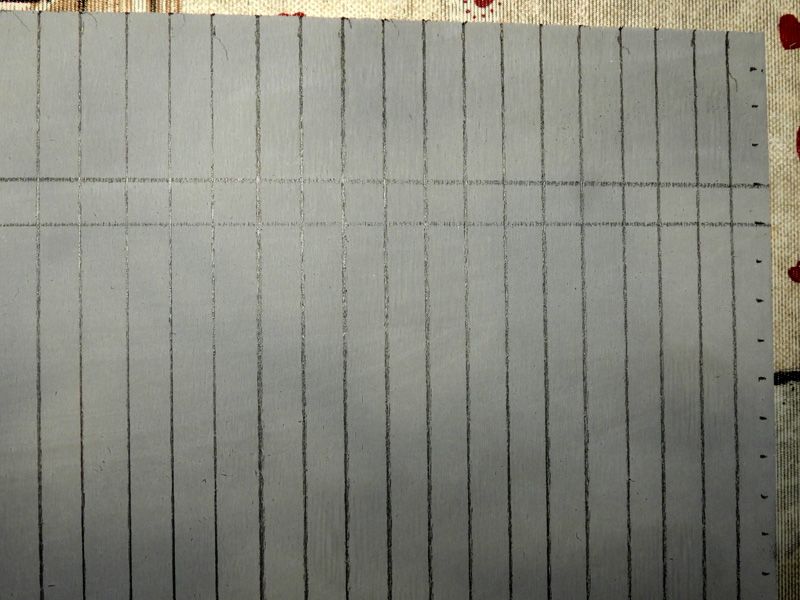
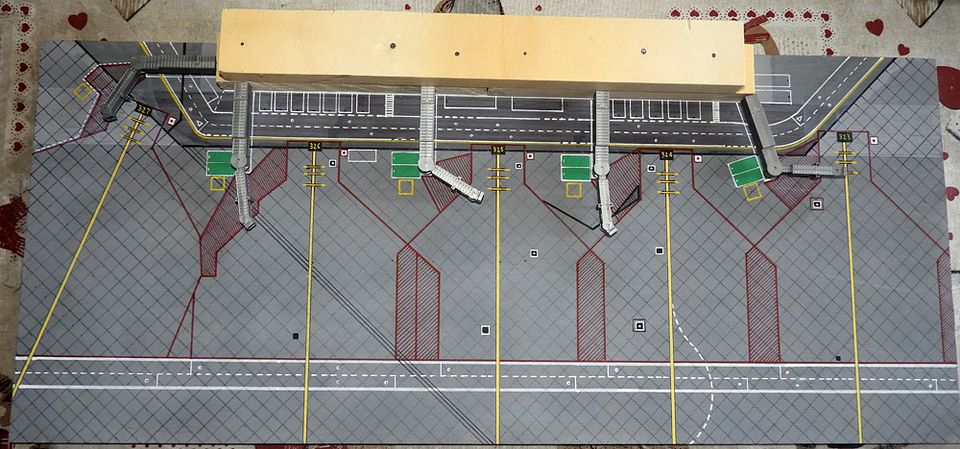
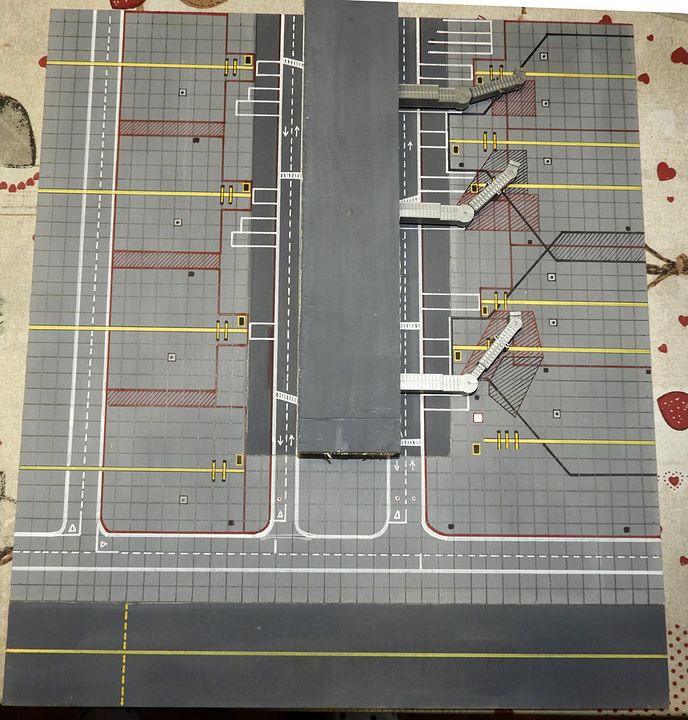
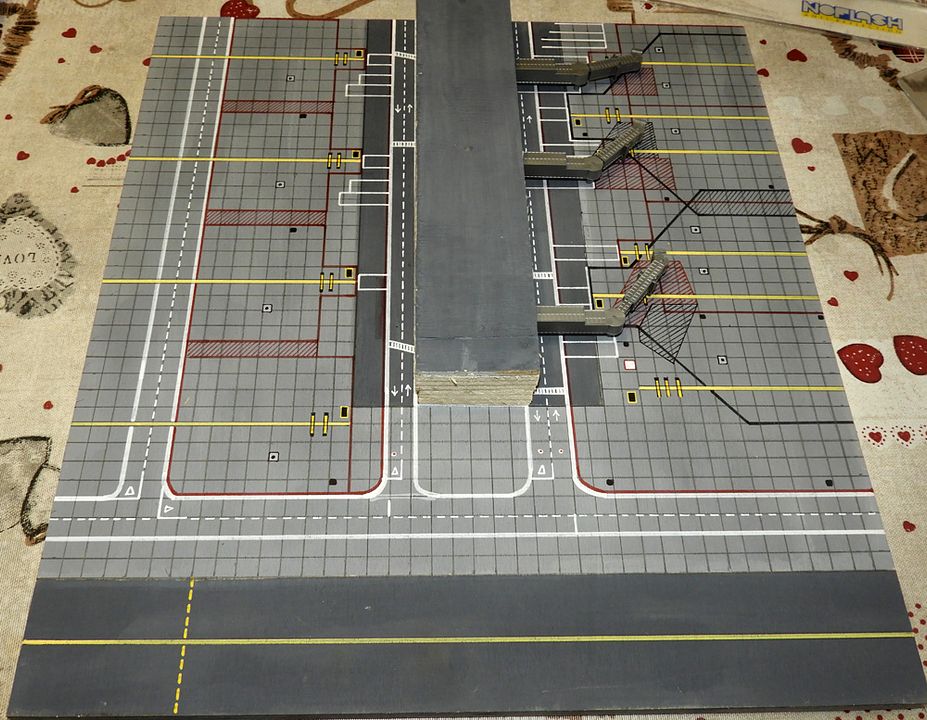
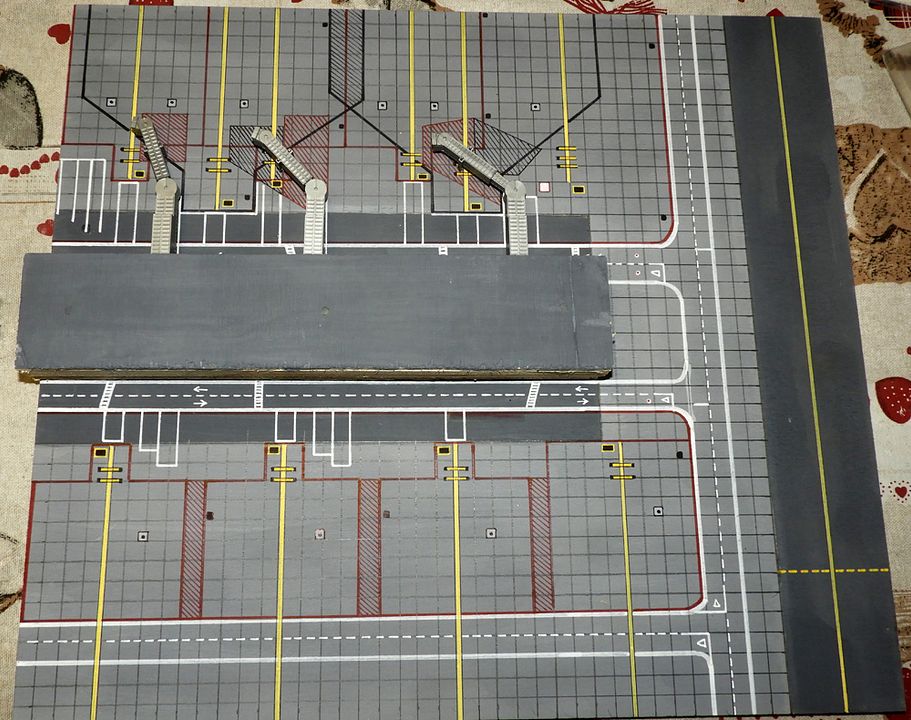
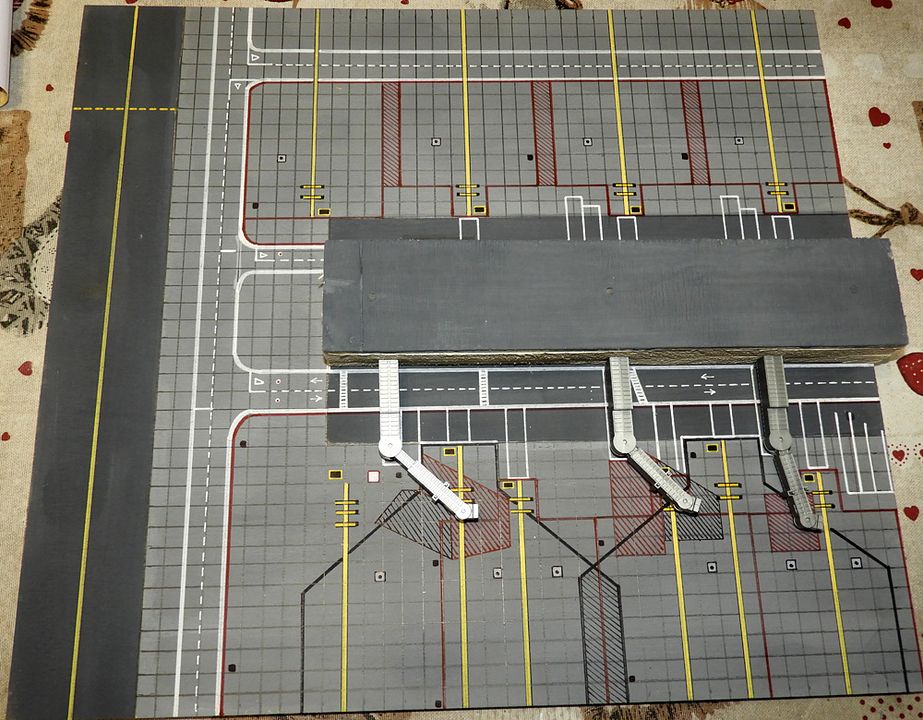
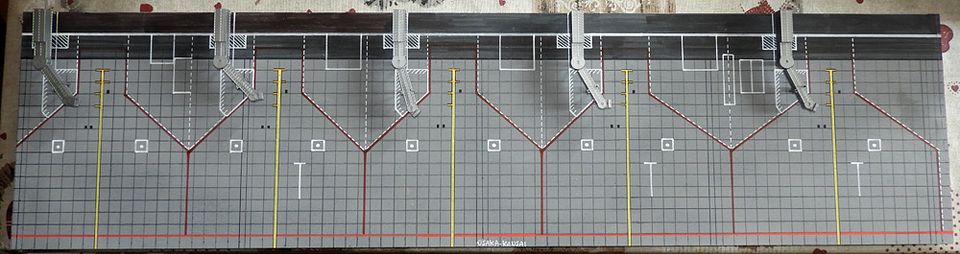
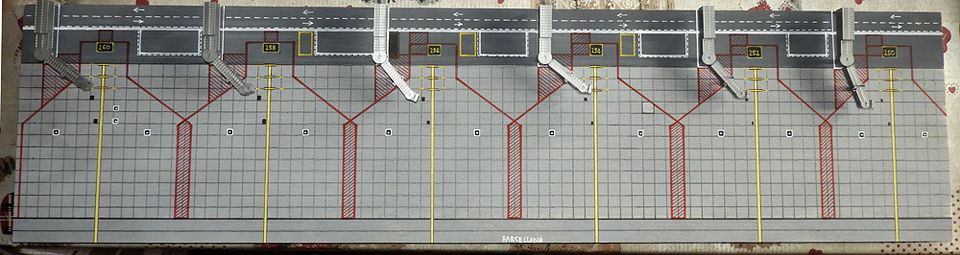
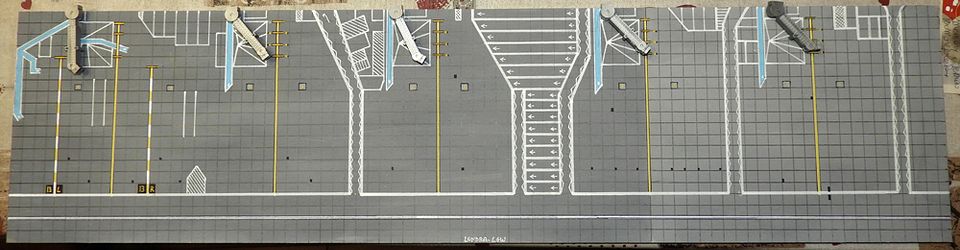
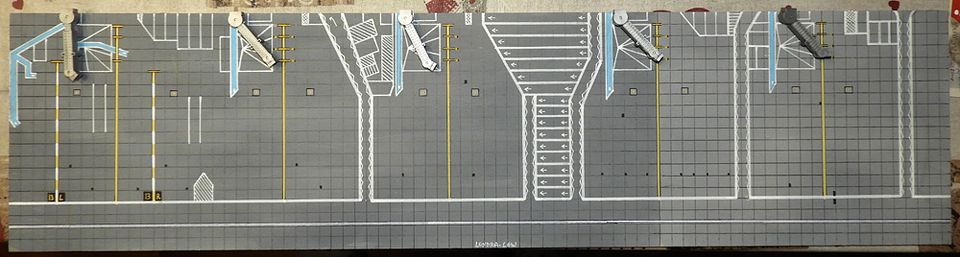
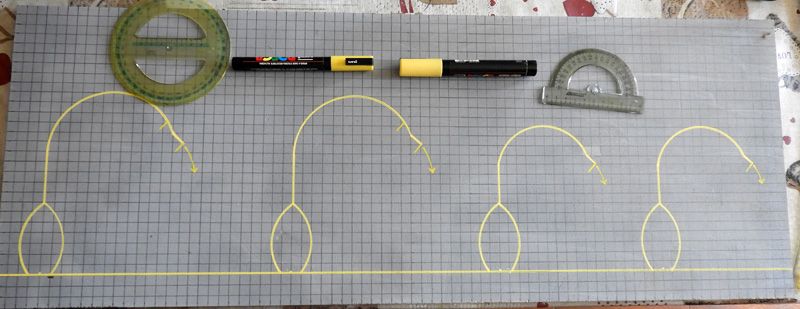
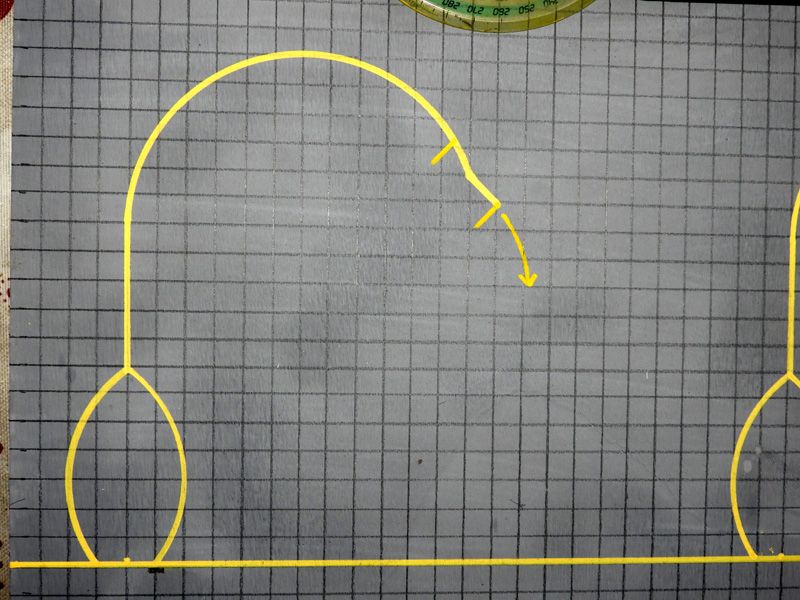
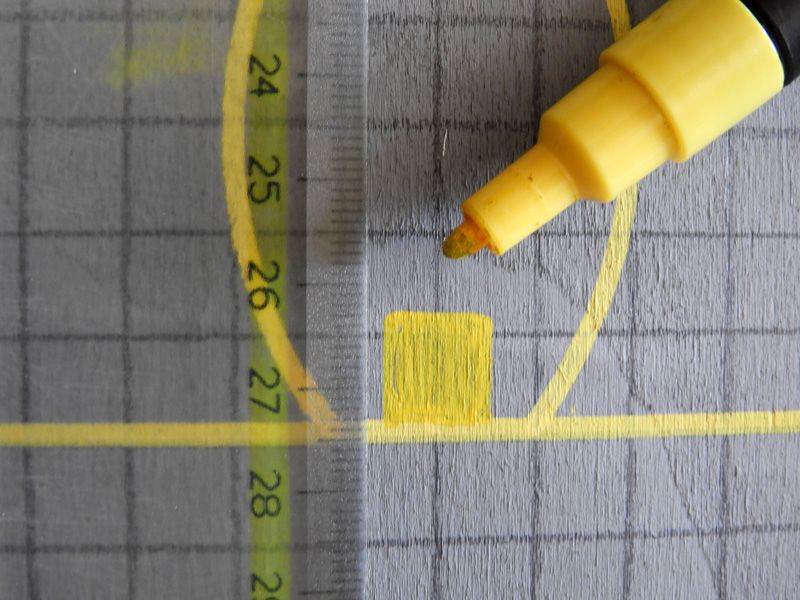
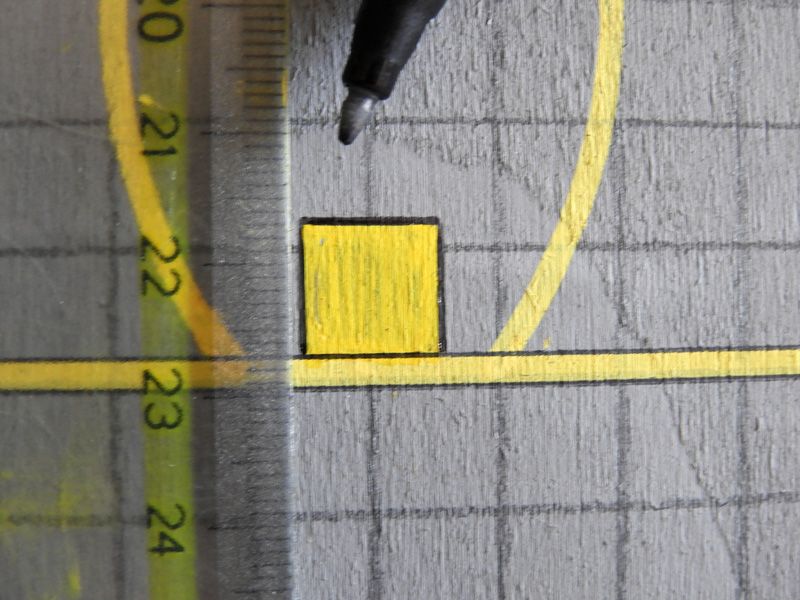
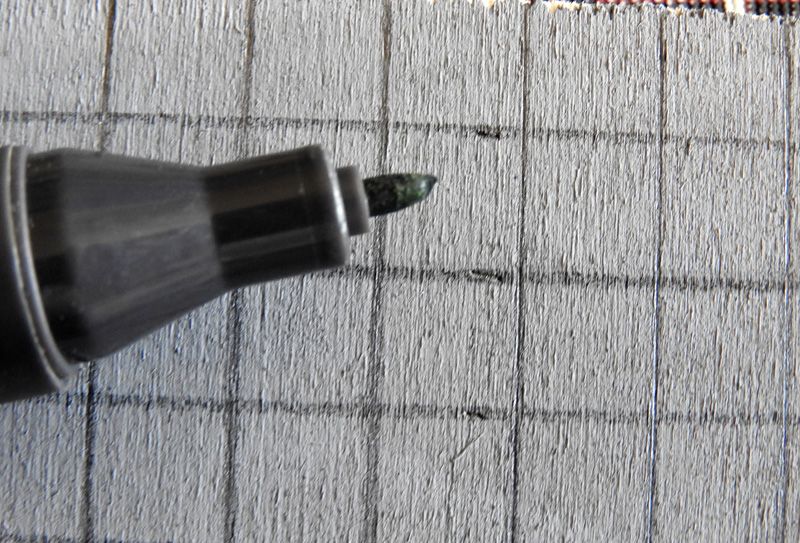
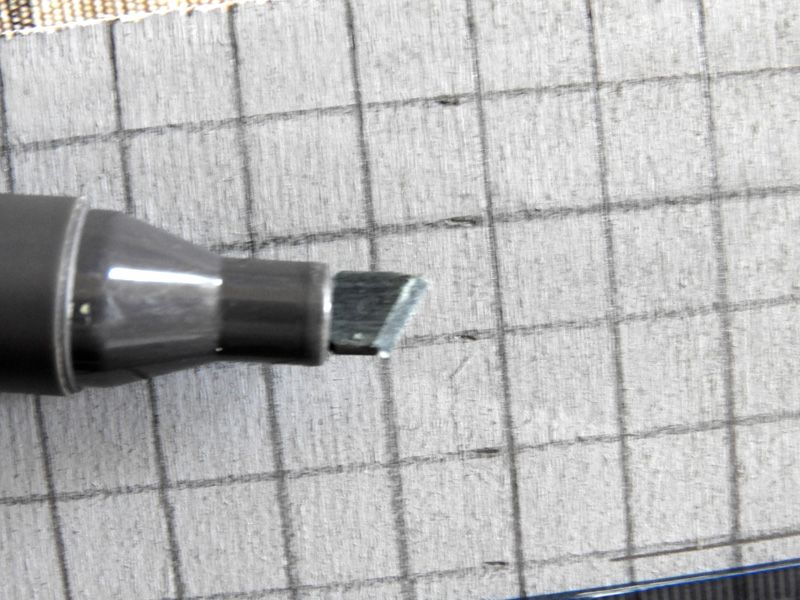
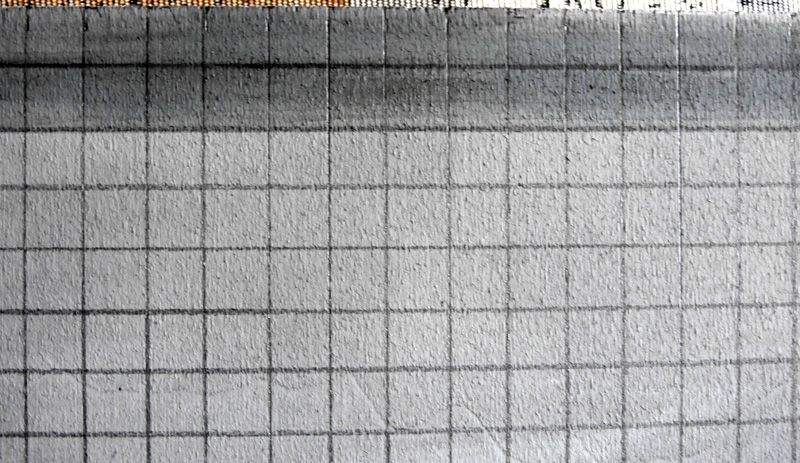
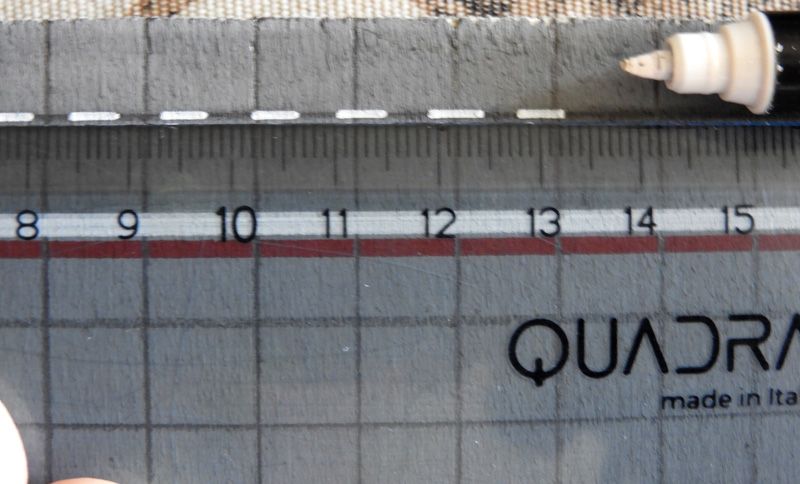
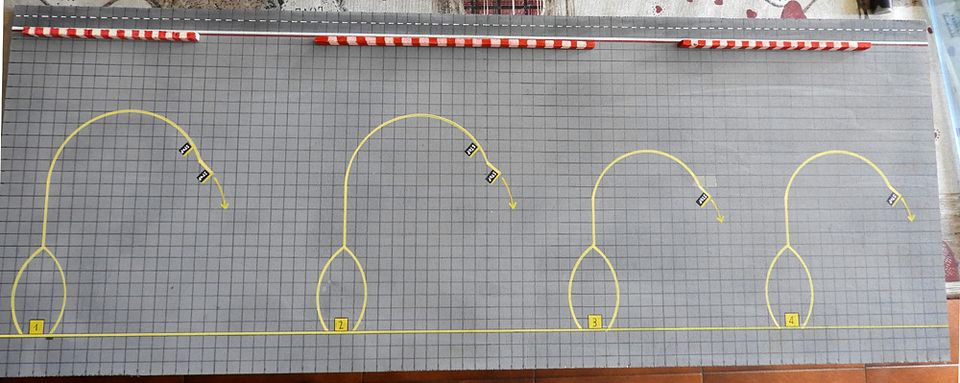
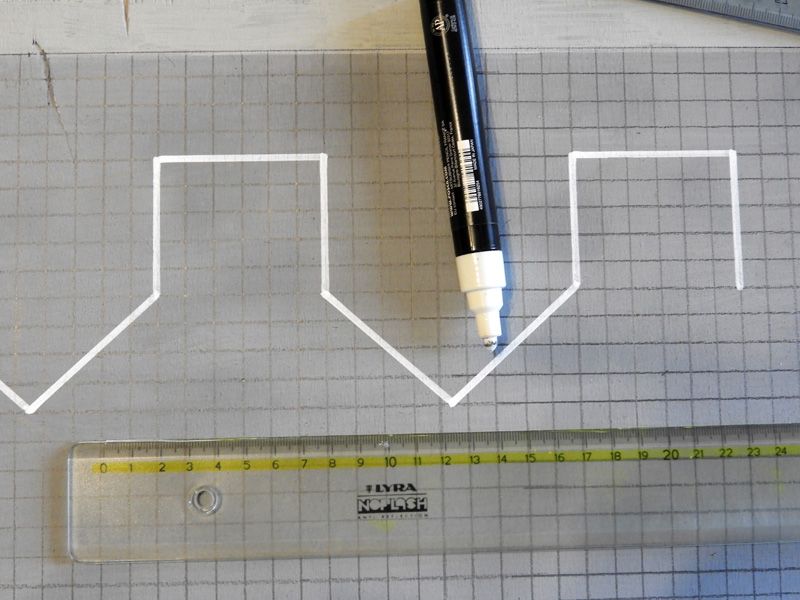
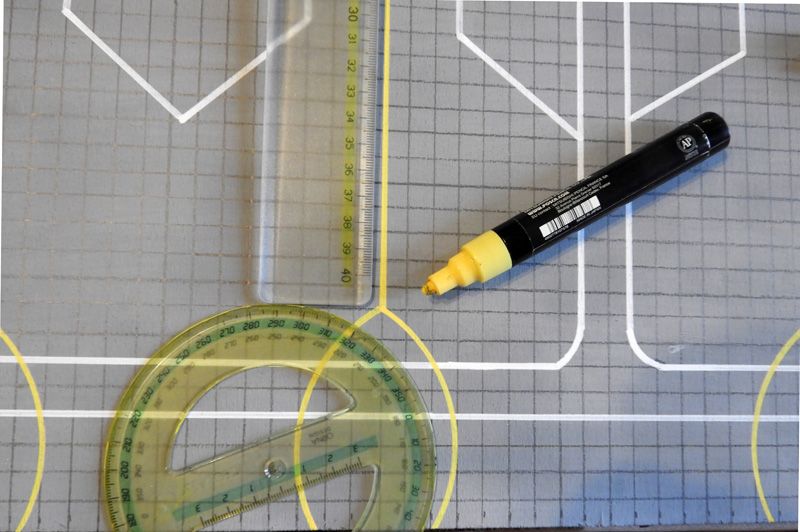
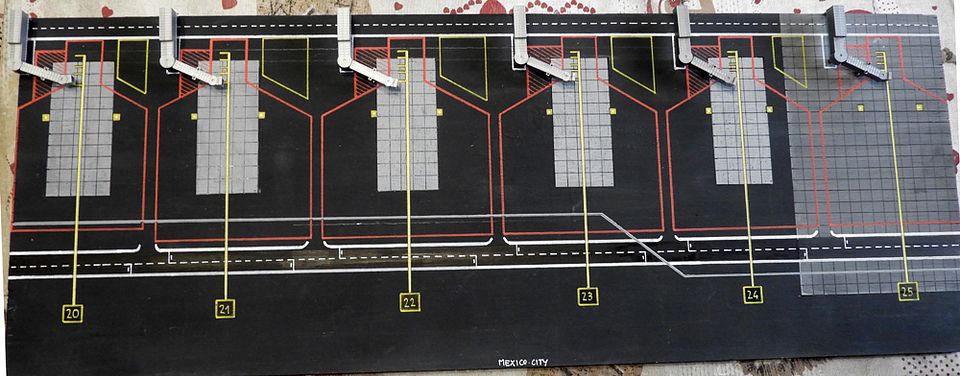
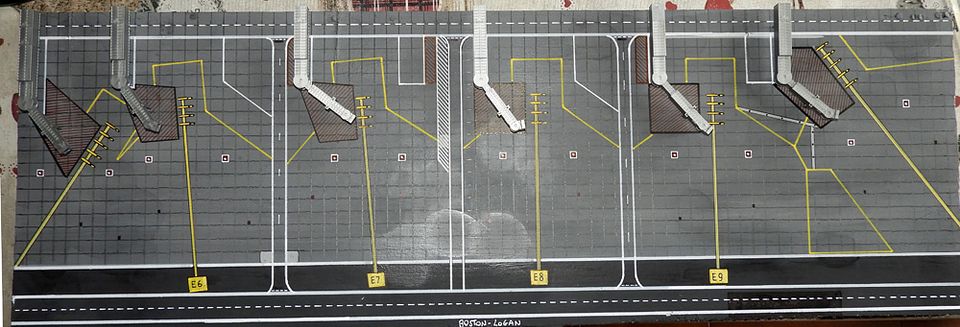
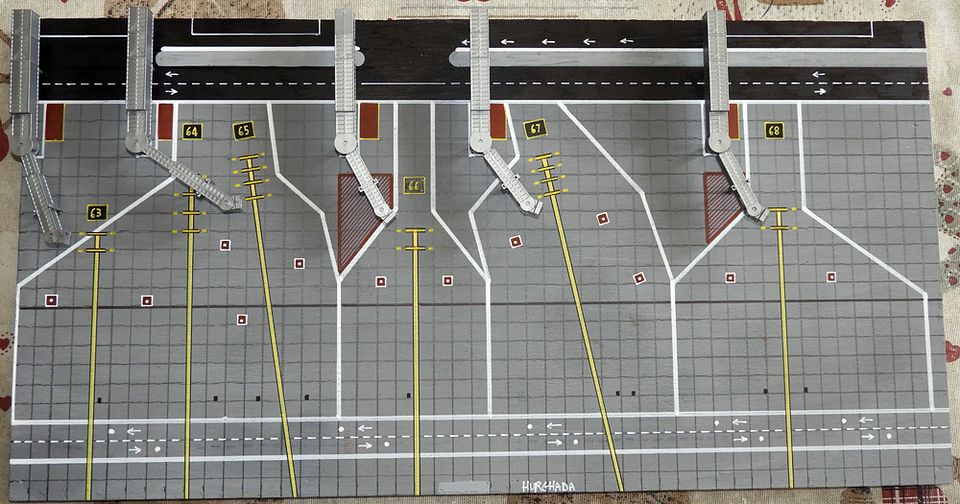
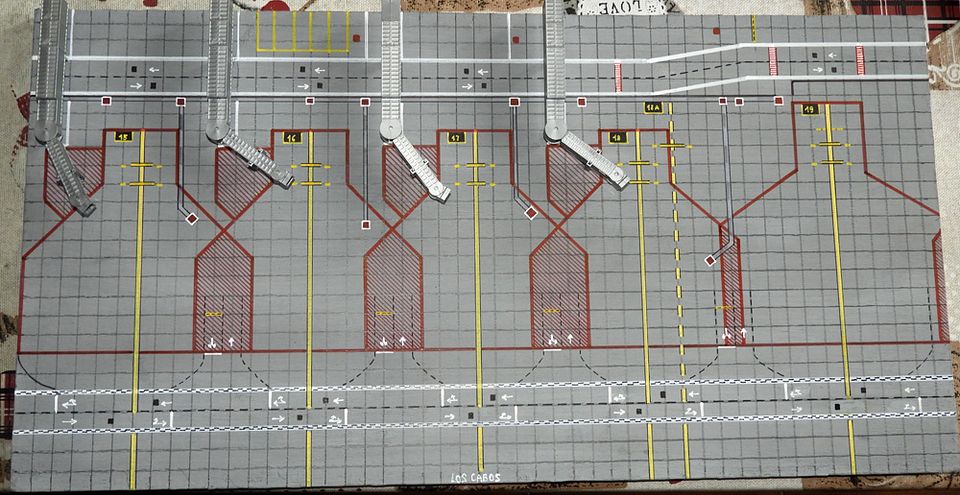
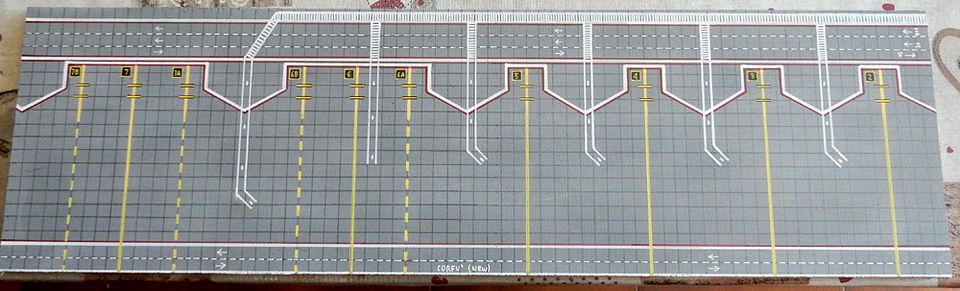
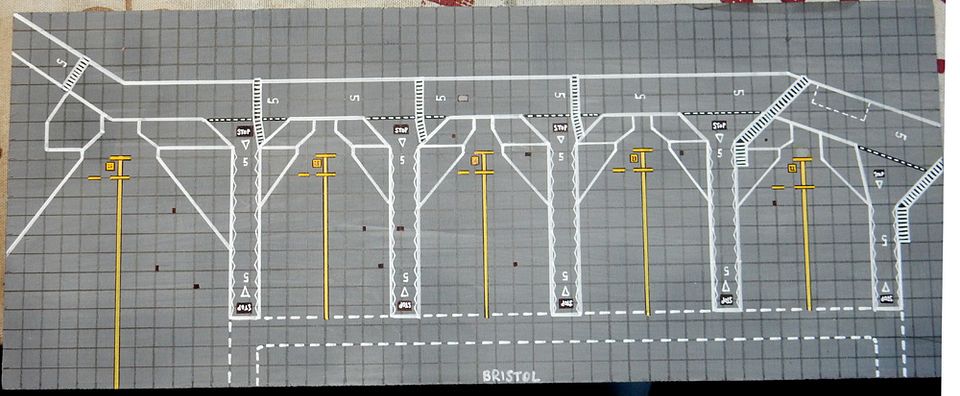
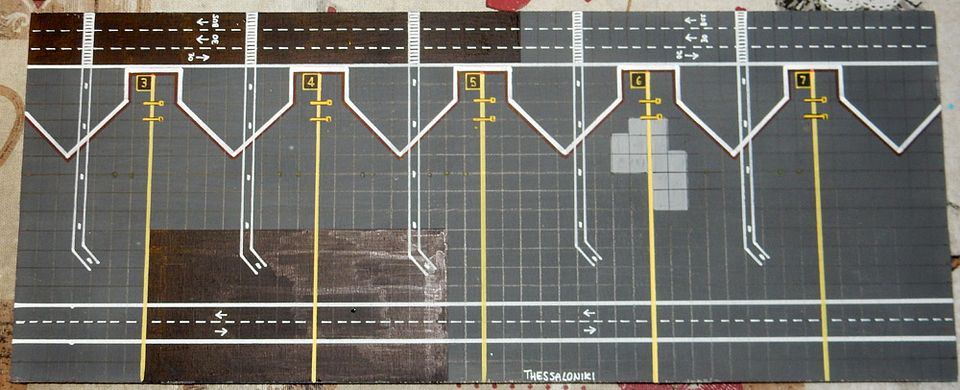
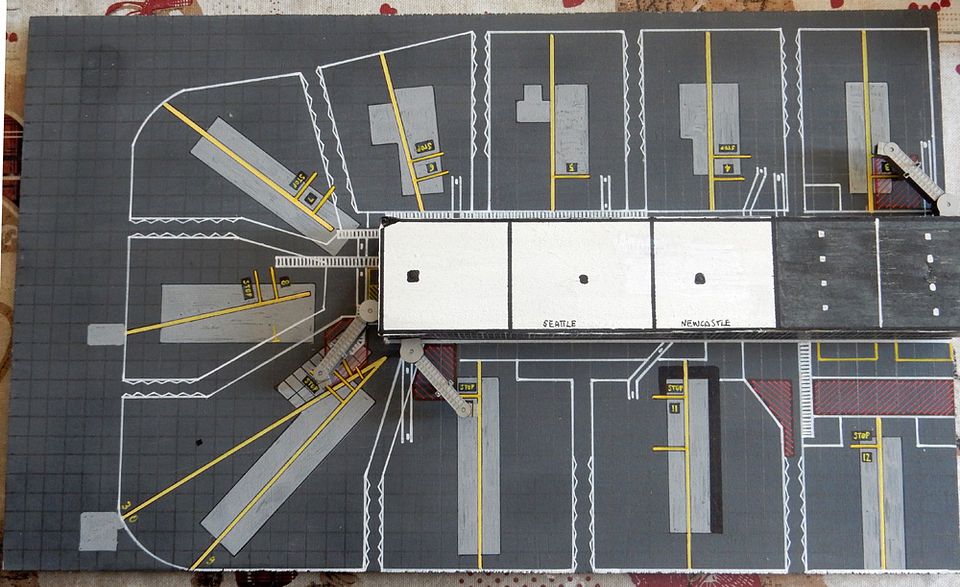
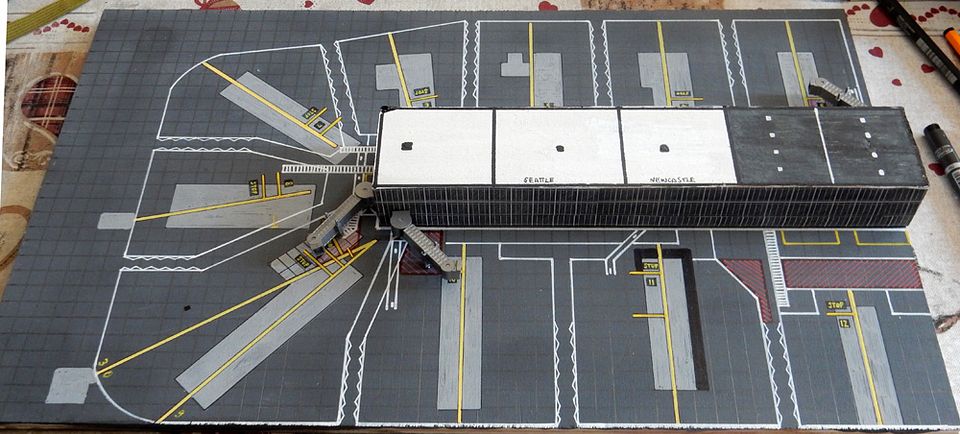
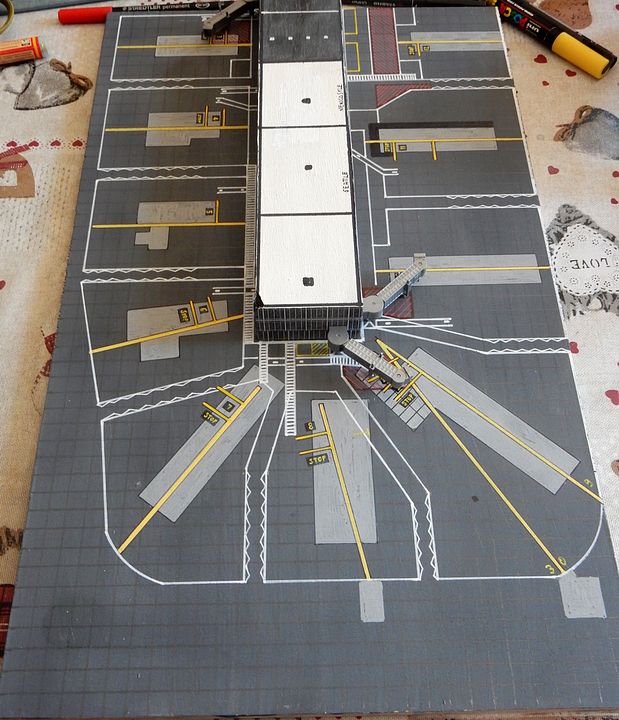
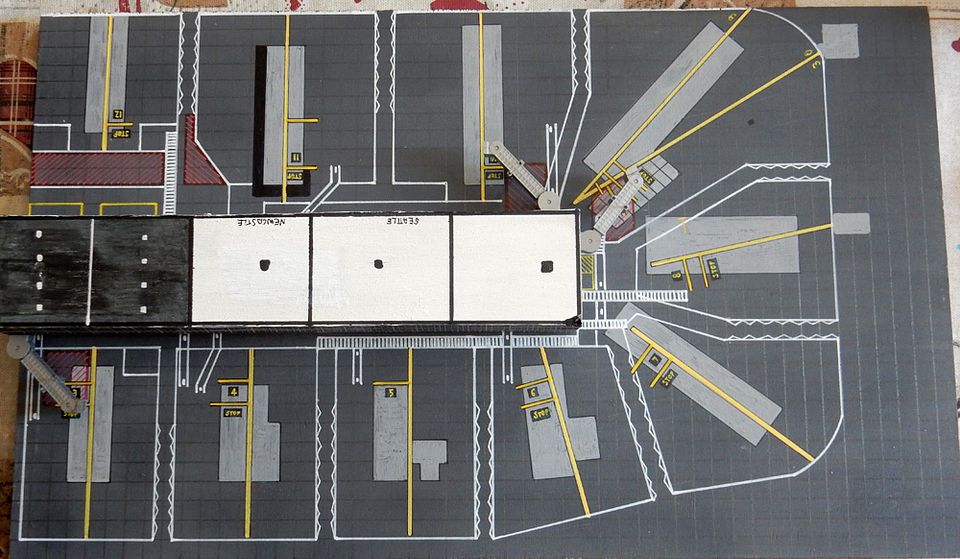
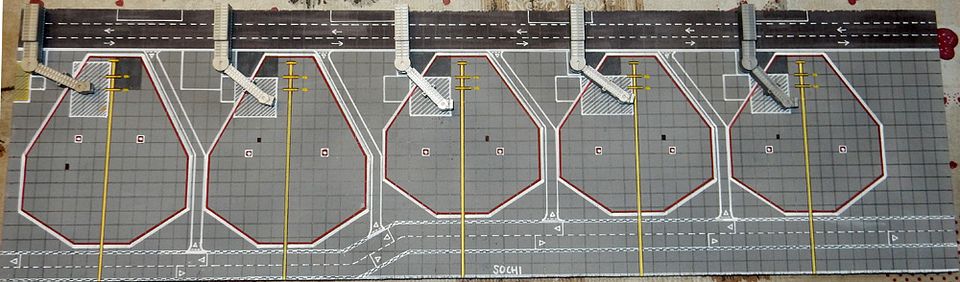
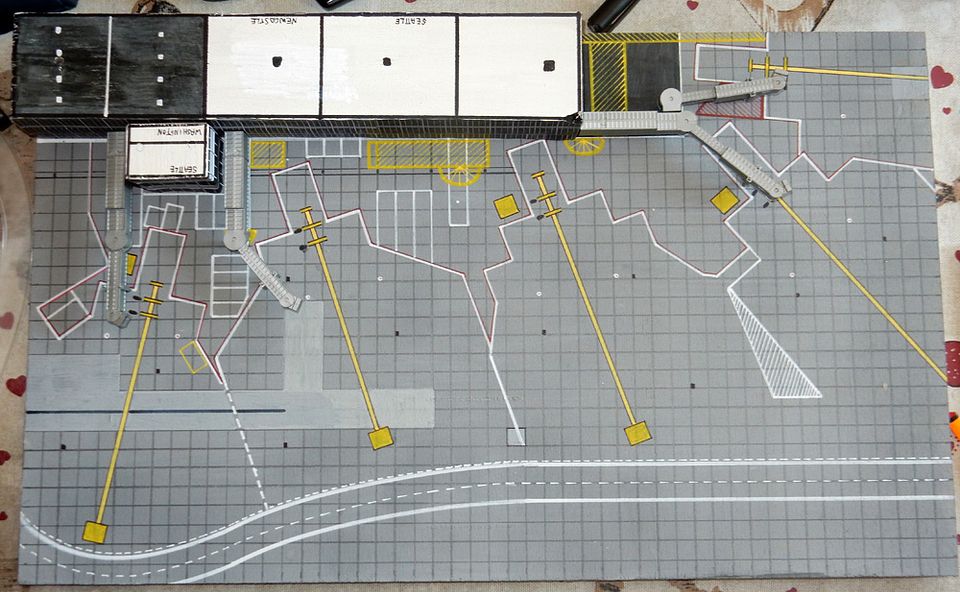
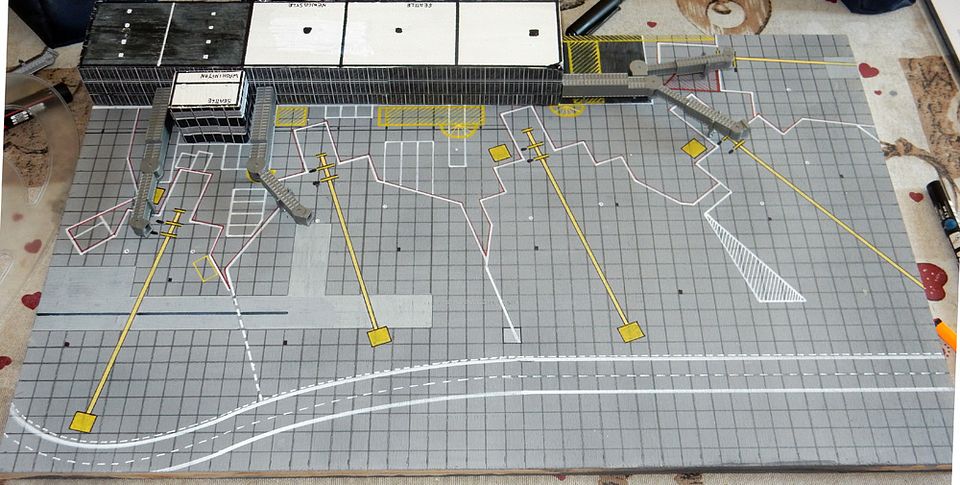
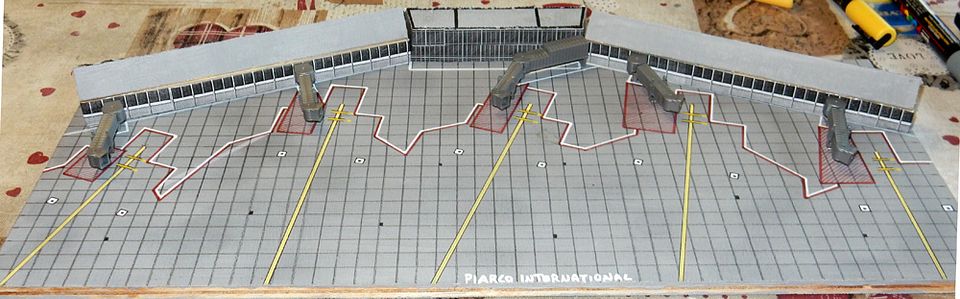
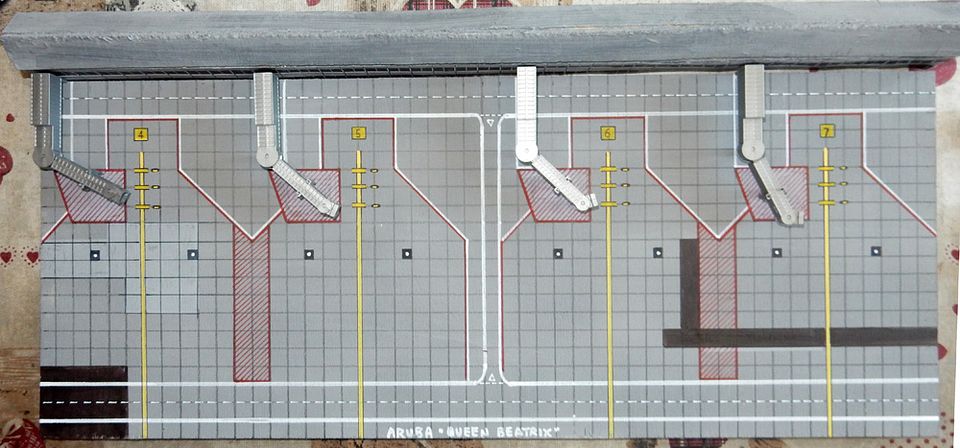
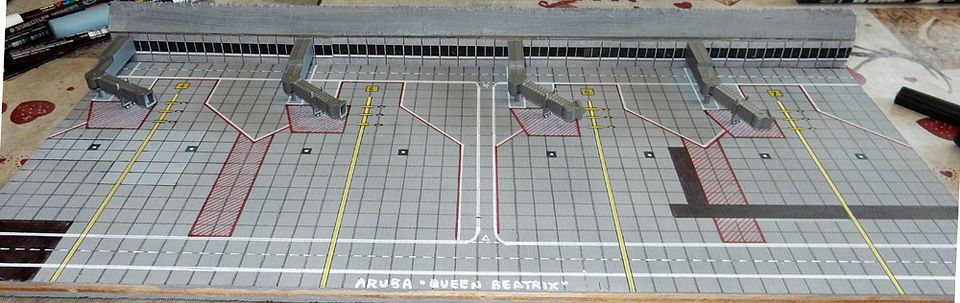
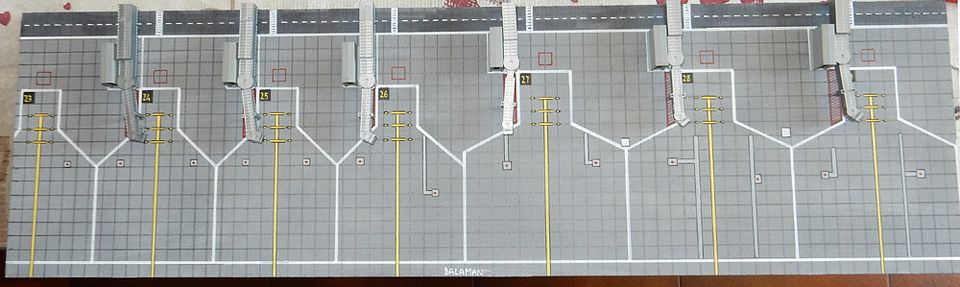
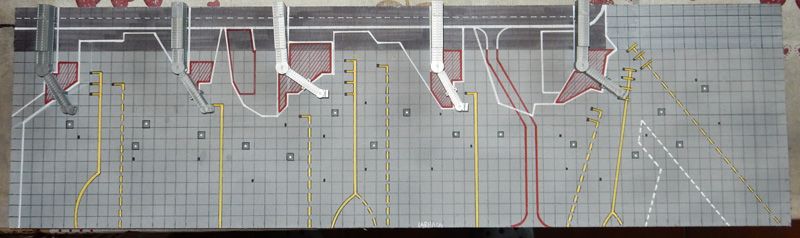
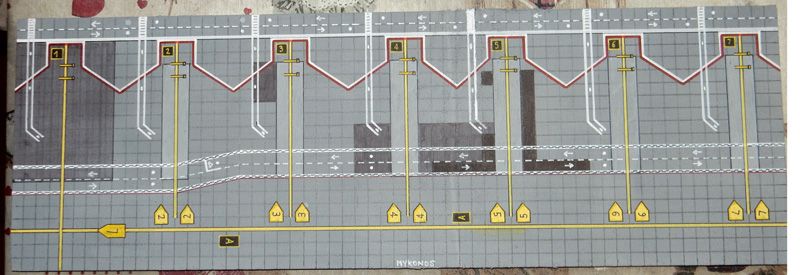
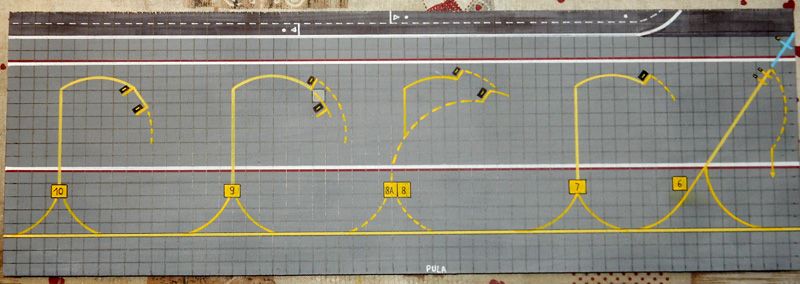
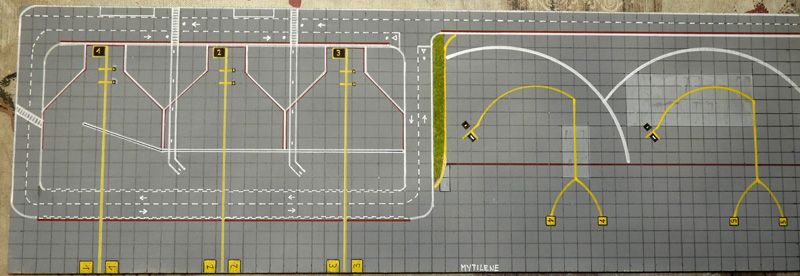
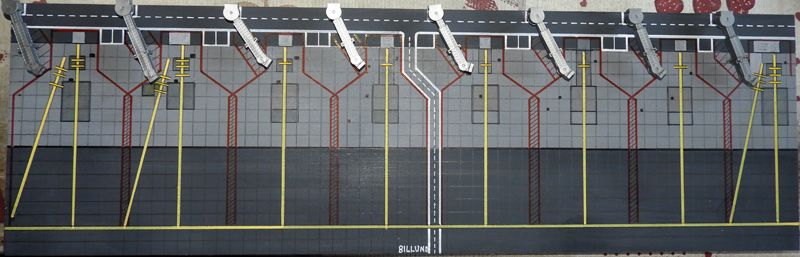
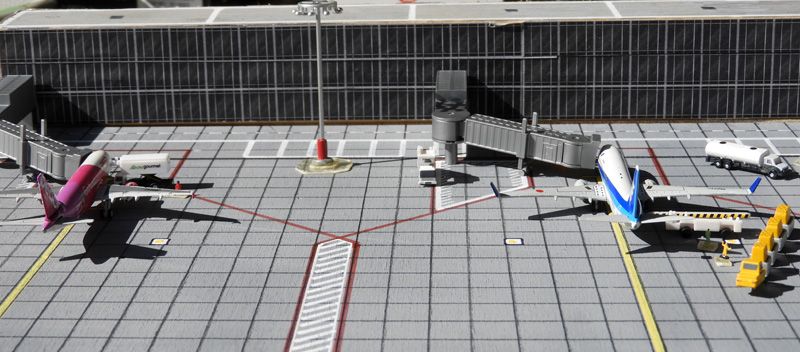
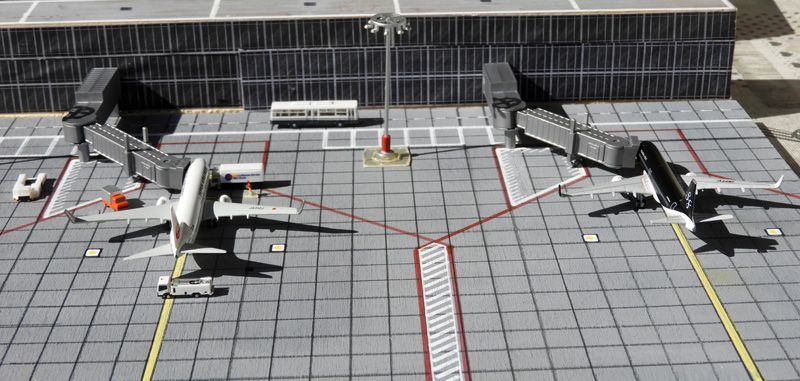
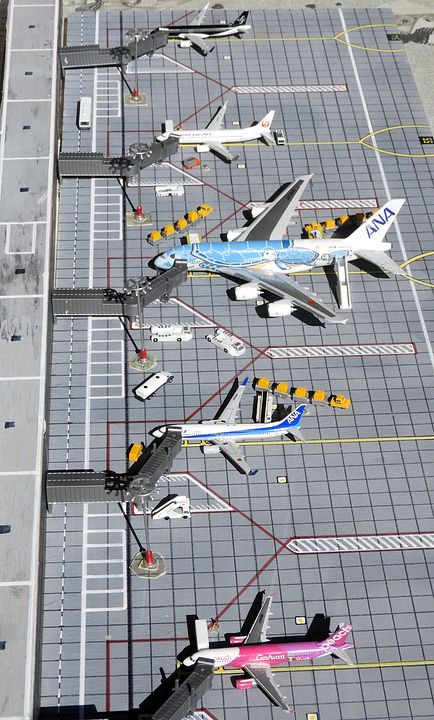
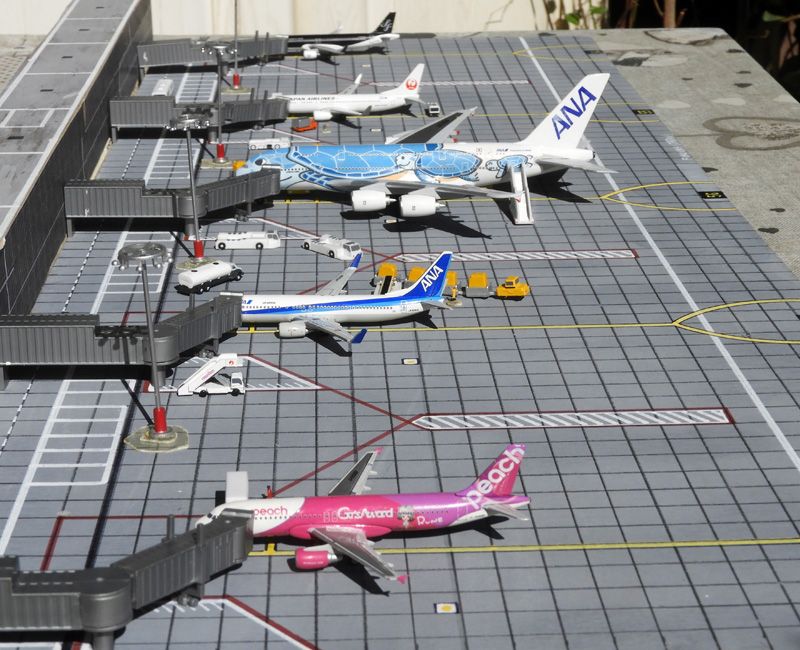
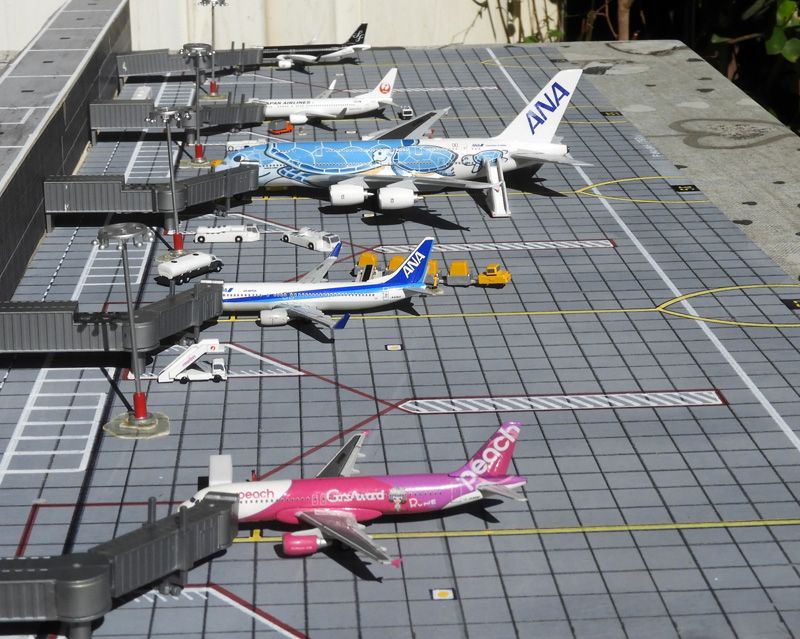
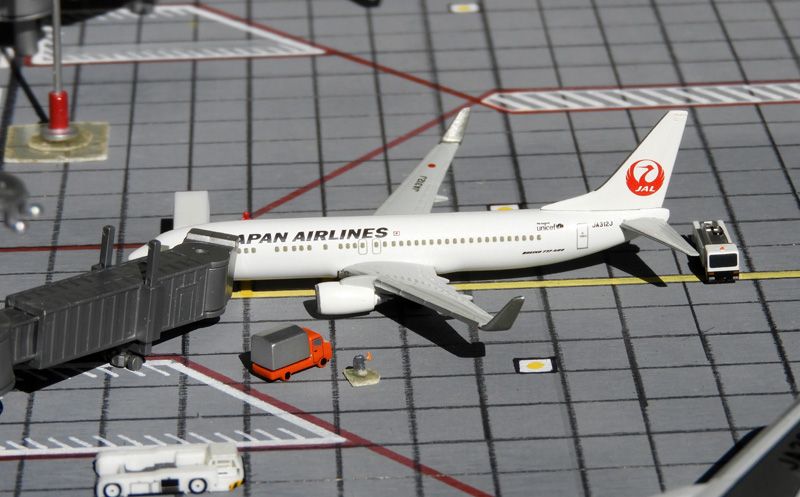
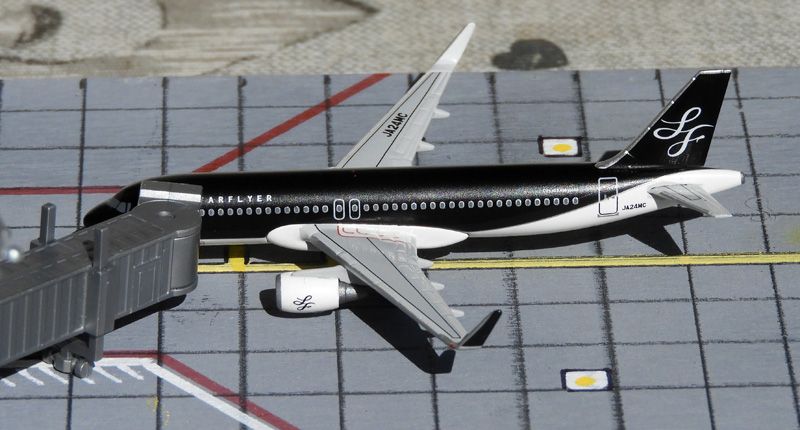
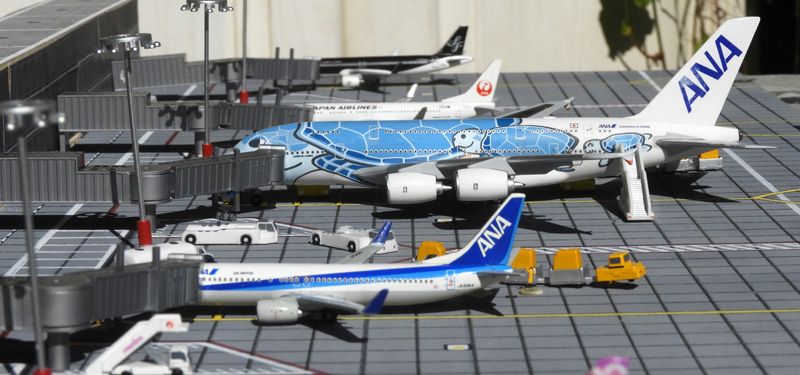
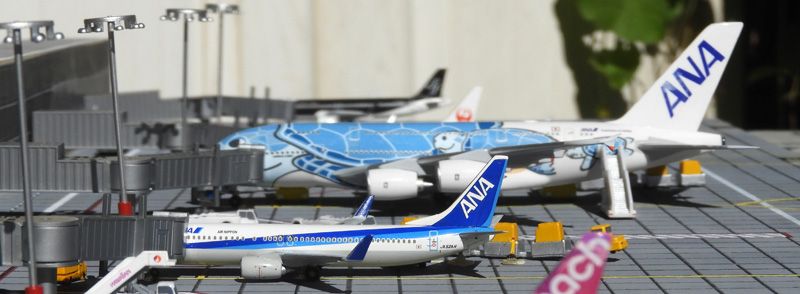
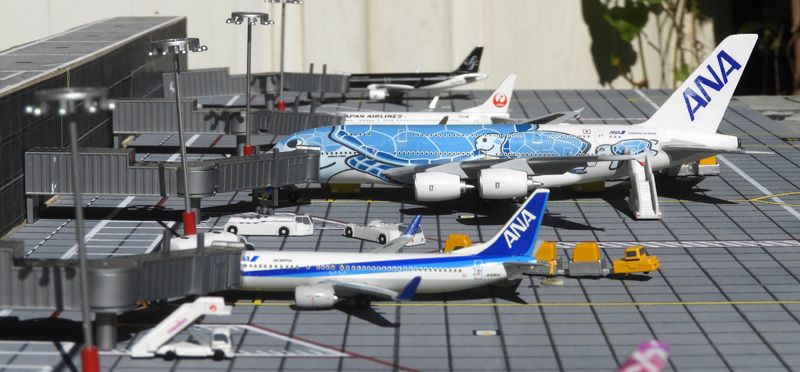
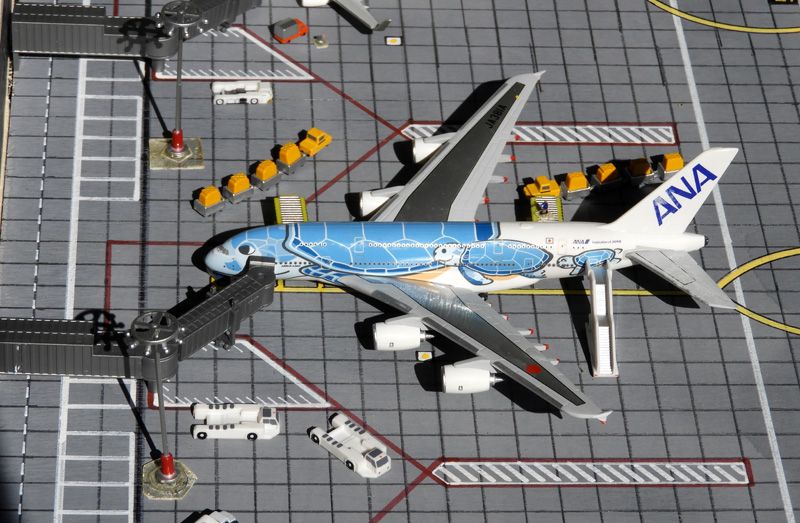
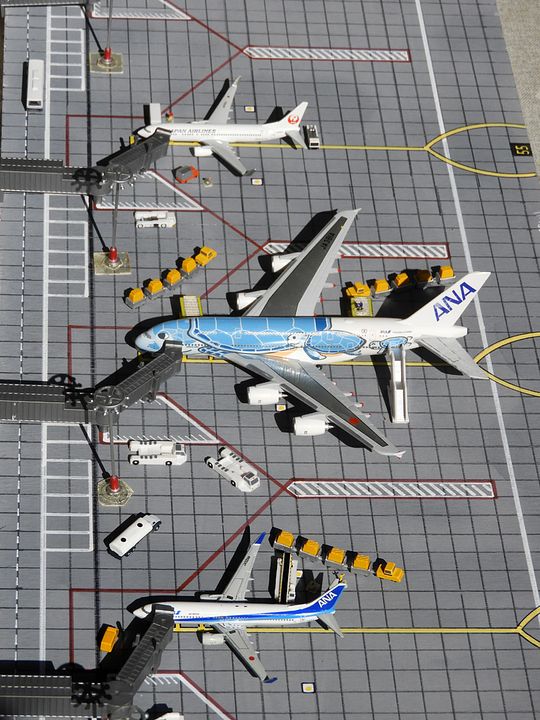
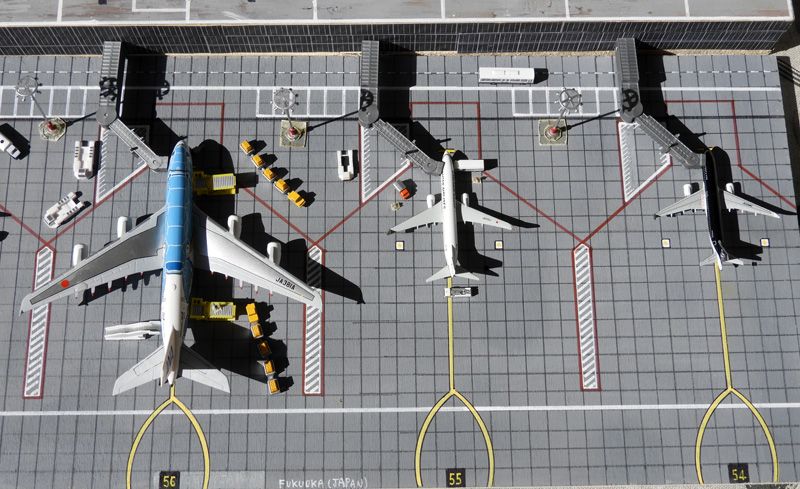
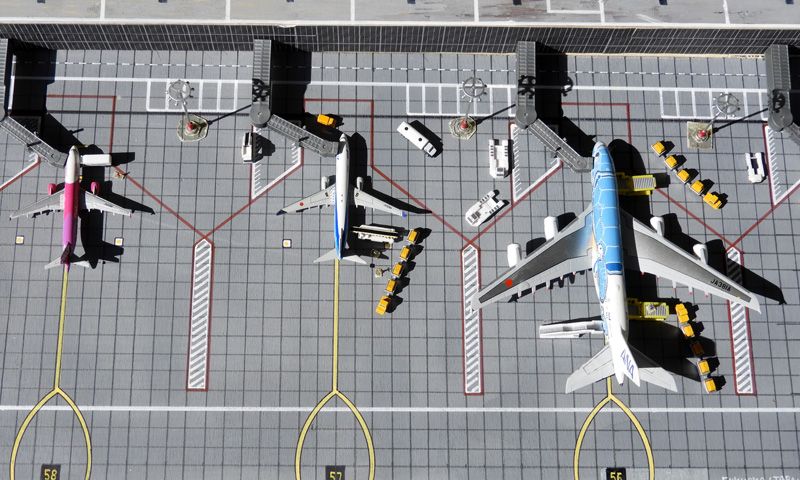
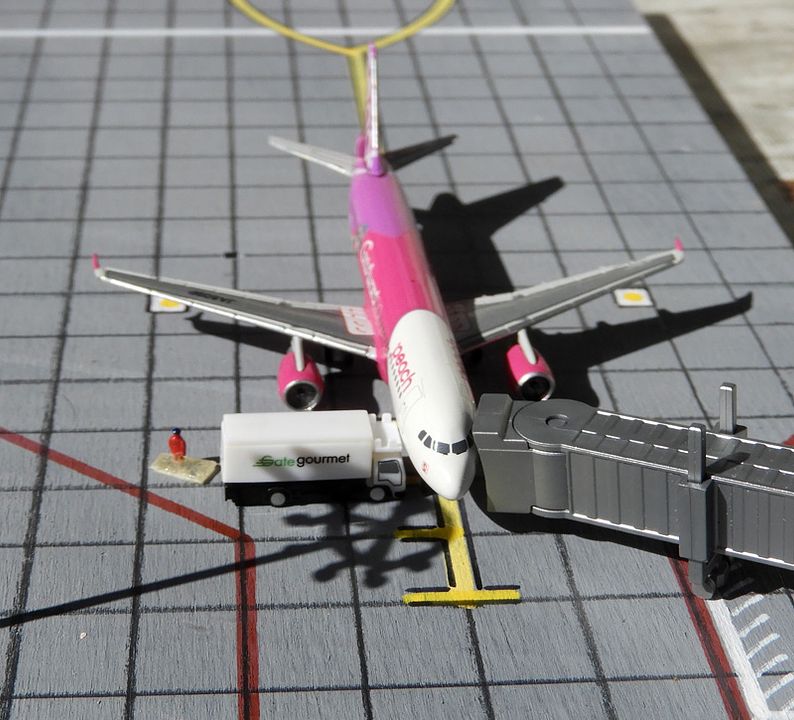
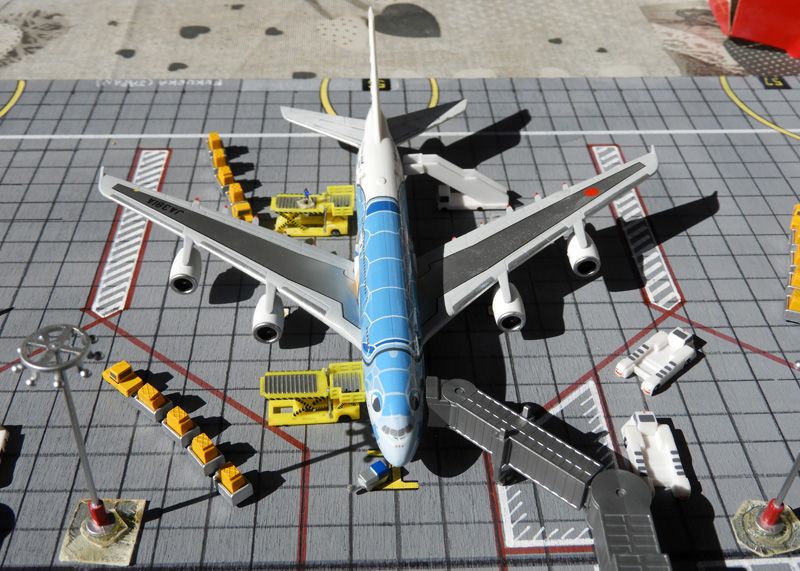
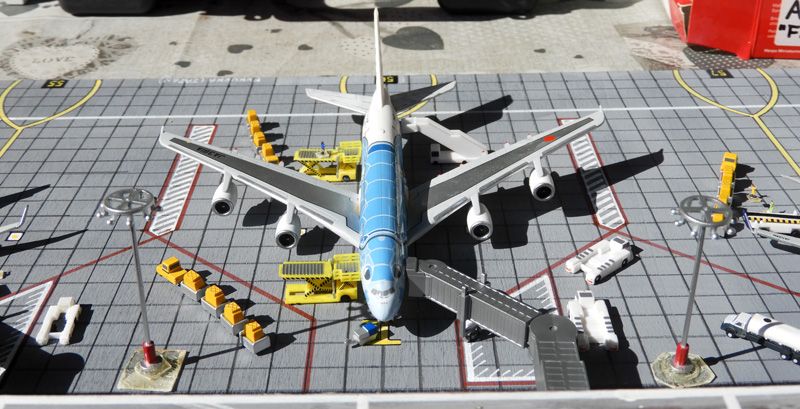
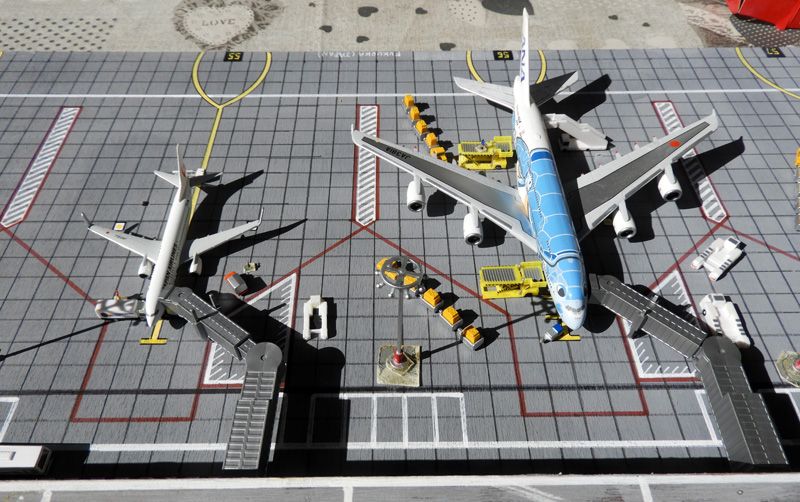
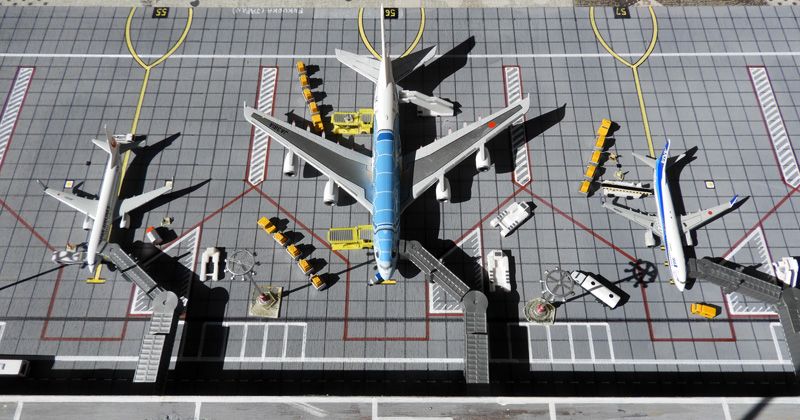
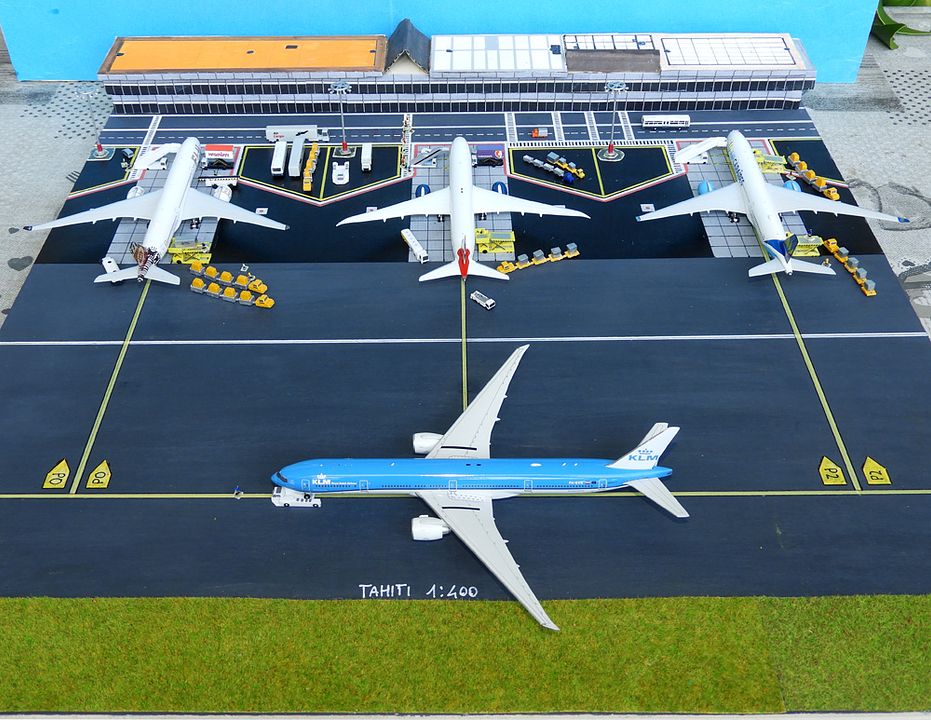
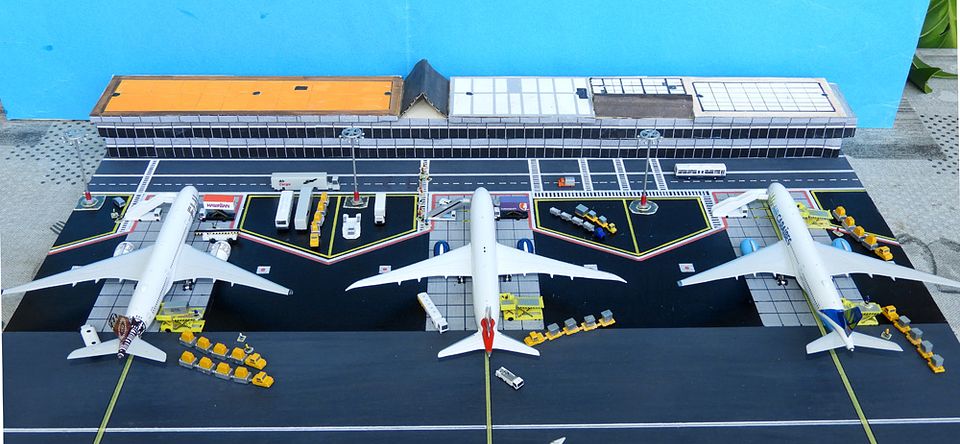
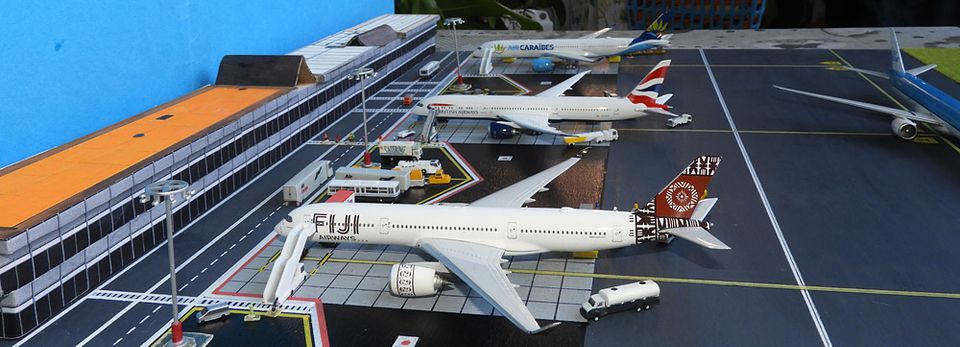
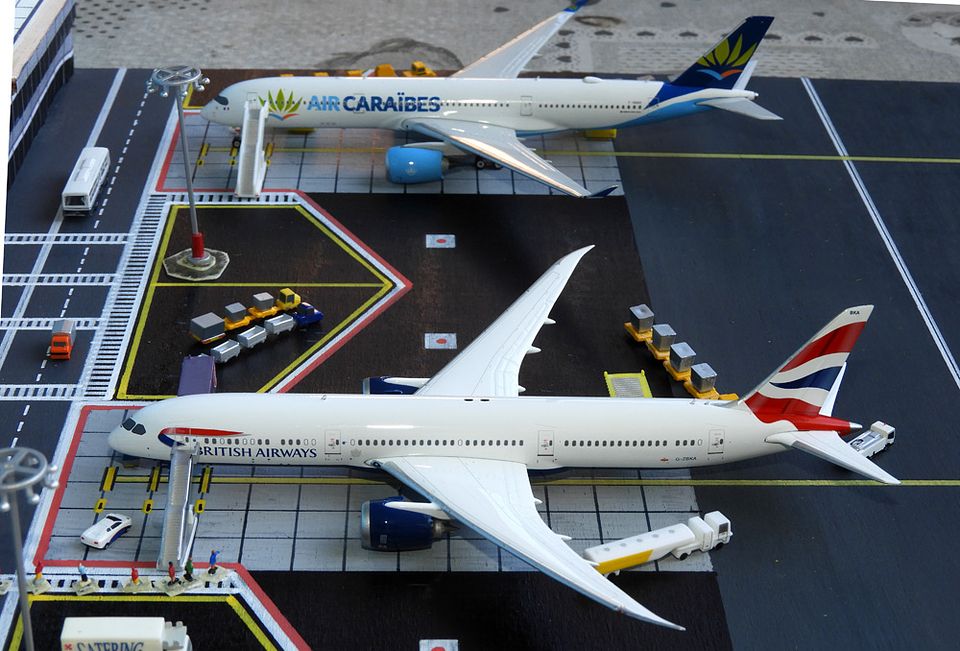
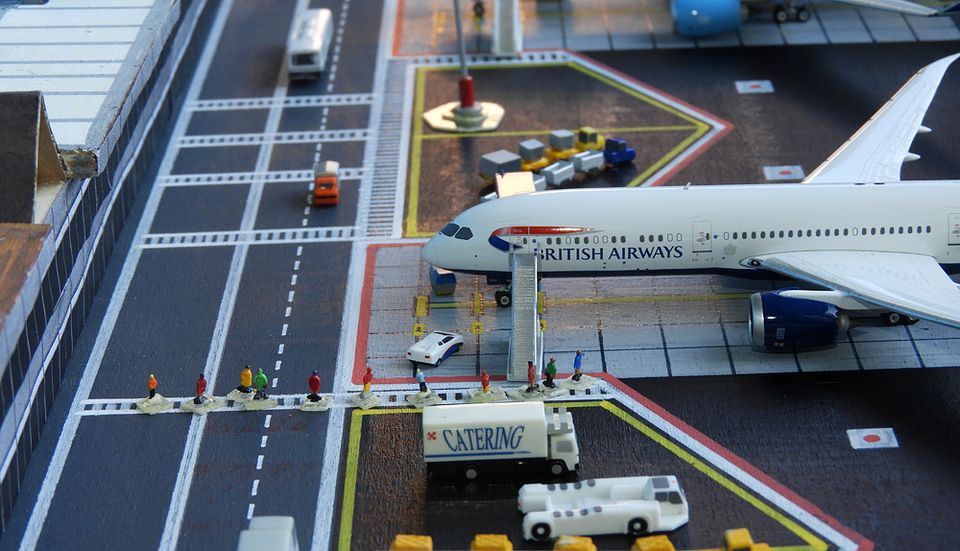
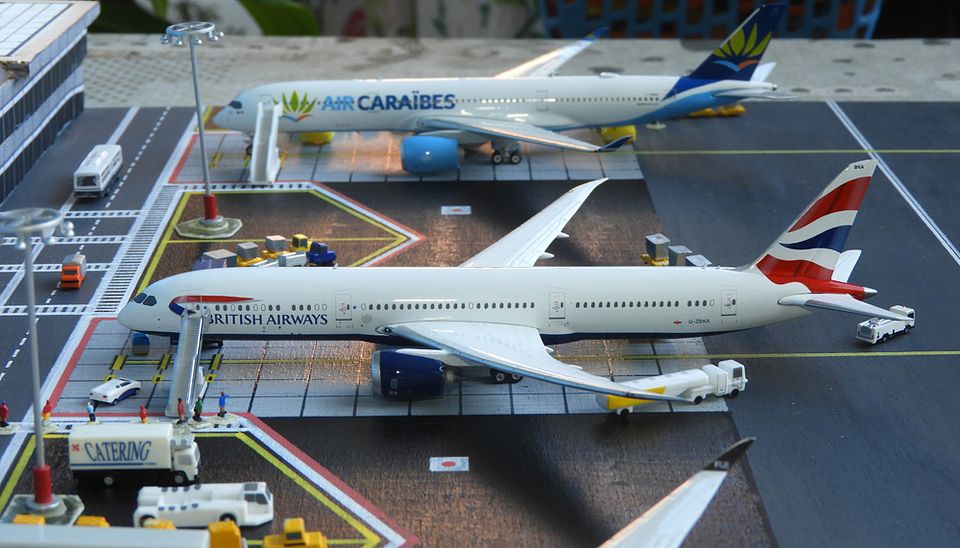
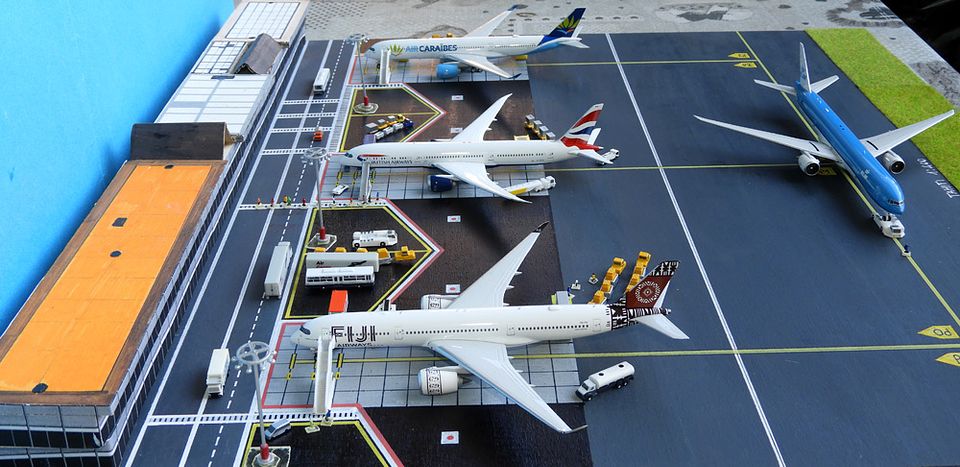
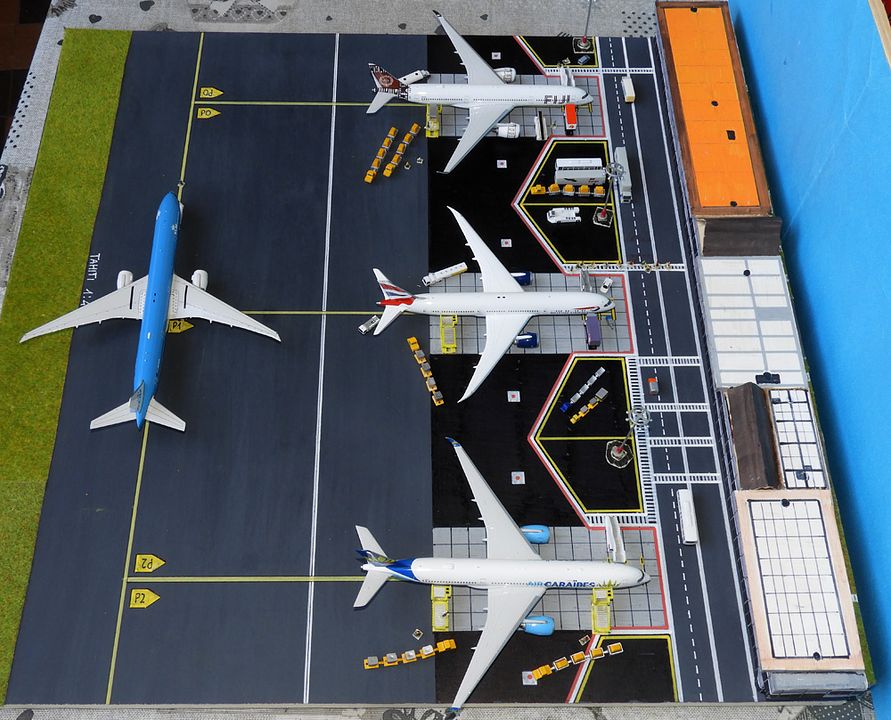
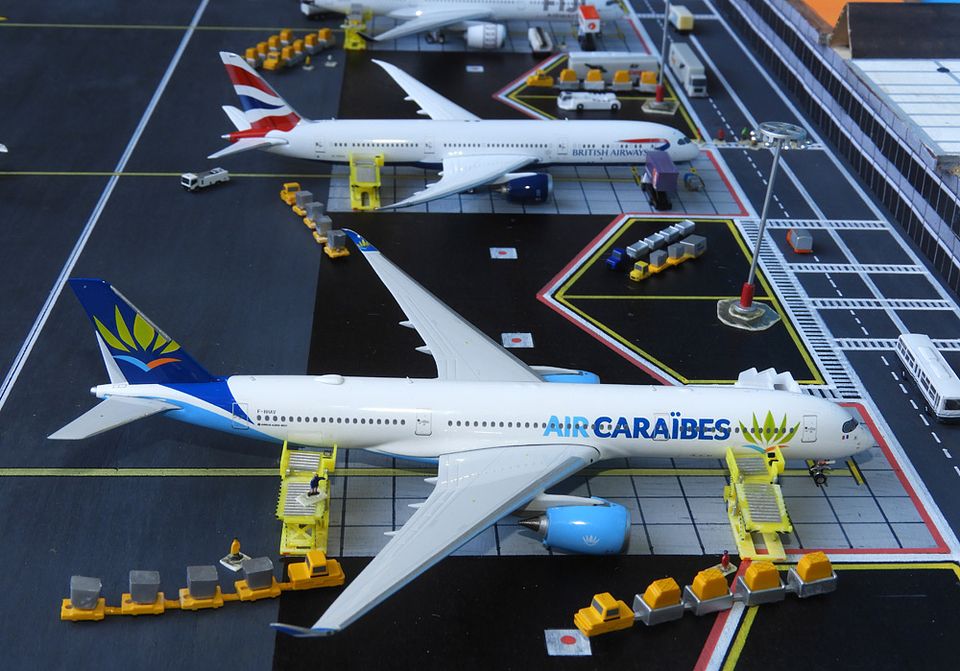
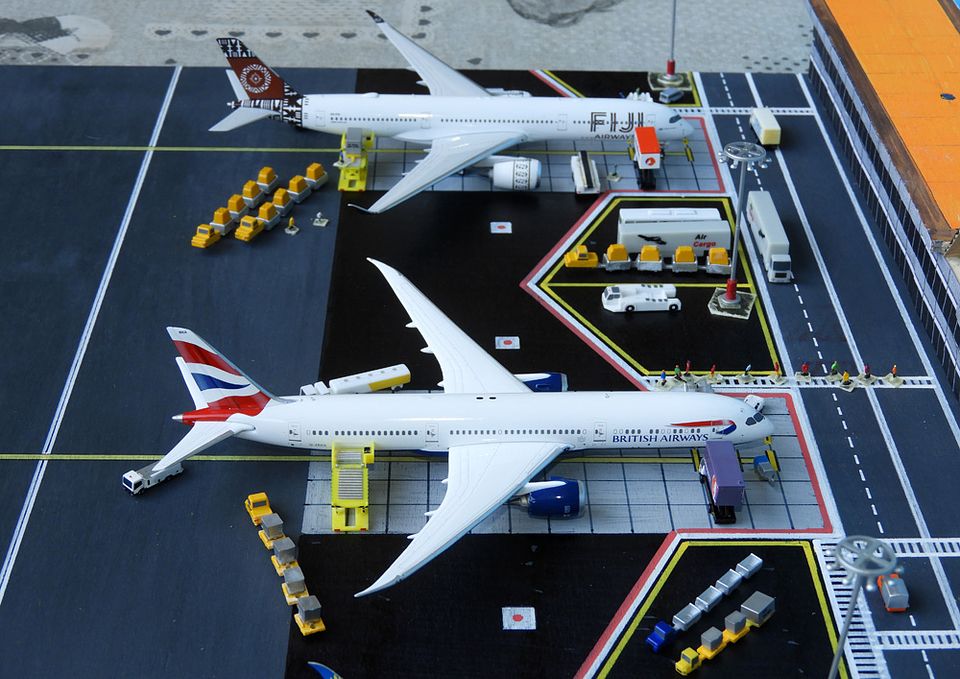
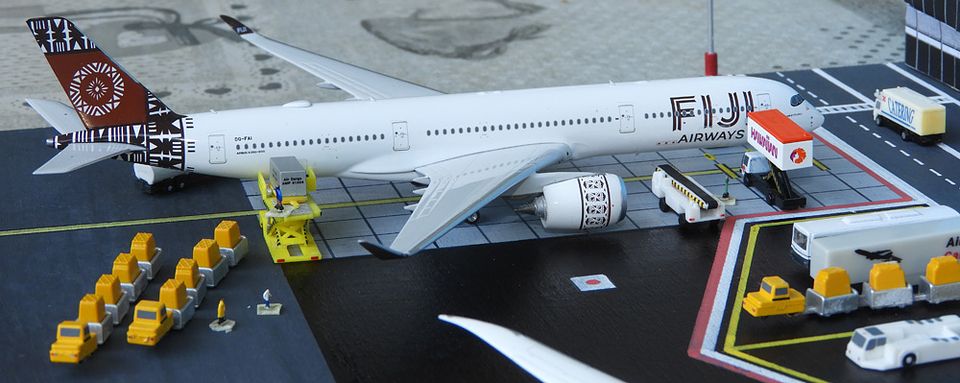
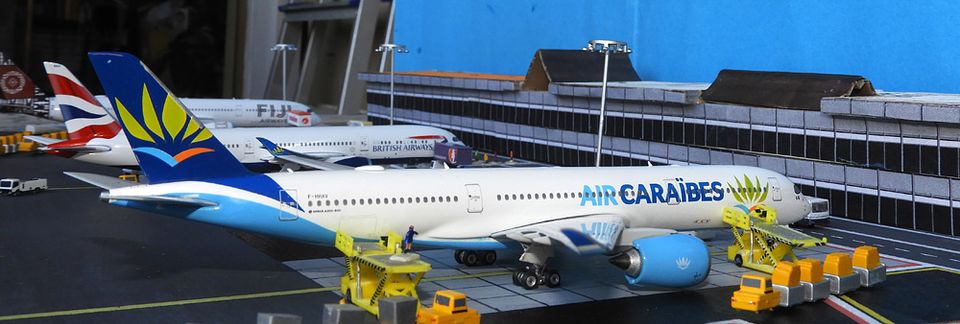
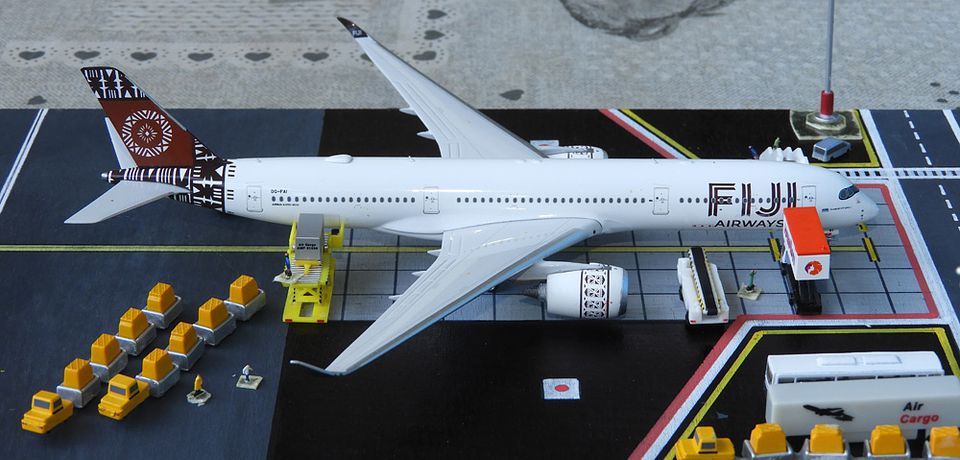
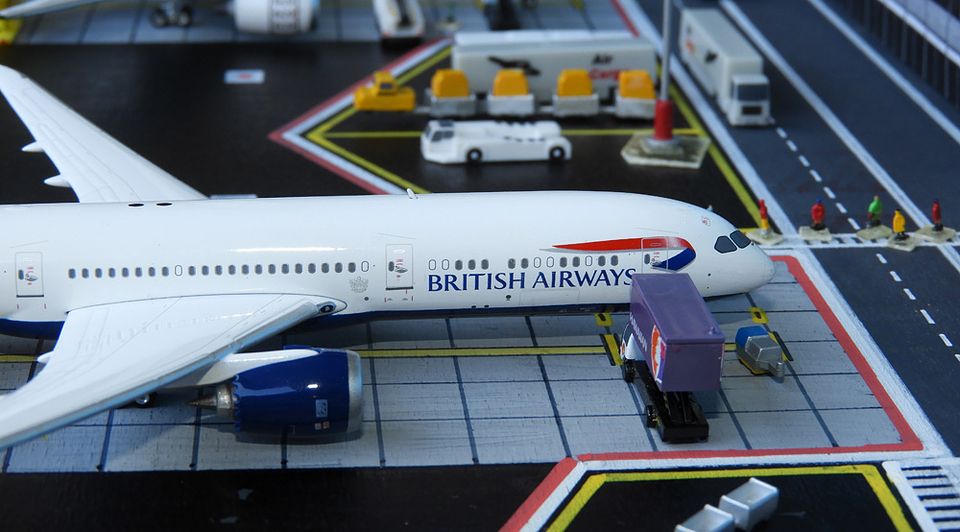
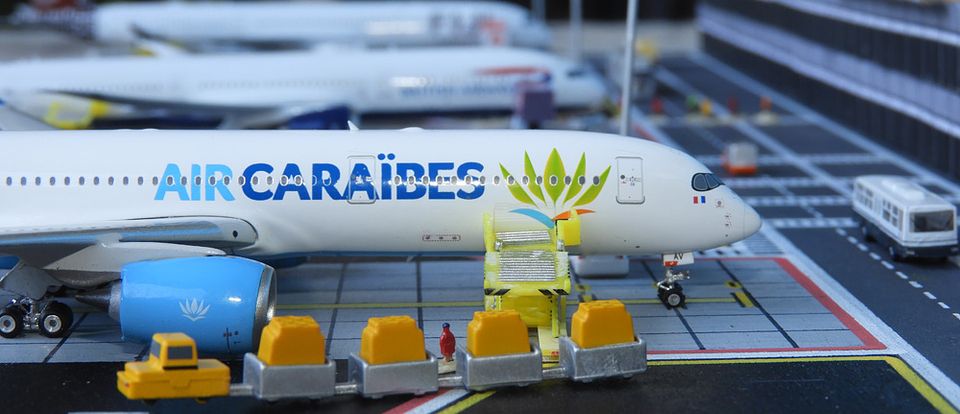
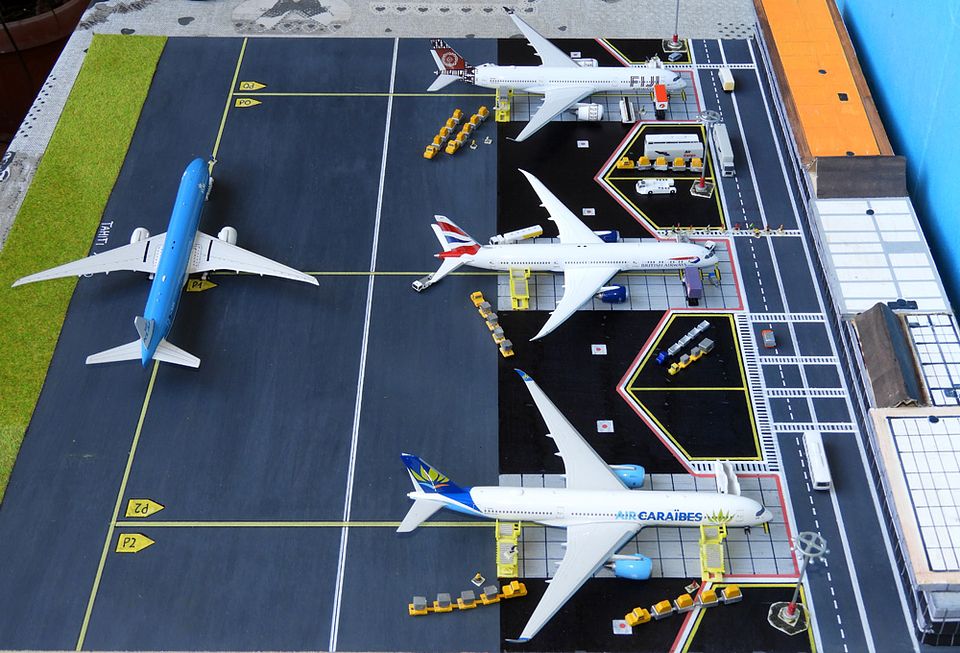
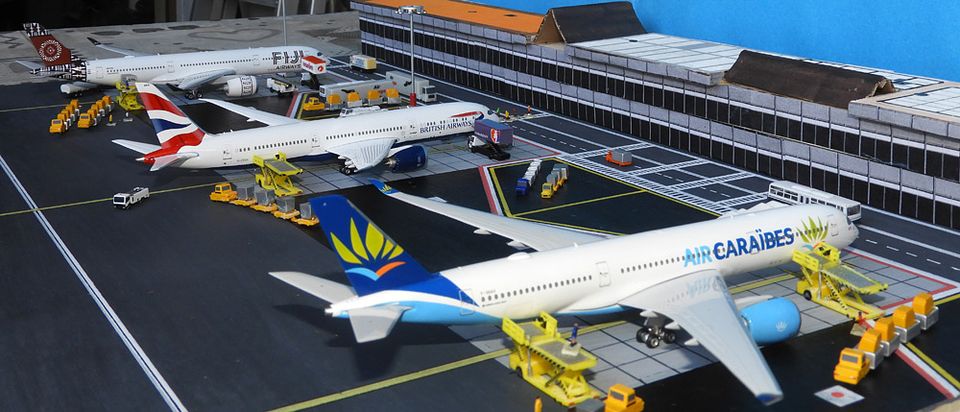
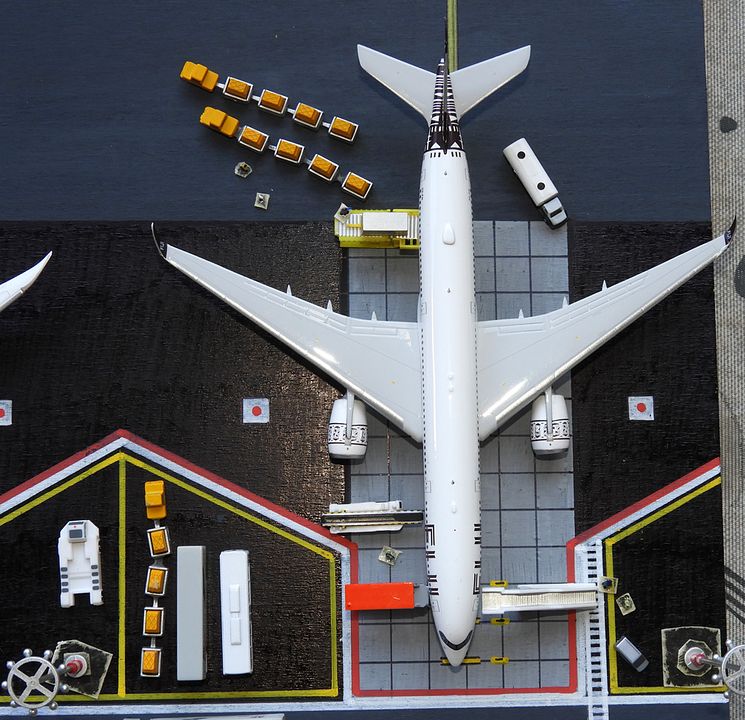
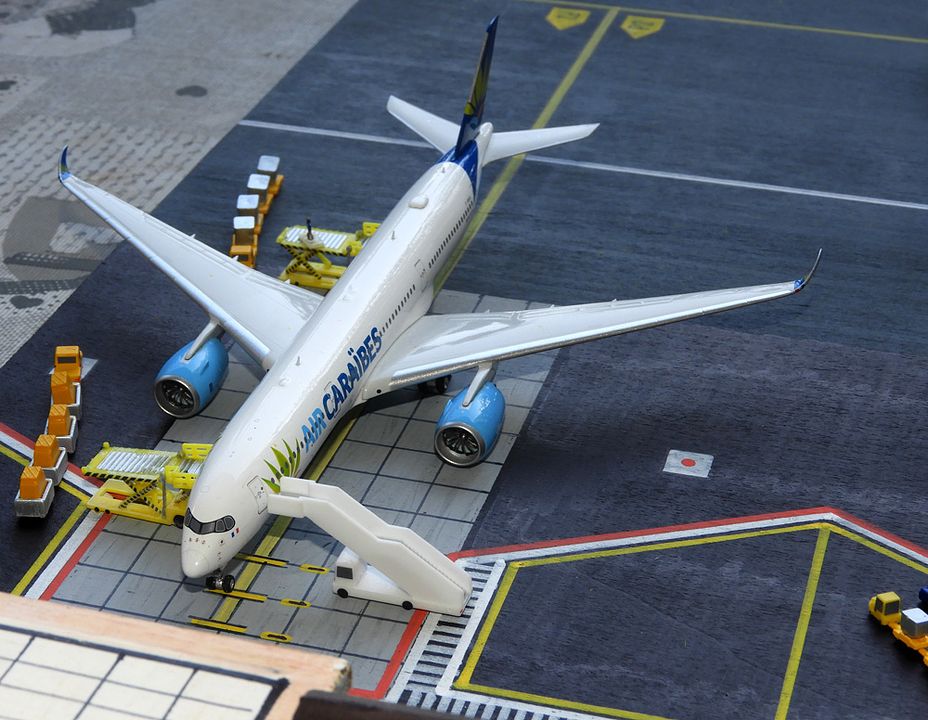
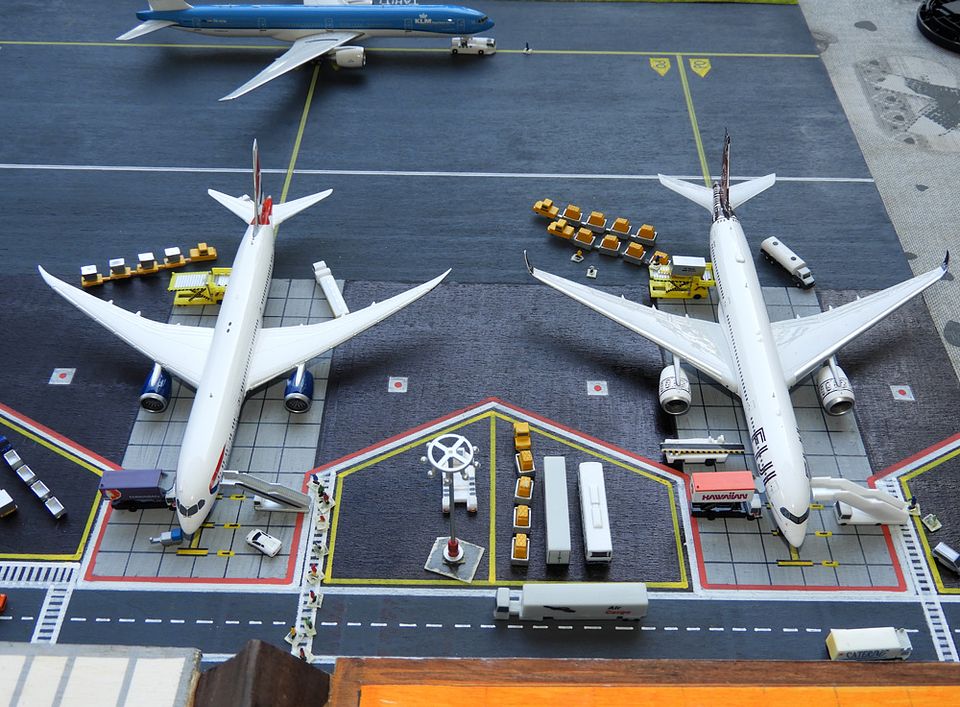
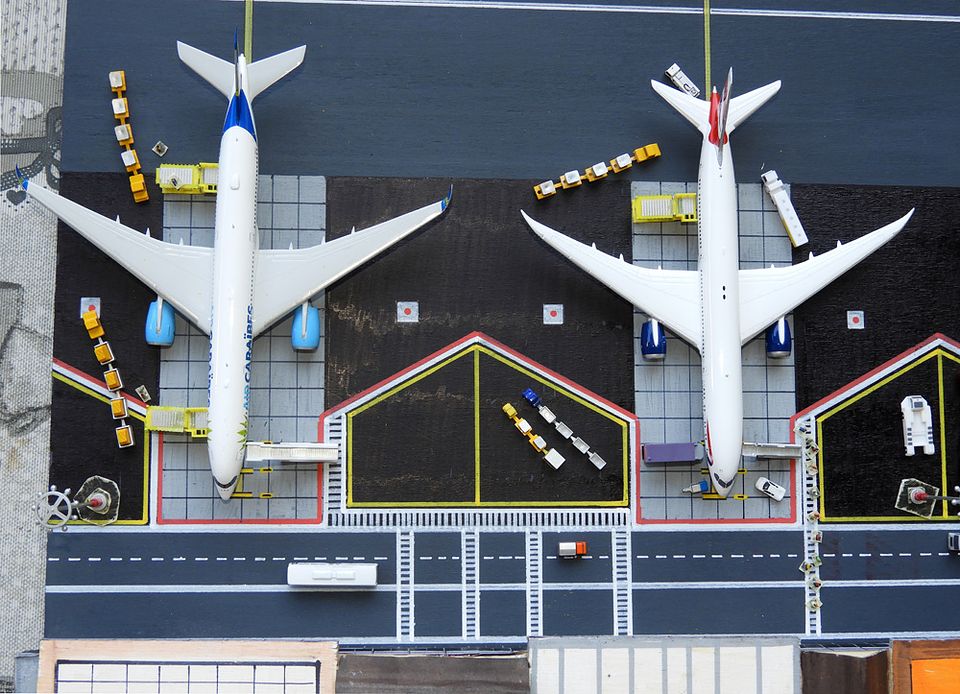
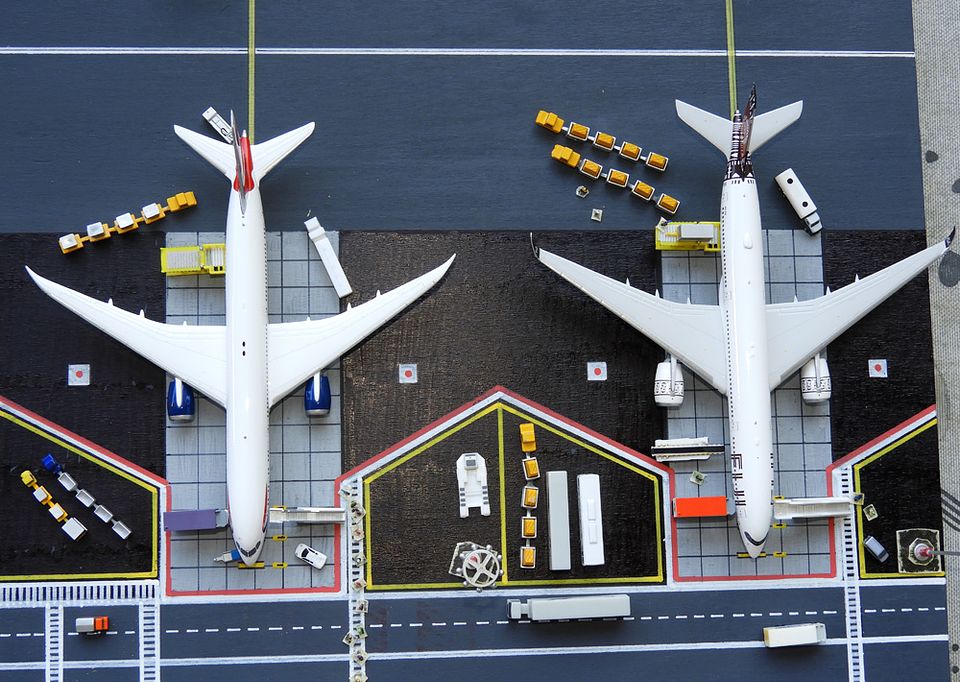
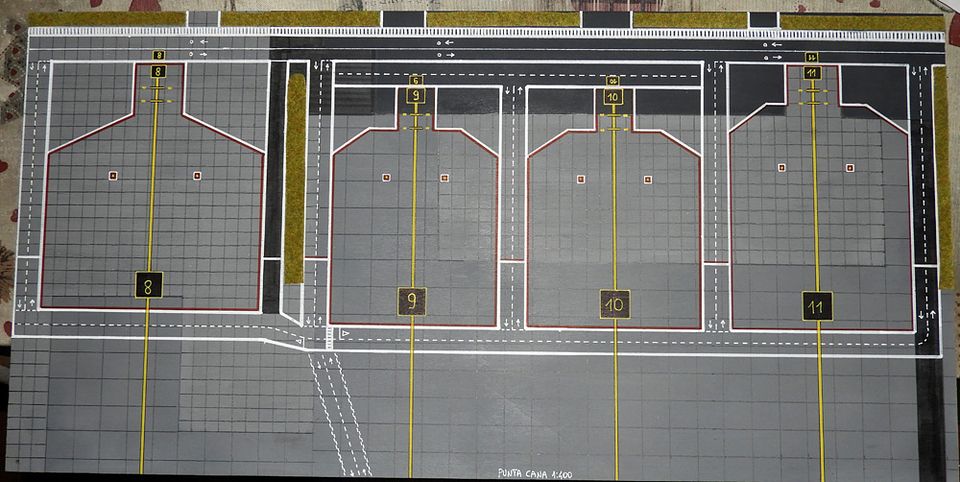
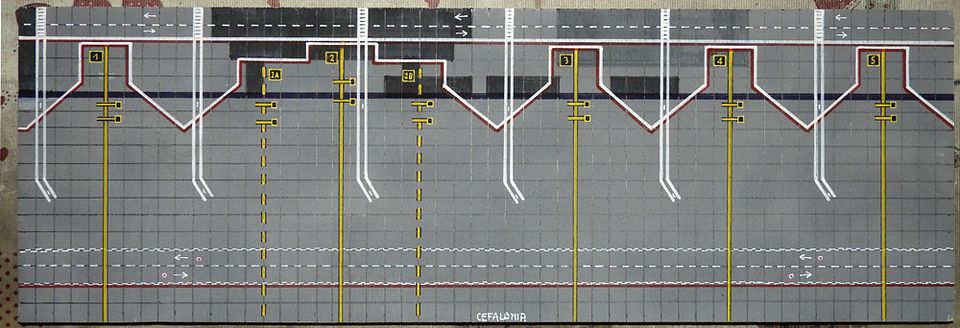
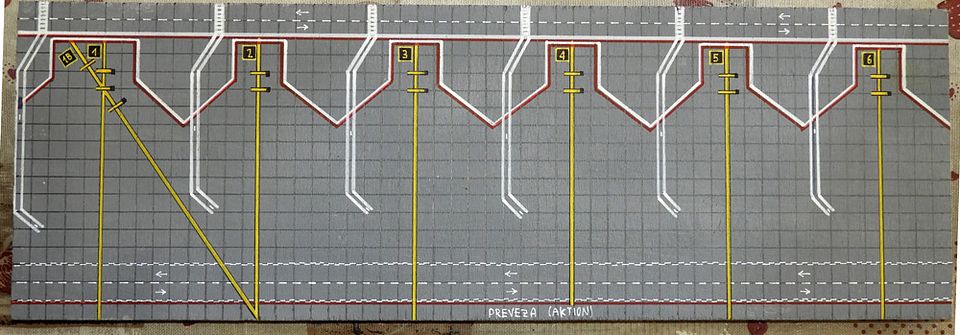
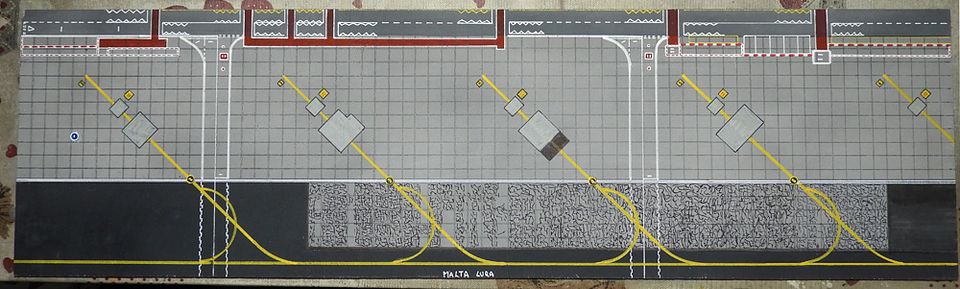
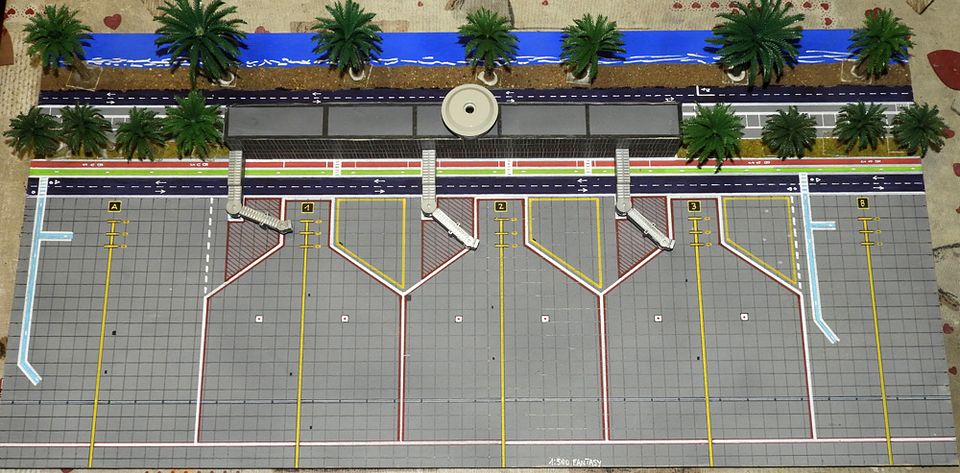
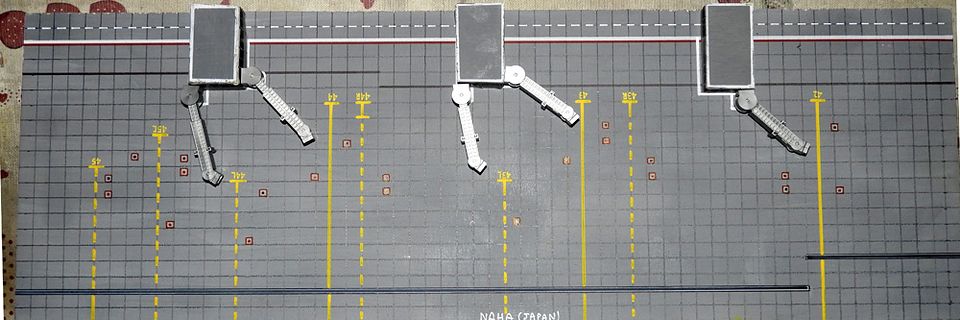
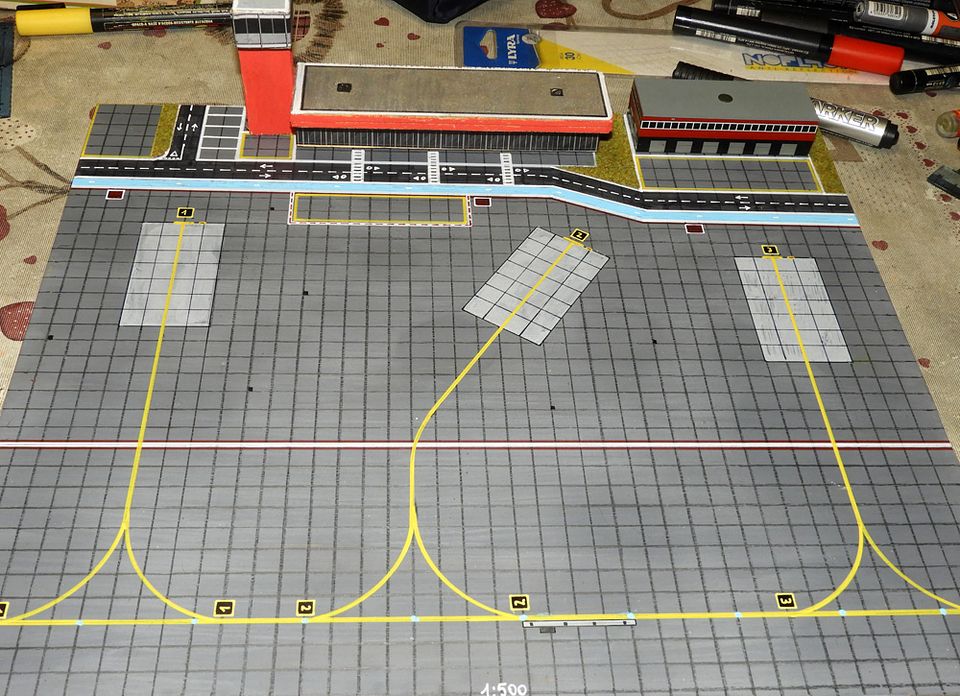
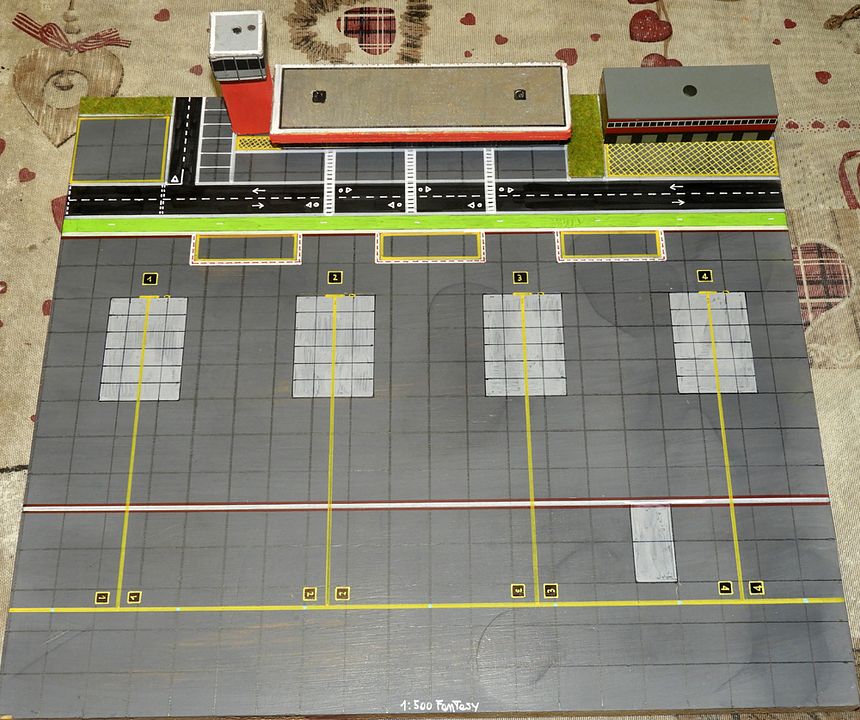
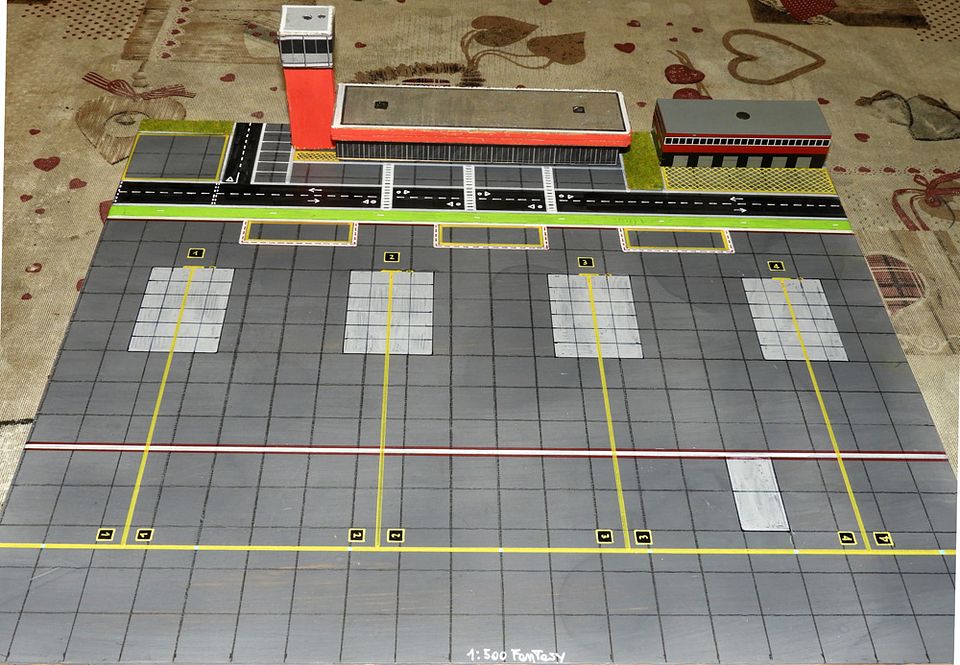
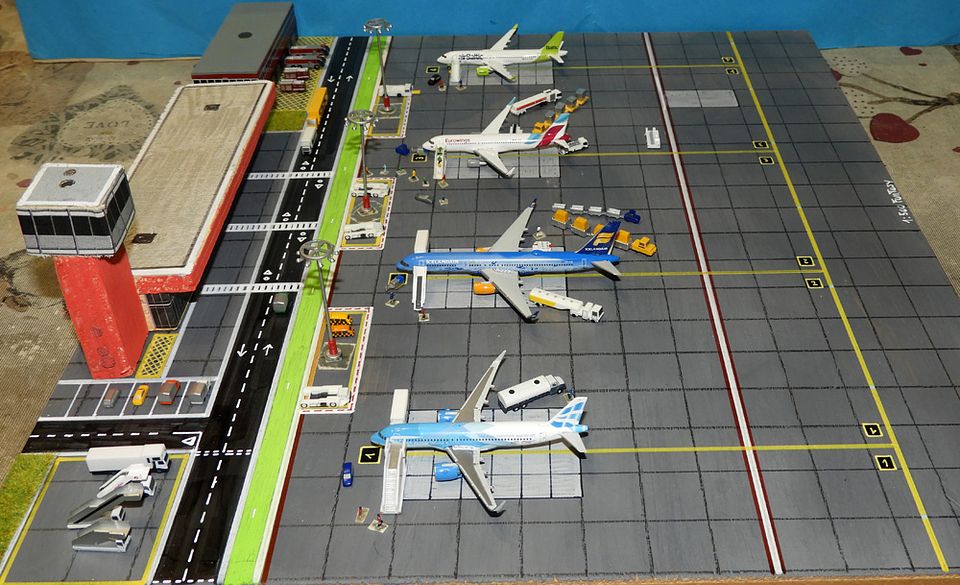
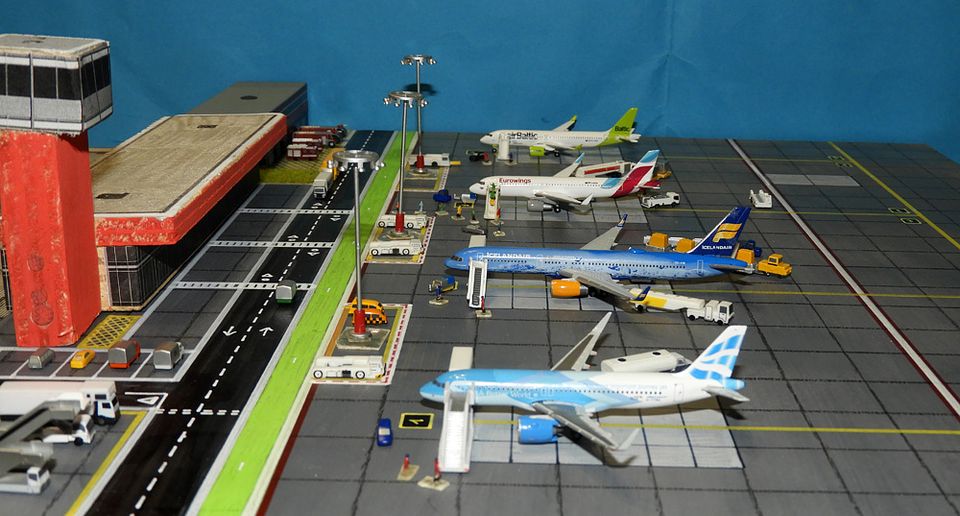
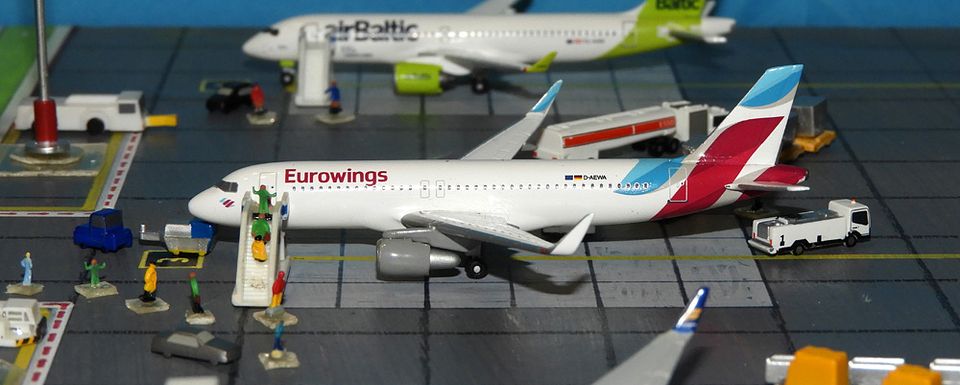
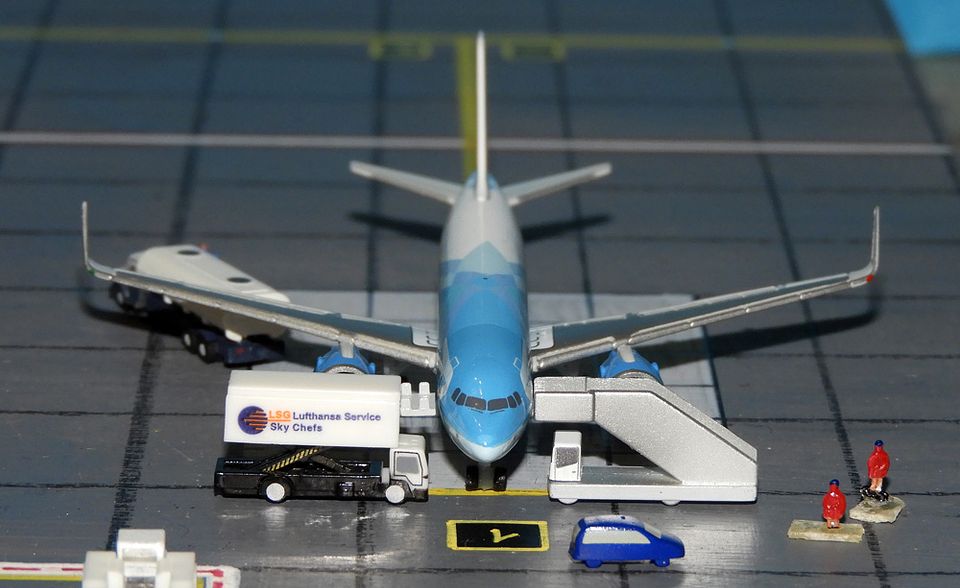
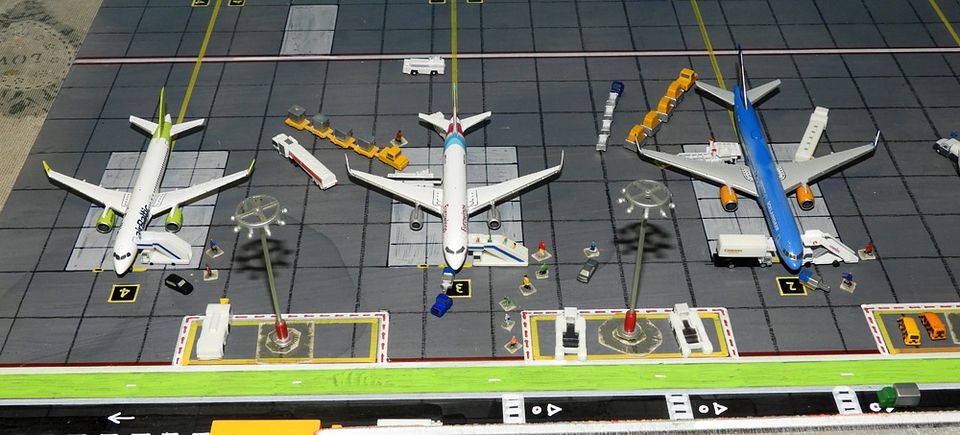
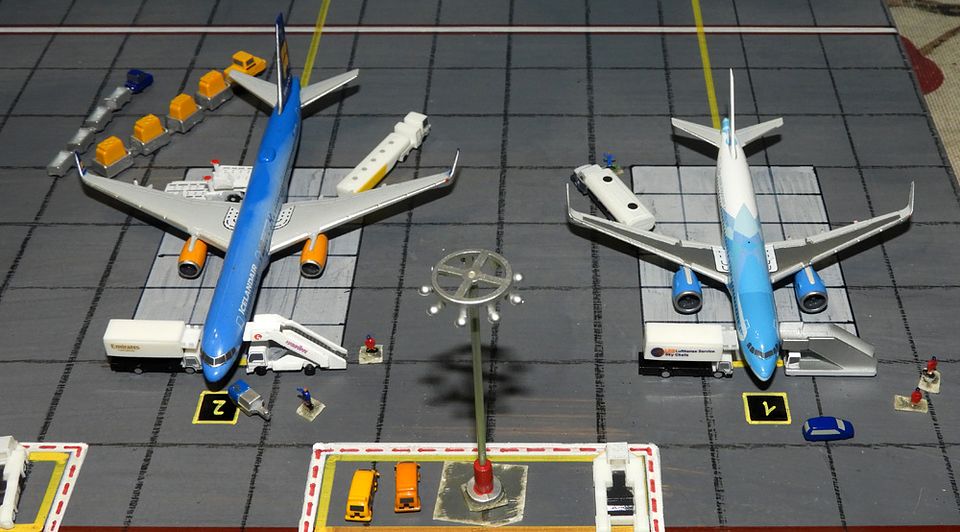
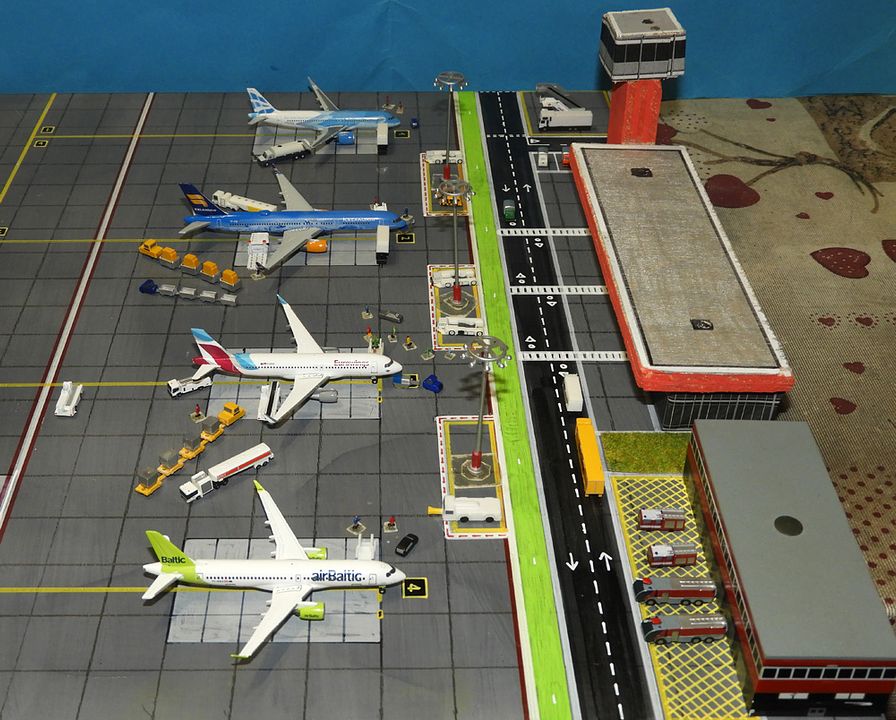
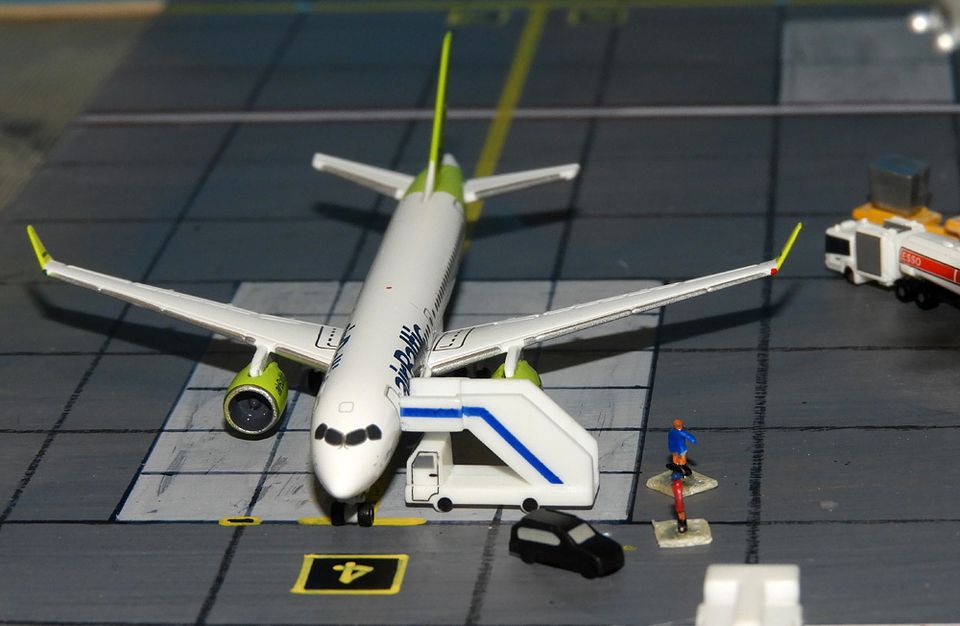
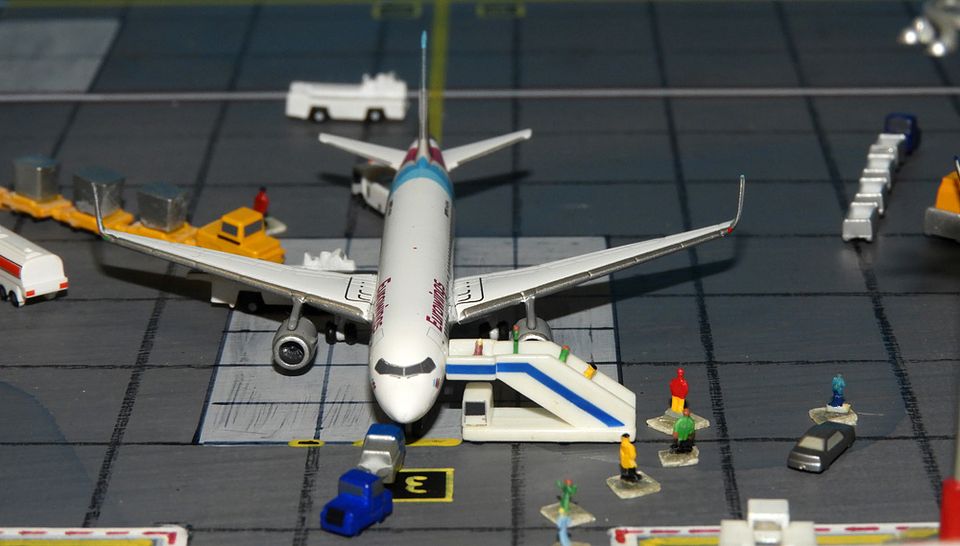
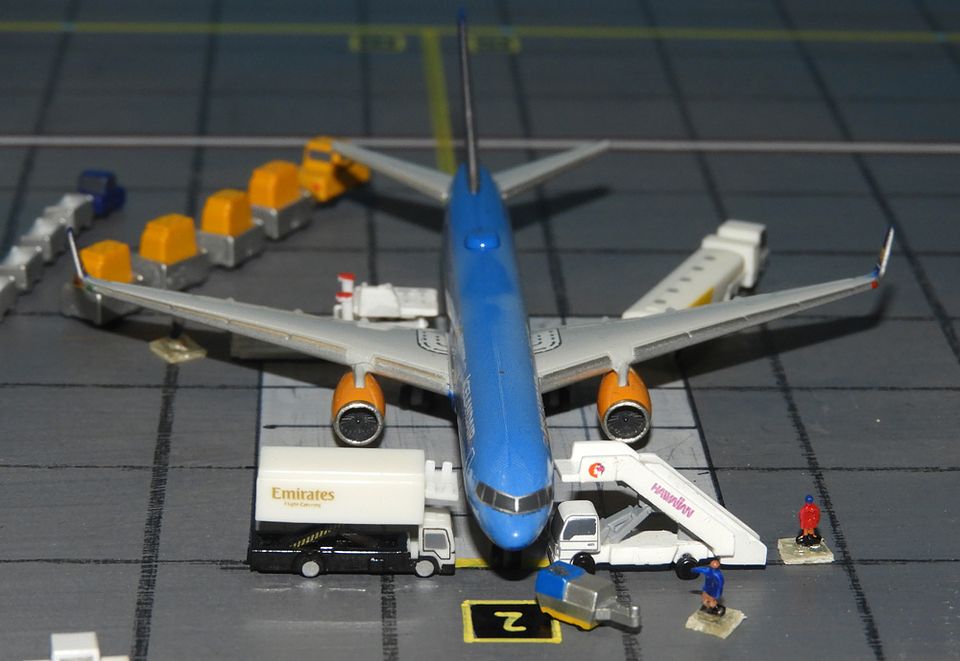
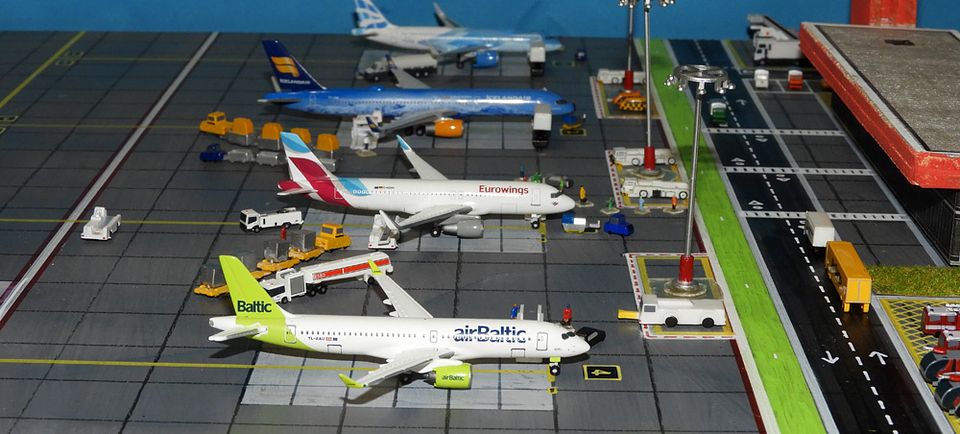
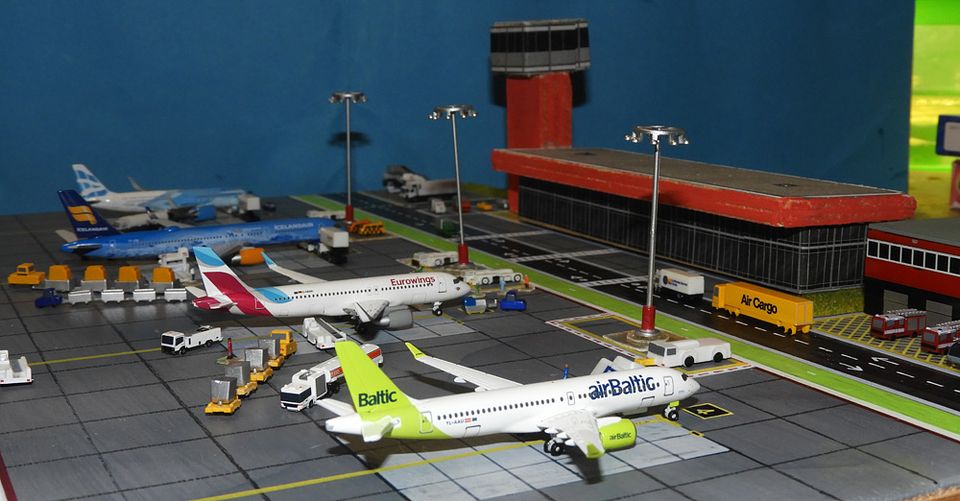
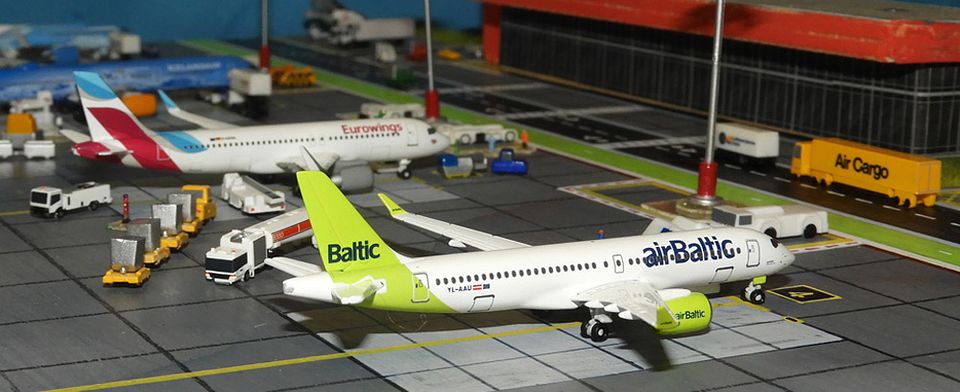
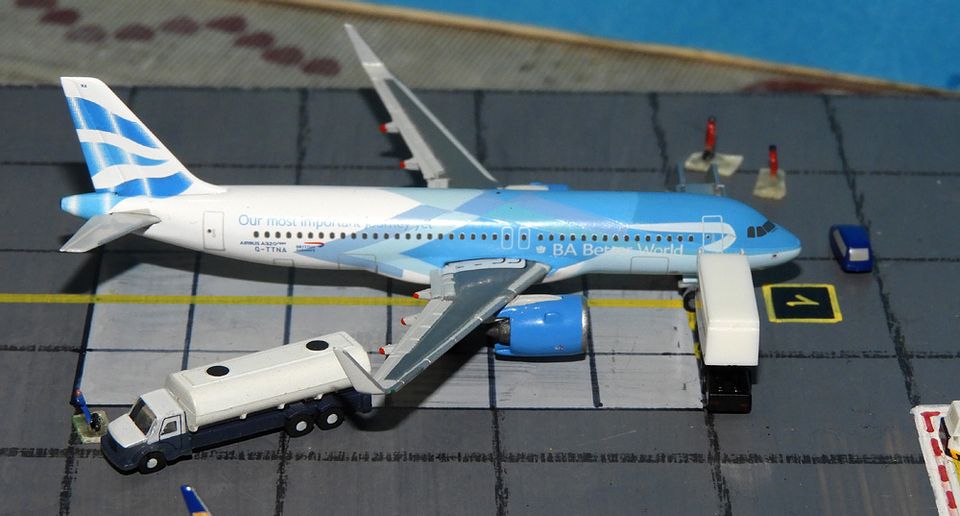
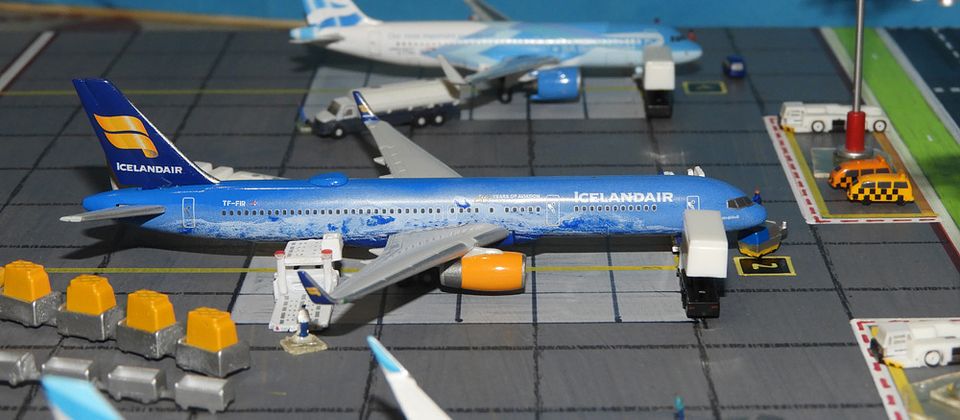
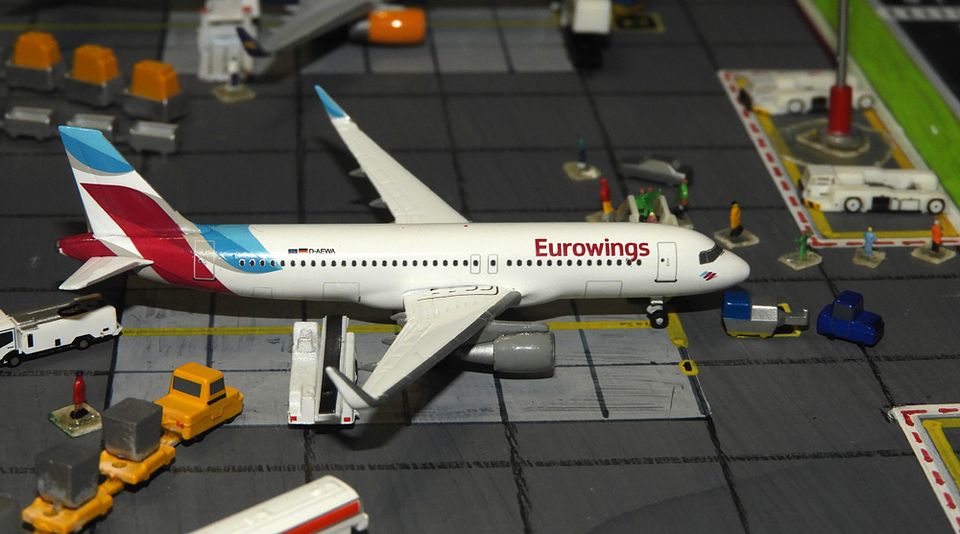
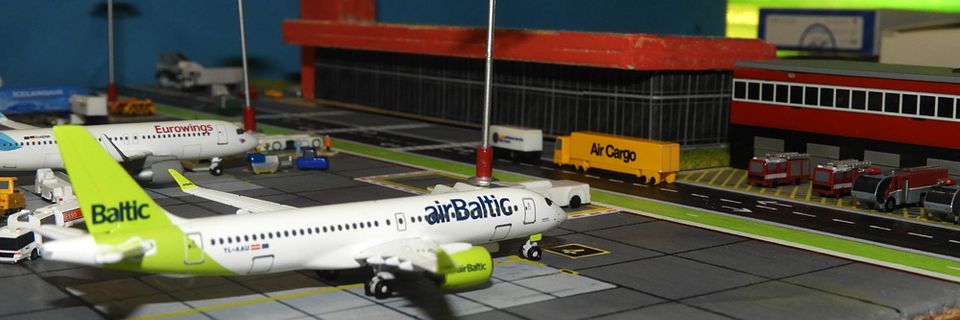
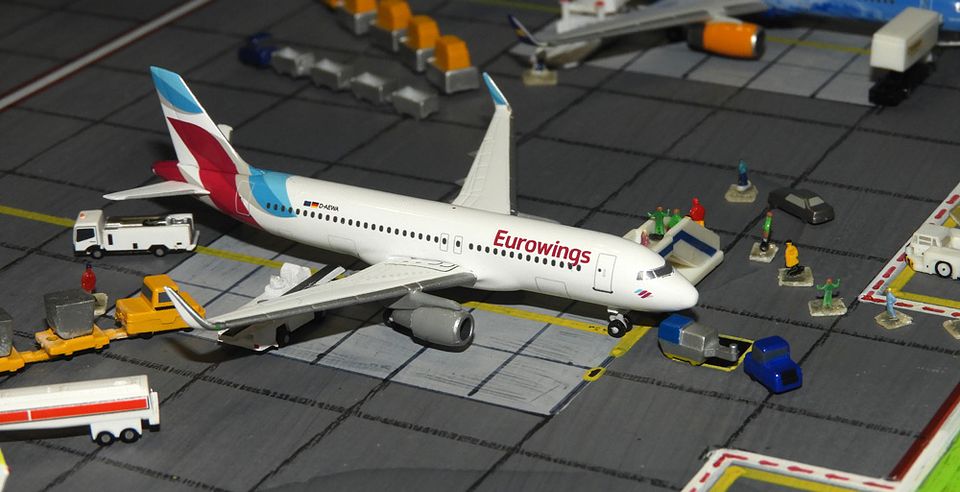
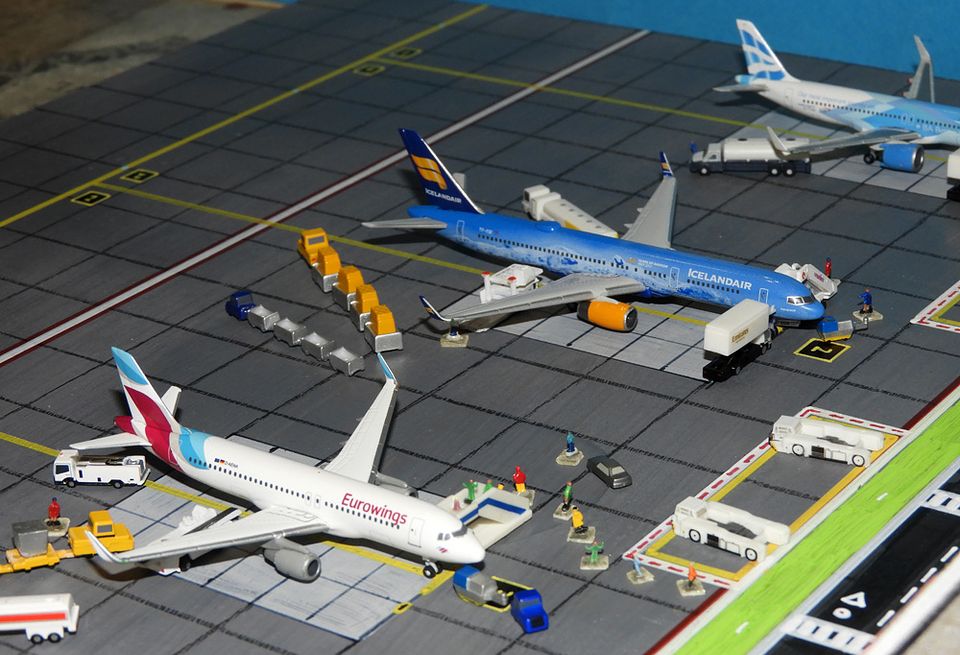
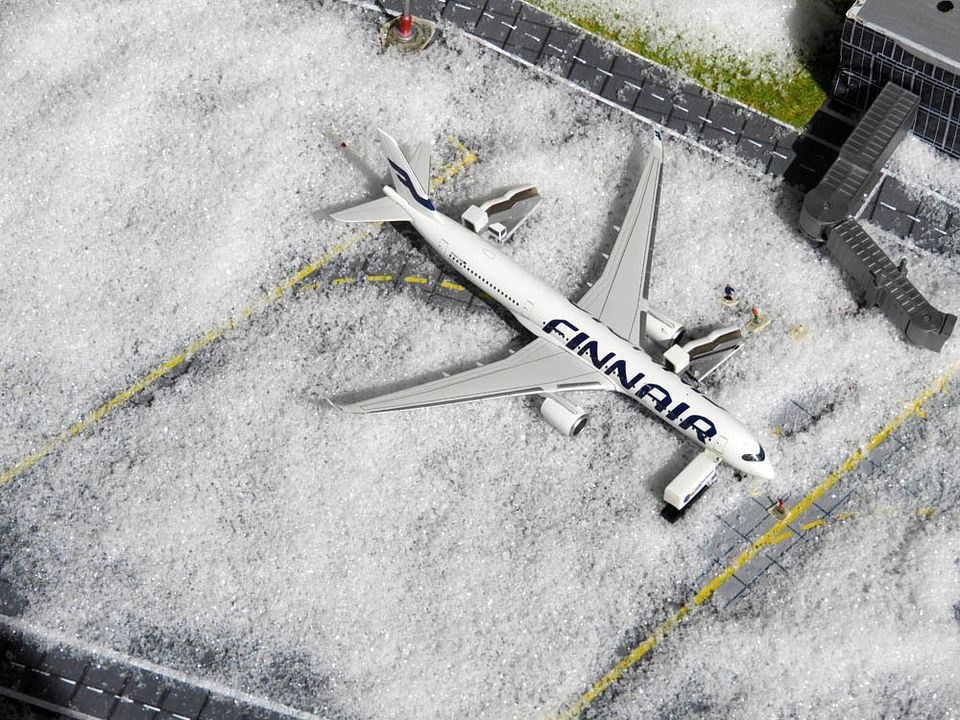
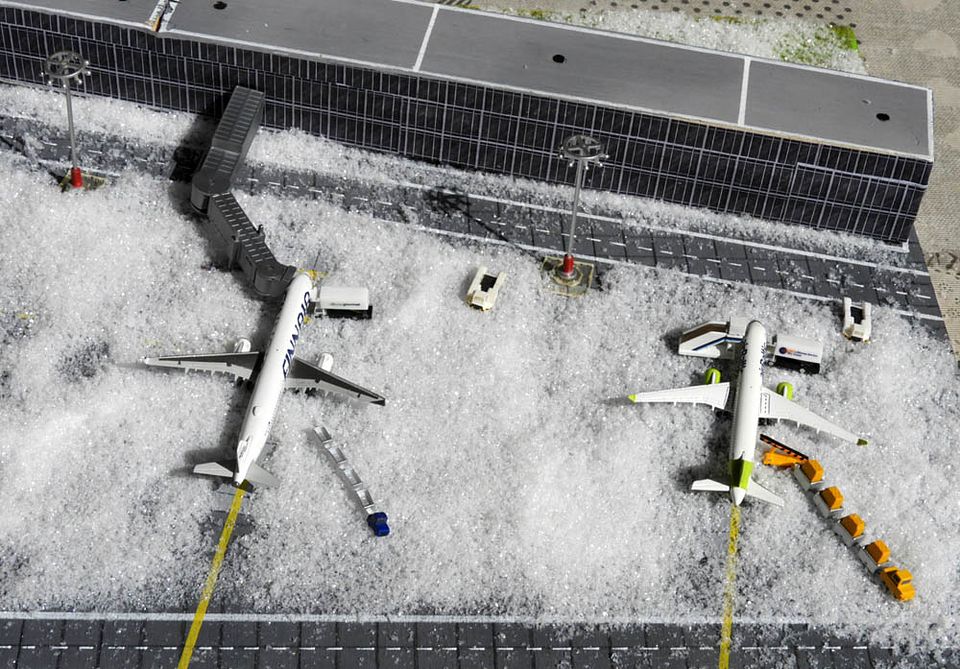
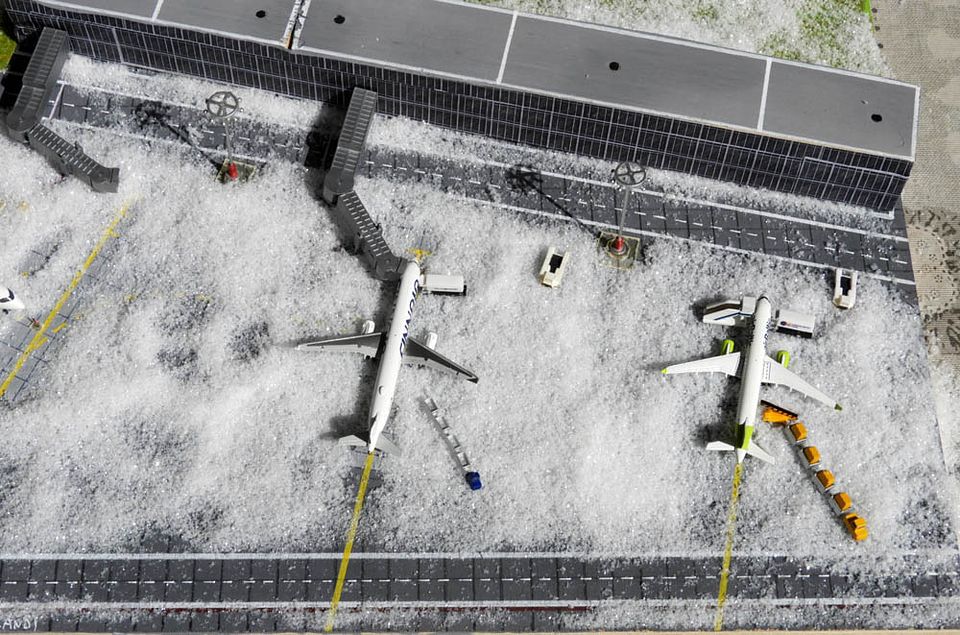
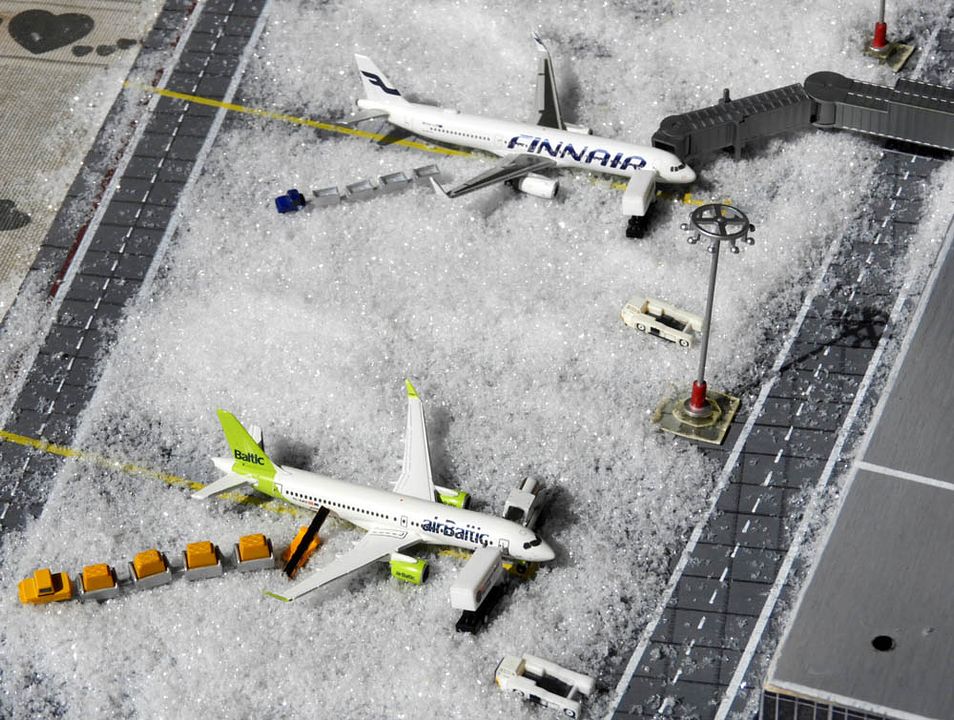
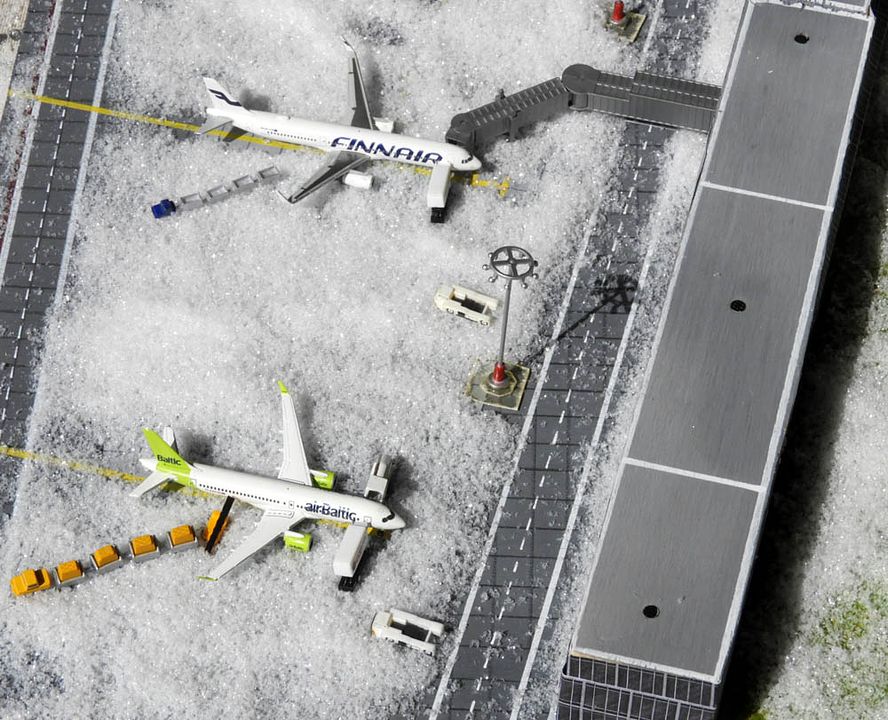
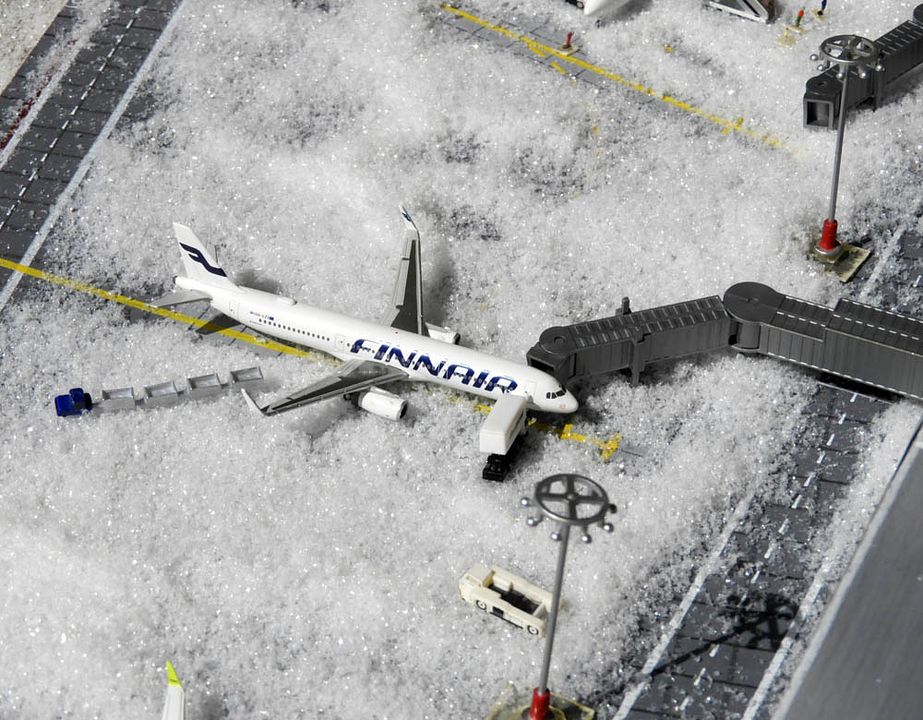
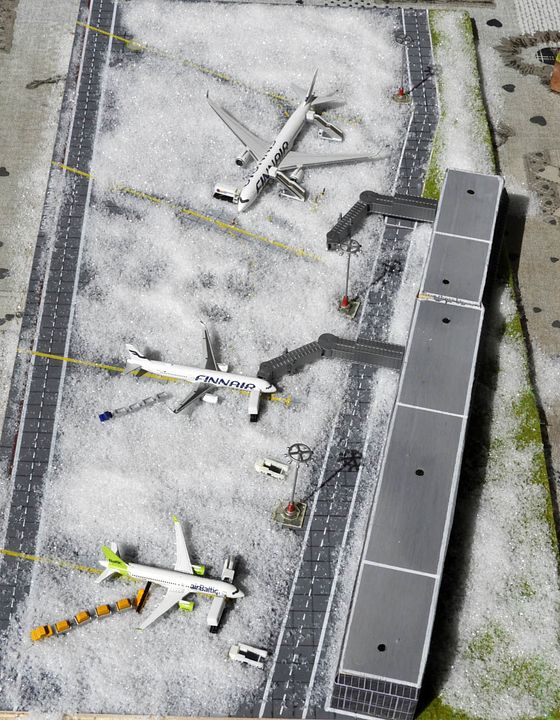
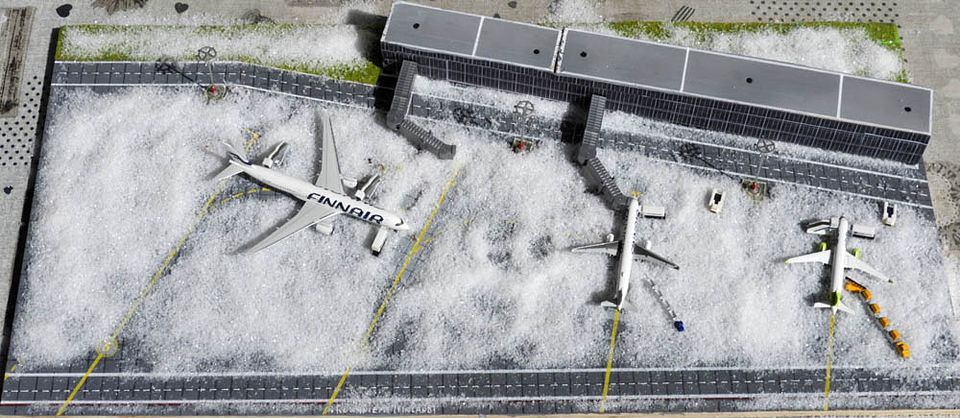
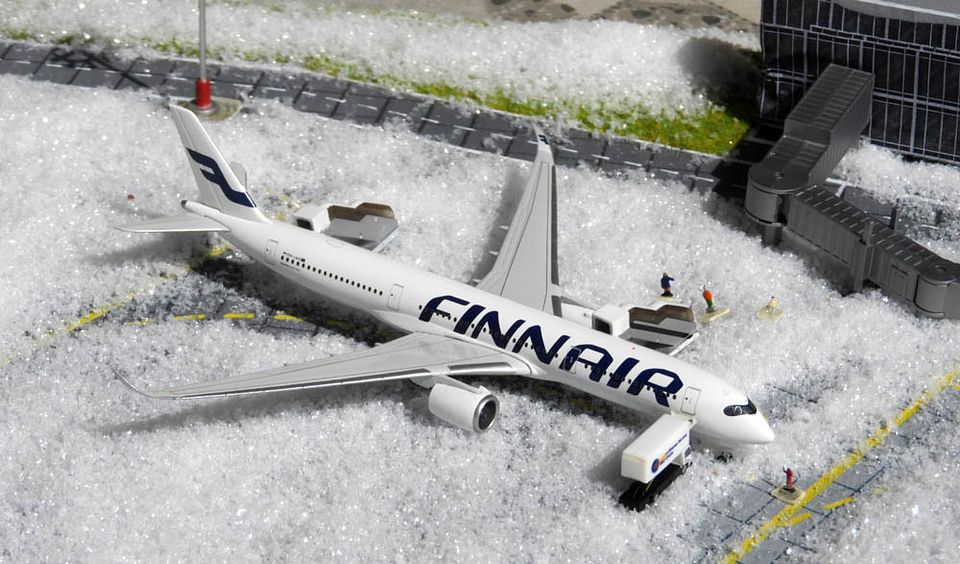
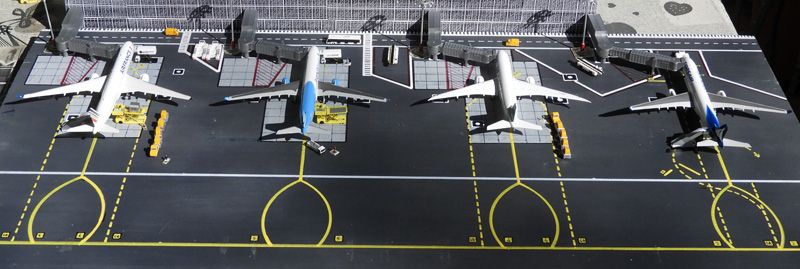
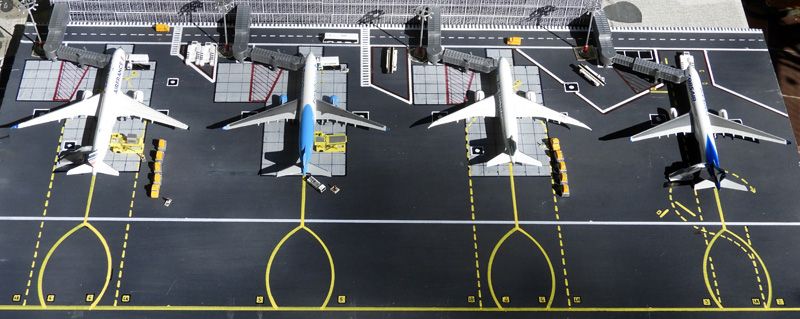
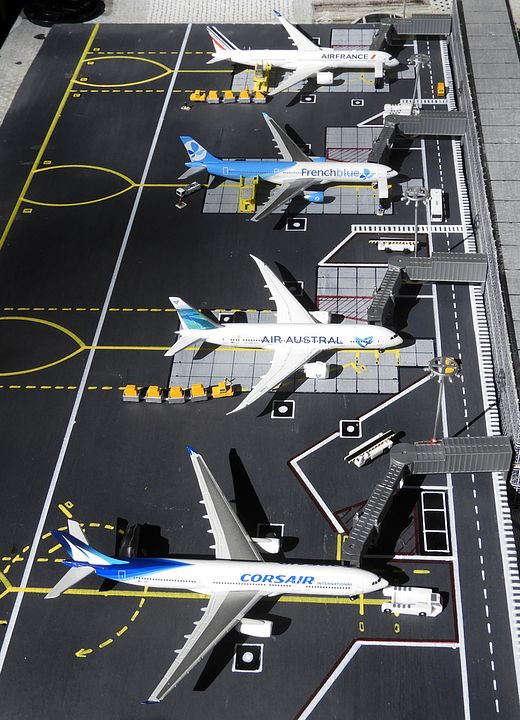
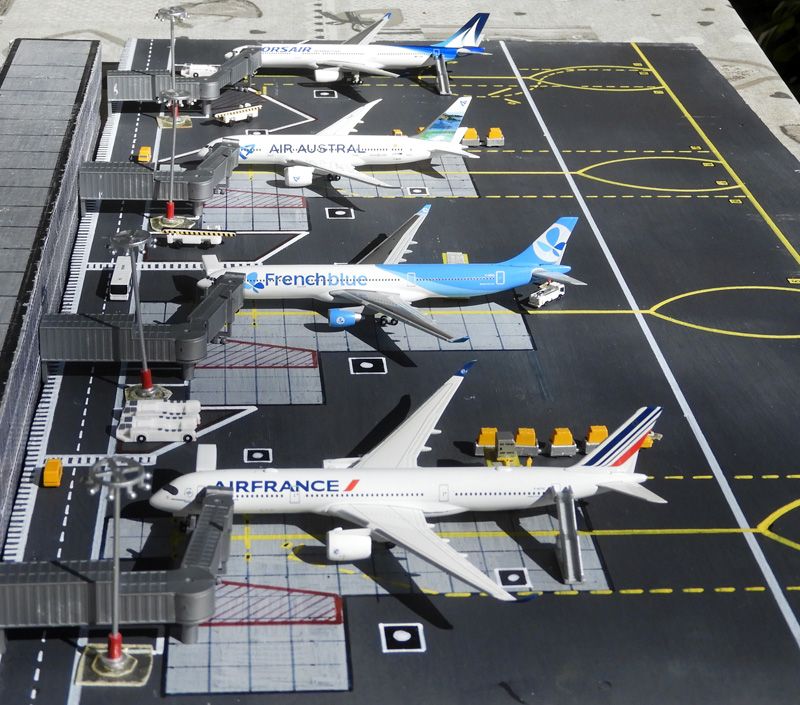
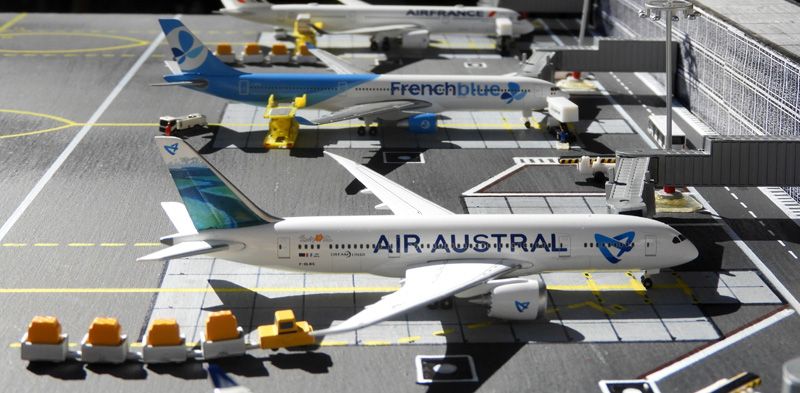
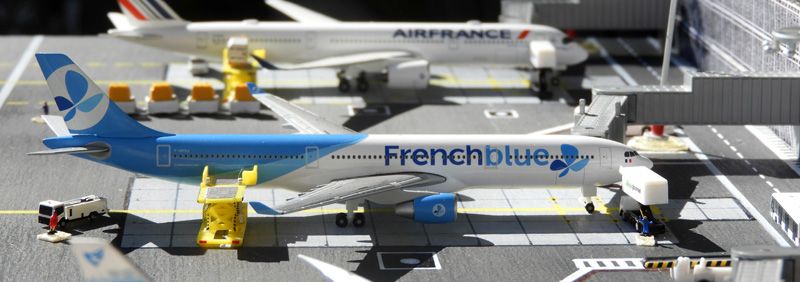
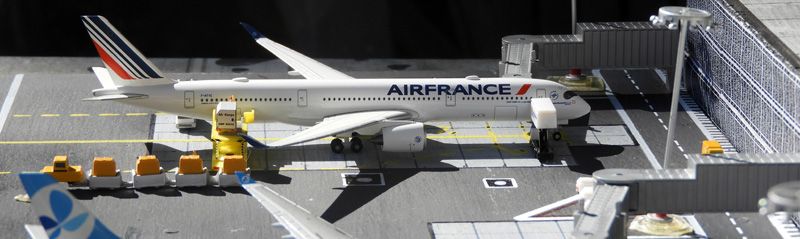
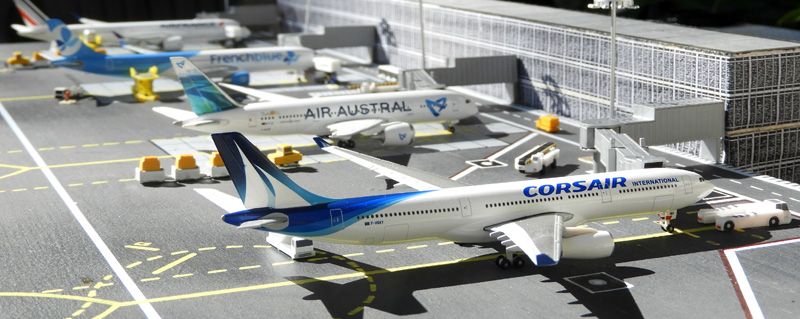
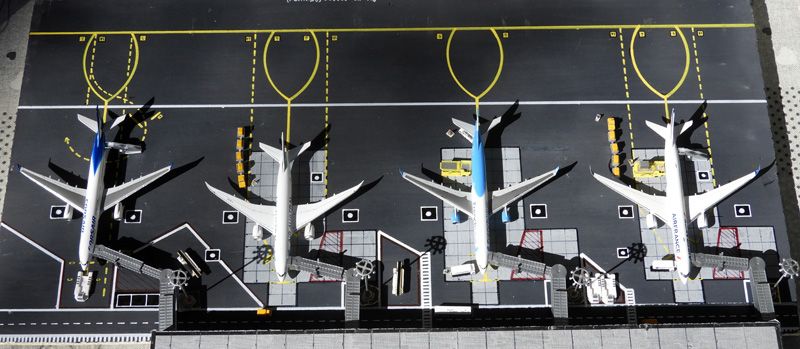
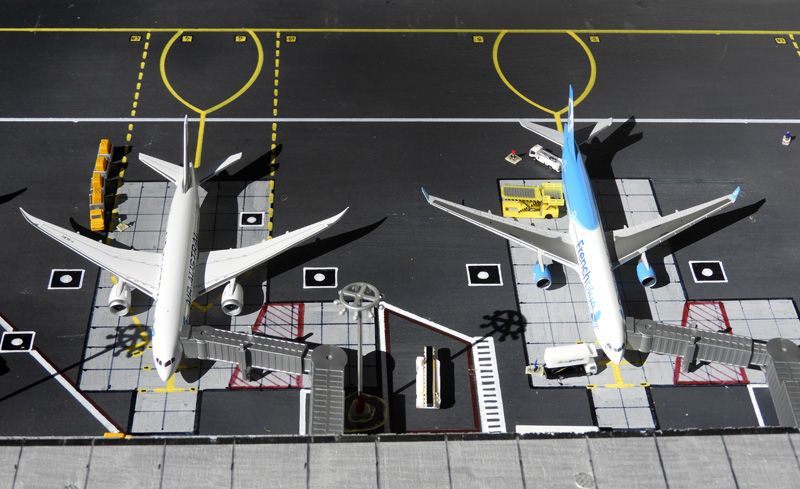
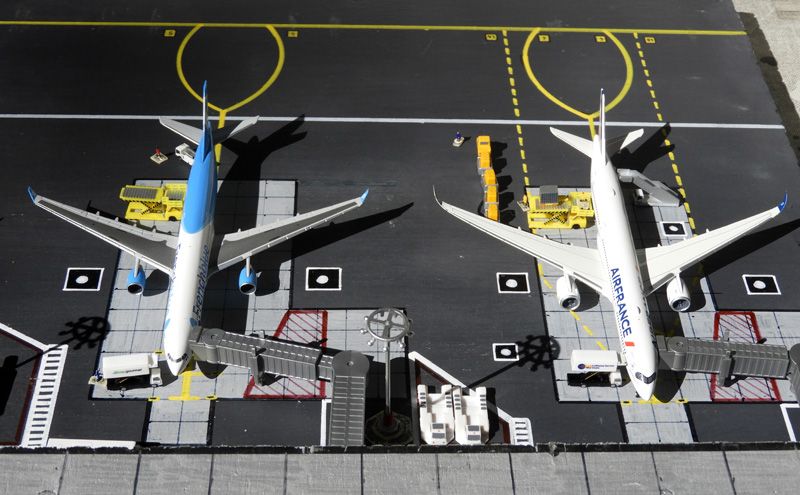
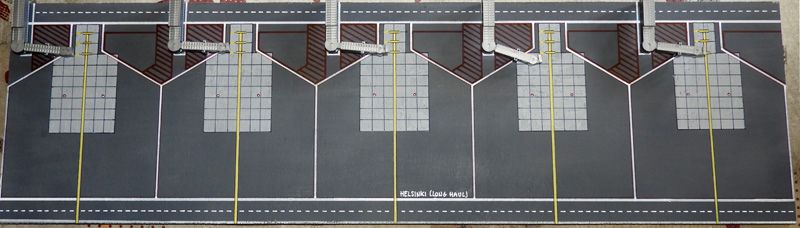
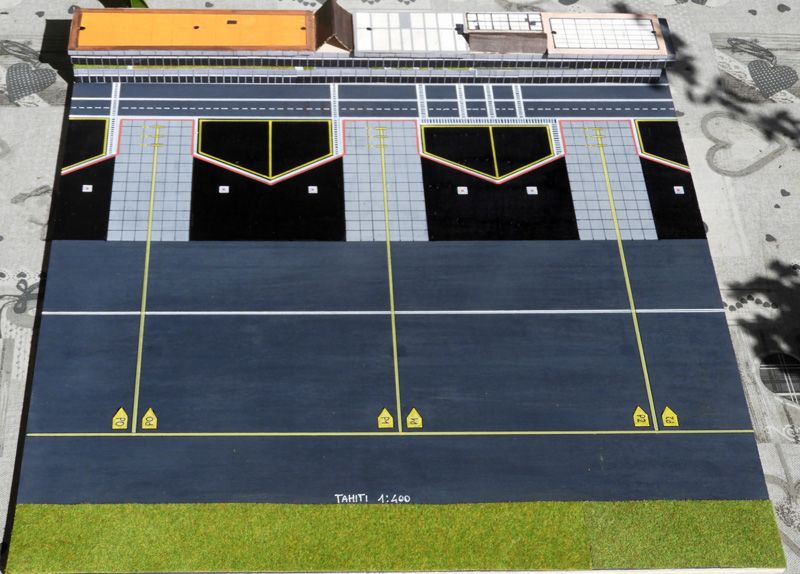
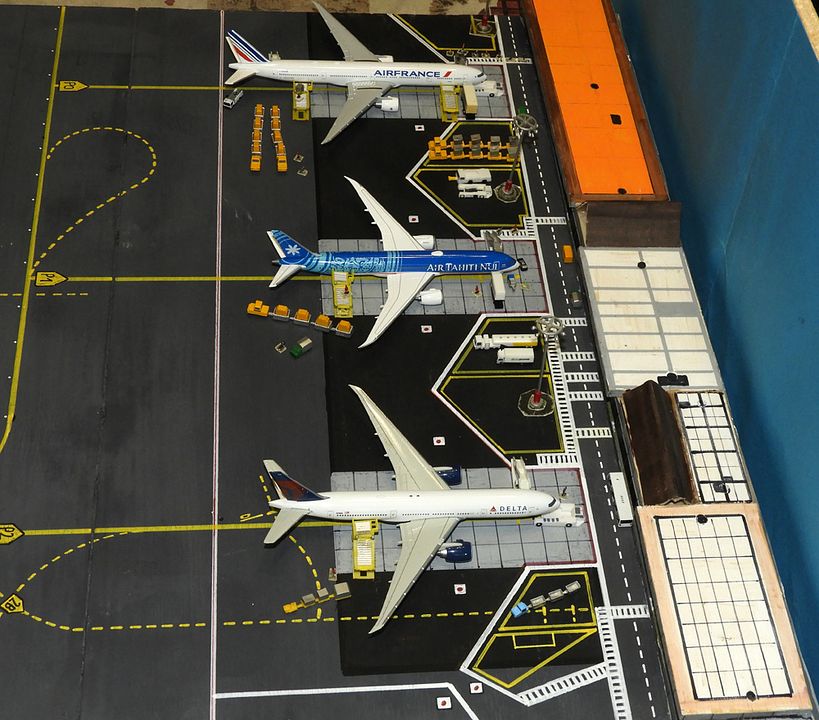
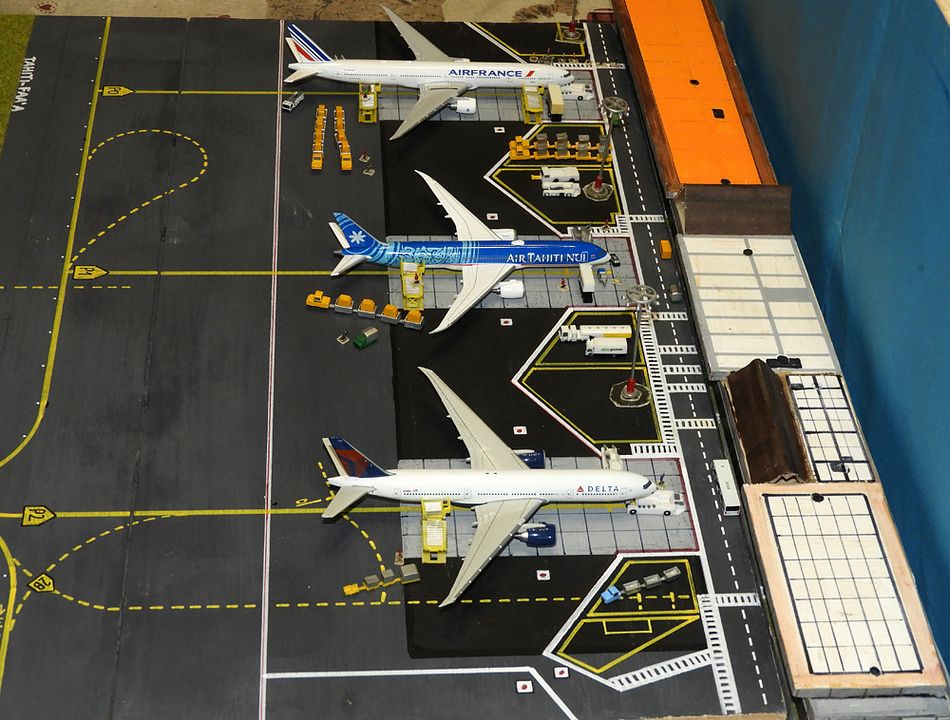
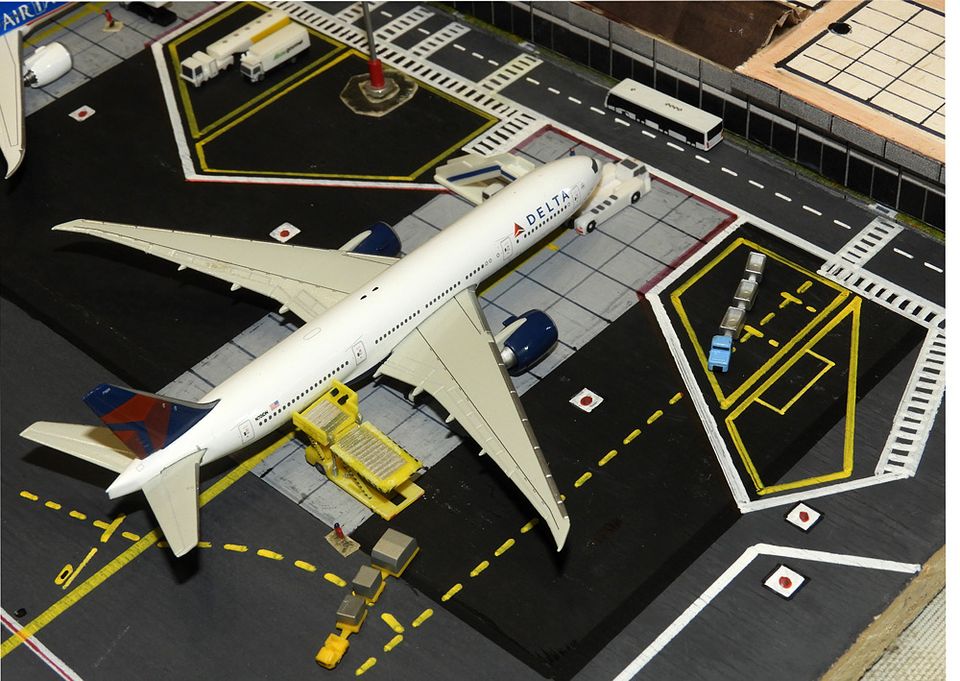
Now the wood panel is ready for the next step: the tarmac grid and/or runway-taxiway asphalt lines. Here i need of pencil and ruler and, of course, to know how the tarmac grid is realized on the various aprons. Usually they are squares but sometimes they are rectangles, squares + rectangles, long horizontal rectangles and so on. About the color there are various shades of greys, from light grey to dark grey arriving to black for the service roads. Many "holiday" airports without jetways can have green and/or light blue walkways for the passengers disembarking from the airplanes stairs.
Coming back to the tarmac grid usually the squares are 5 x 5 meters (1 x 1 cm in 1:500) and the rectangles 10 x 5 meters (2 x 1 cm in 1:500).
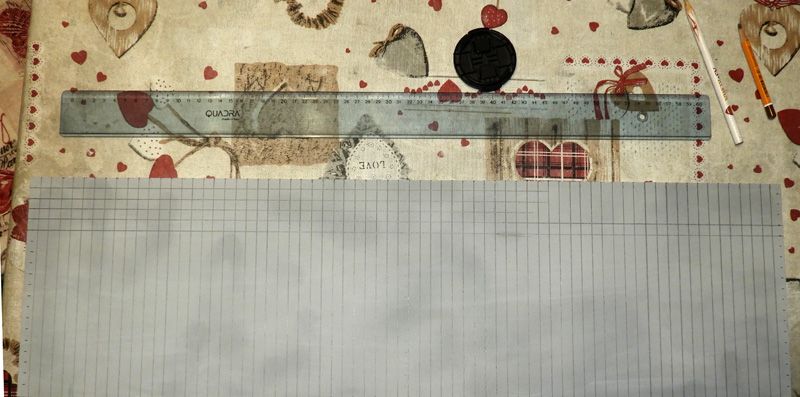
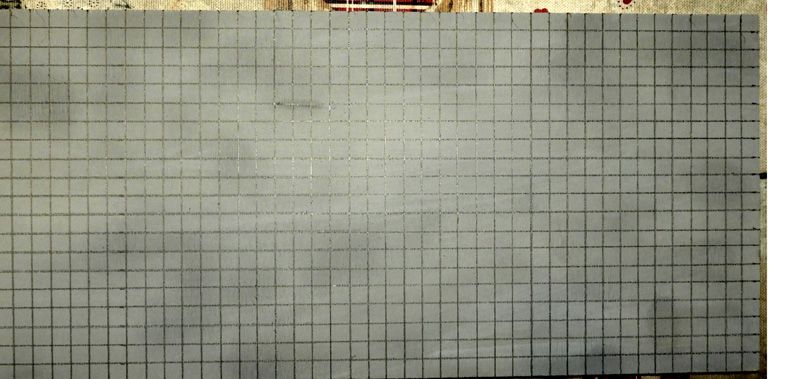
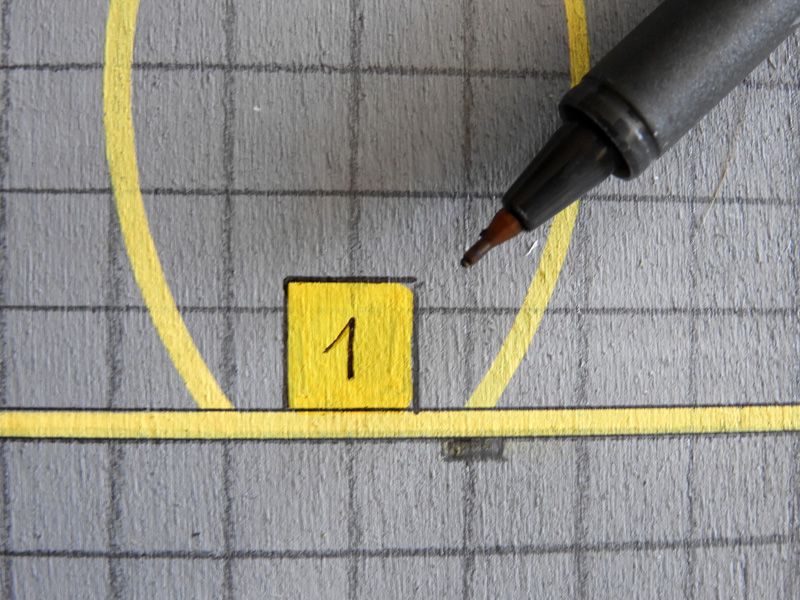
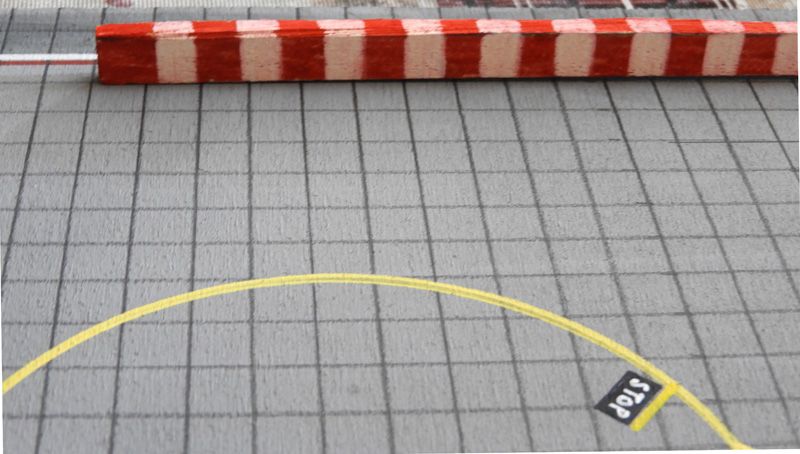
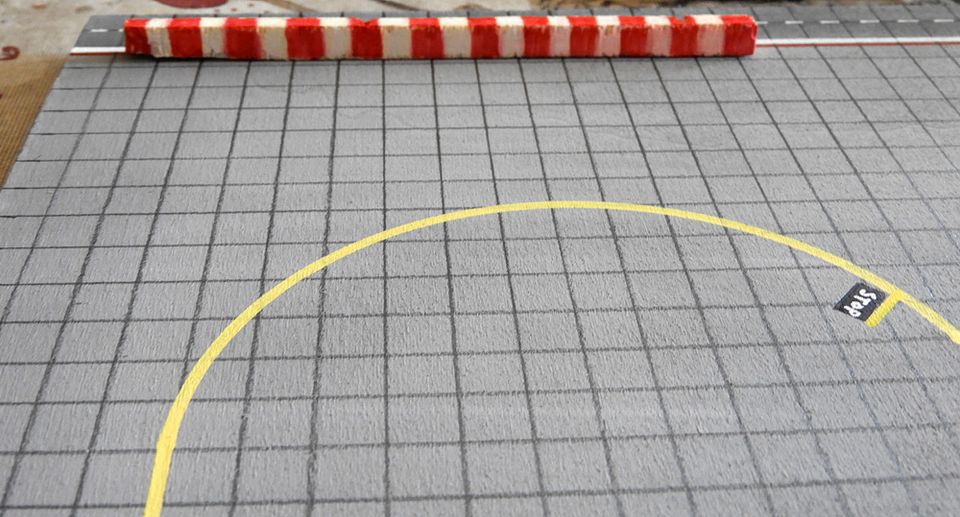
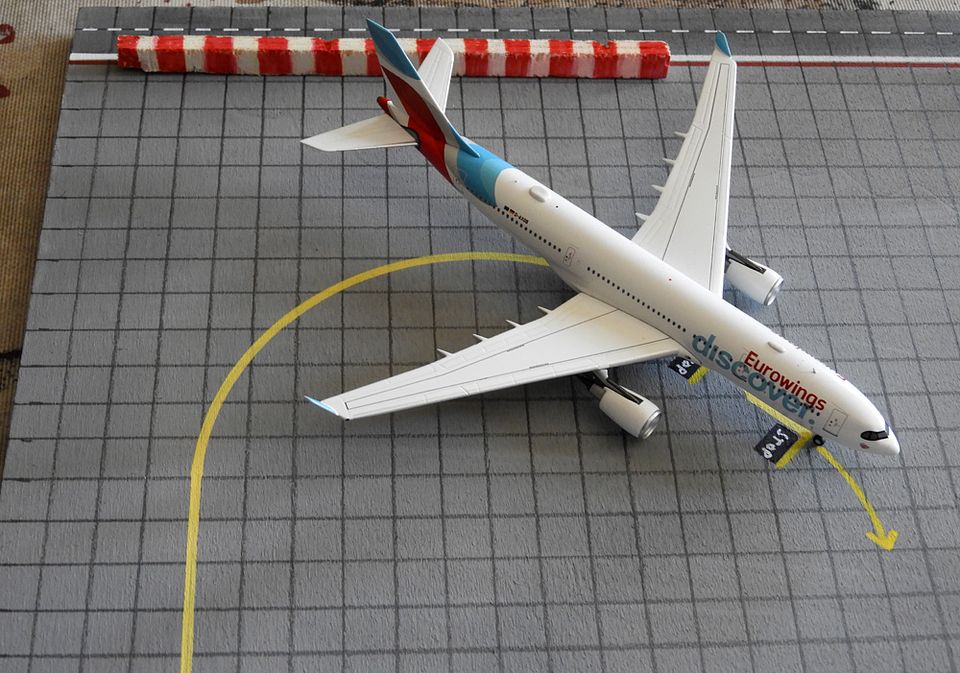
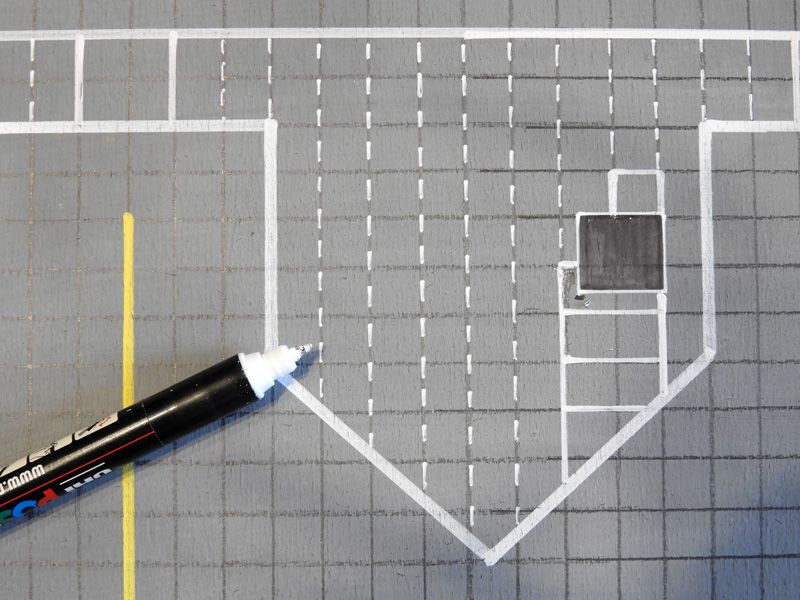
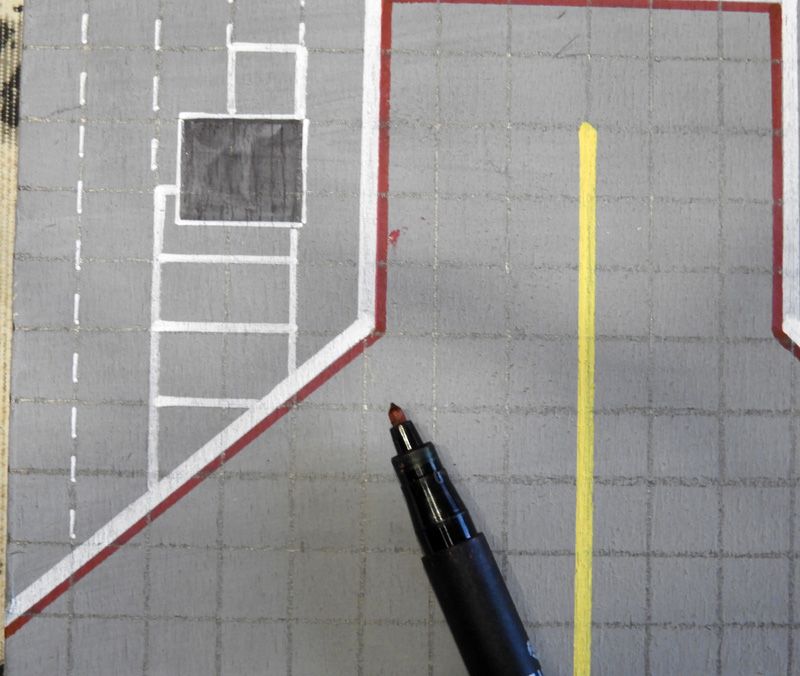
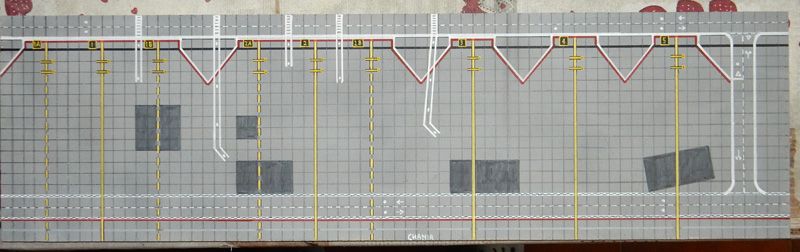
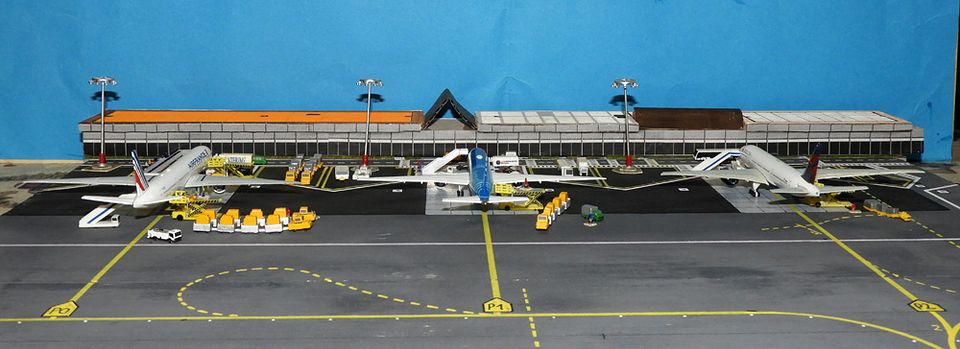
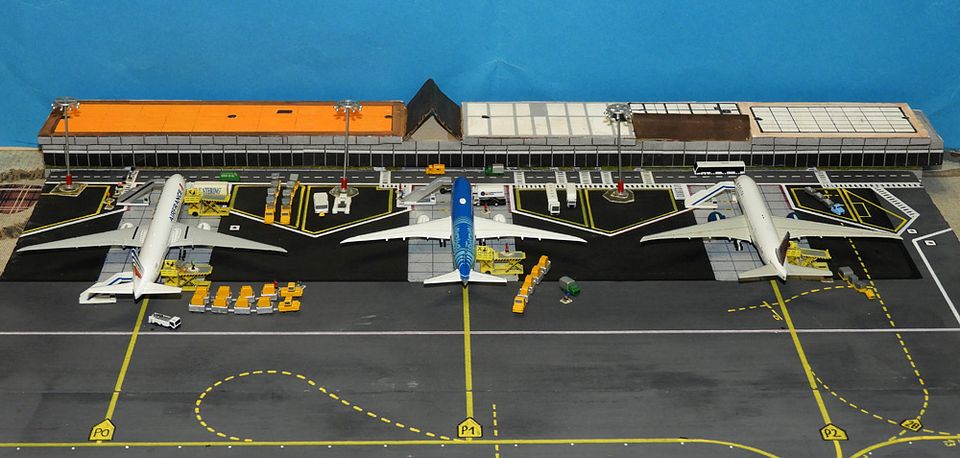
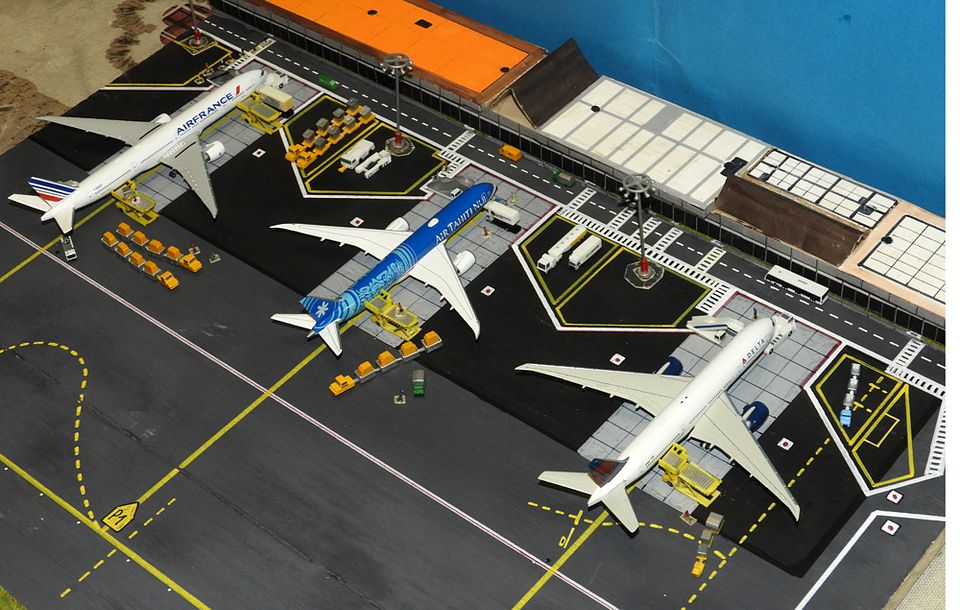
this is the final effect. Also here, when the grid is finished, a fixiing spray is needed.
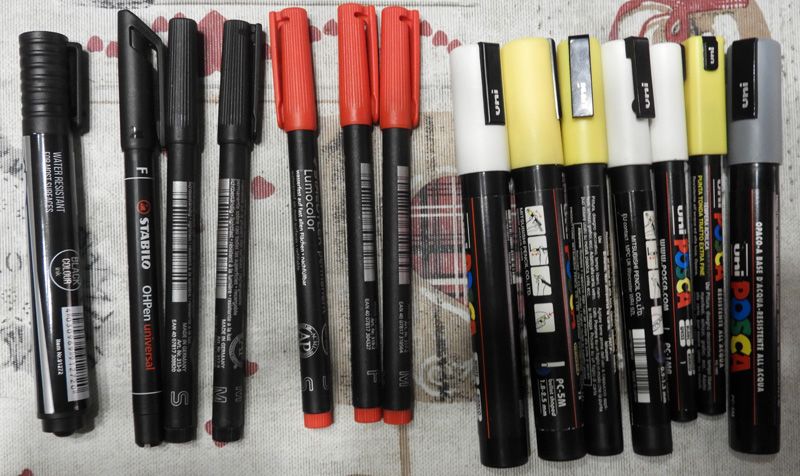
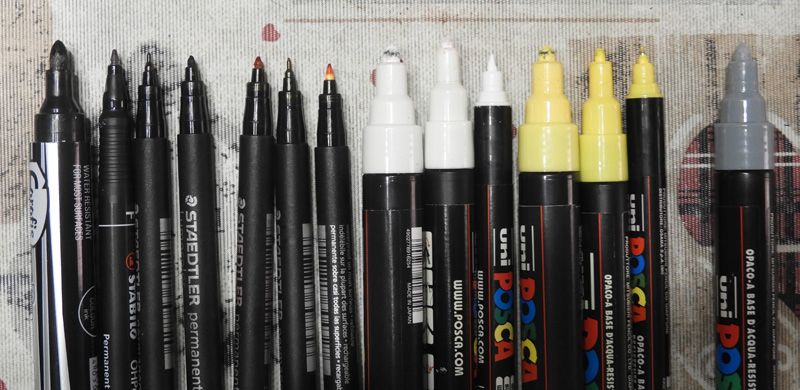
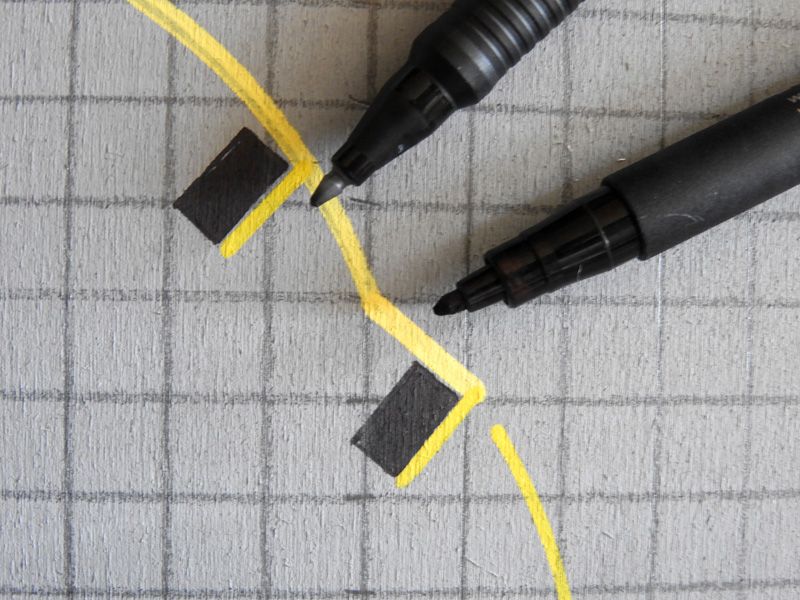
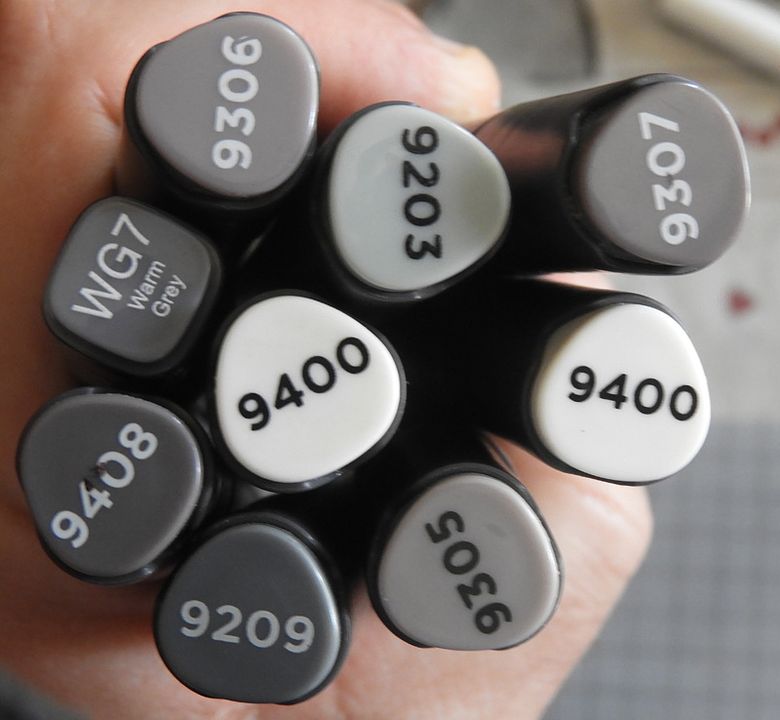
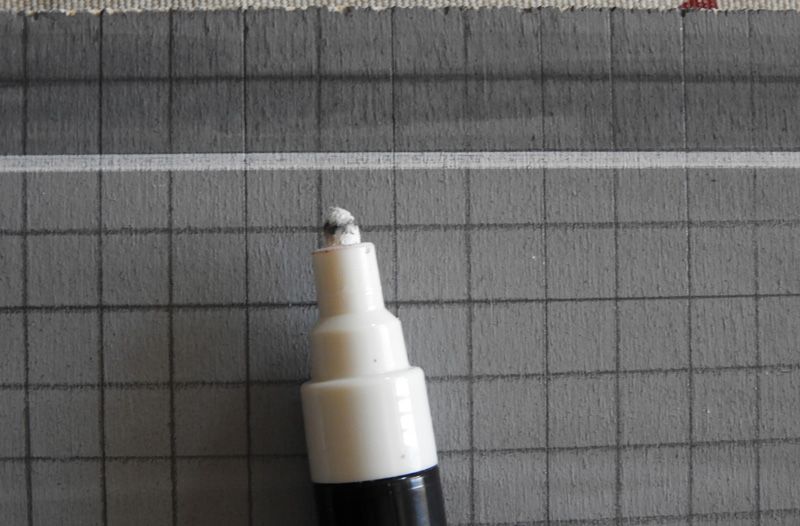
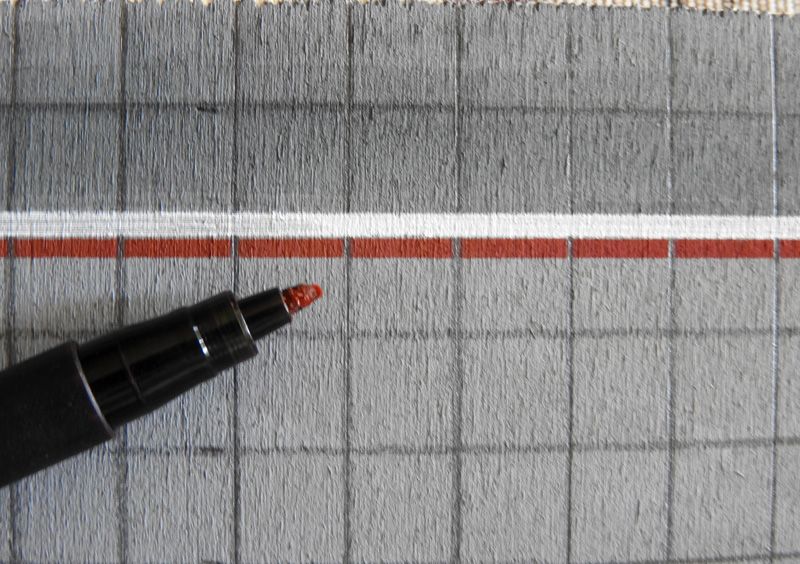
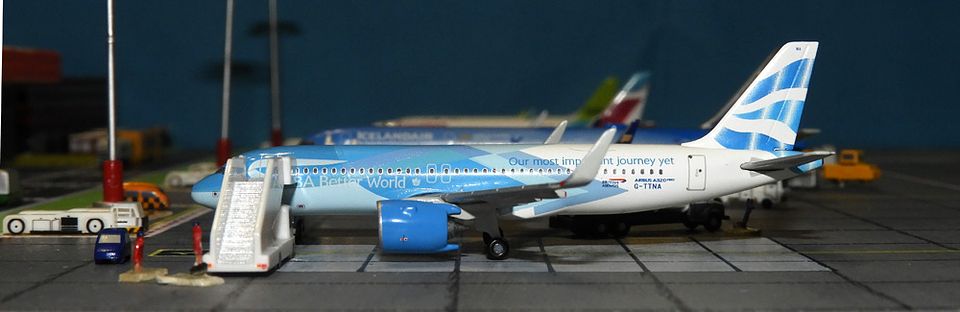
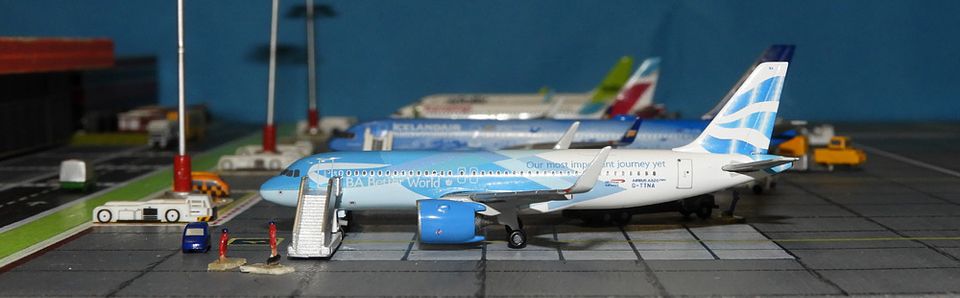
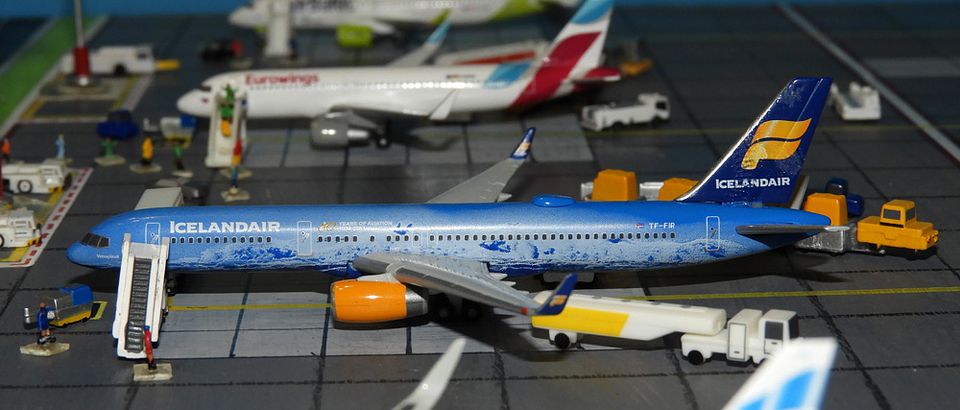
Many aprons have patches, cracks, additions and everything can be created with a good pencil, a black Lumocolor pen and Uniposca.
But this is matter for the second episode of this tutorial.
Thanks for reading.


 [list=][/list]
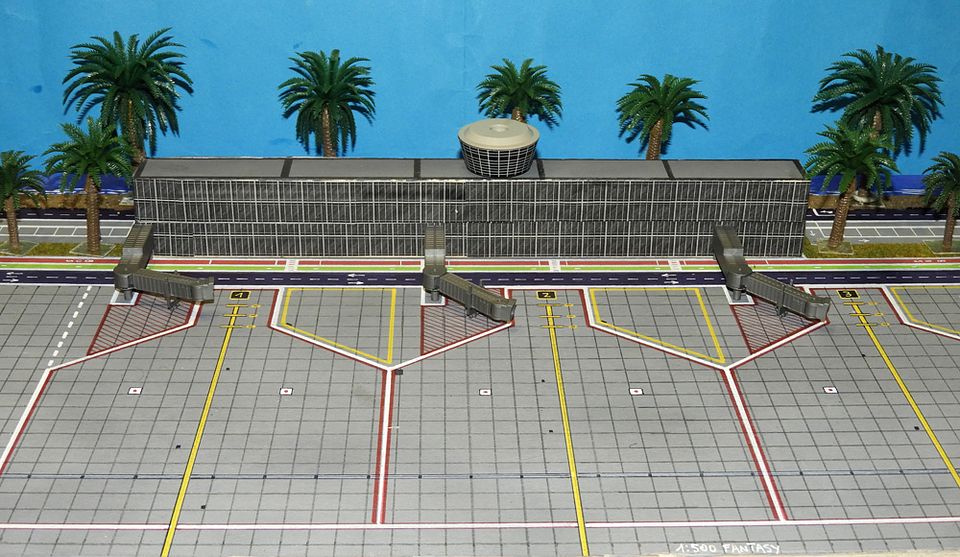


 [/URL
[/URL